Step by step
- Open the
 "Mailings" navigation item.
 -
Click the
 Edit icon for the mailing you want to edit:
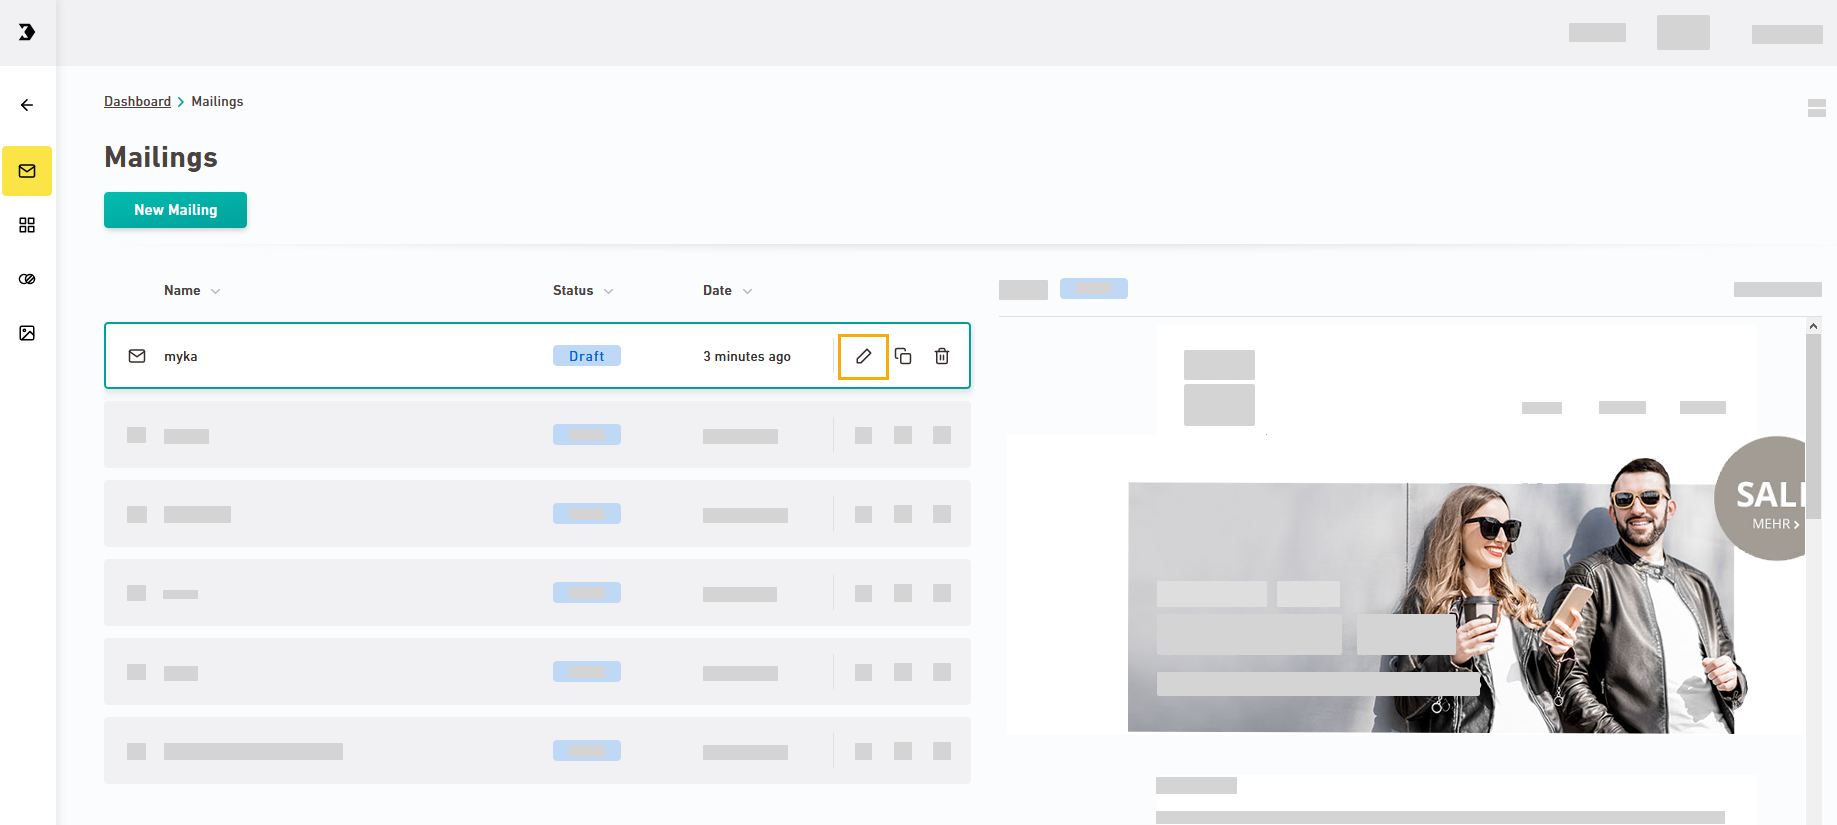
-
Add containers from the container panel using drag and drop.
Note: Add referenced content containers to your mailing before synchronizing the mailing with a mailing list. After synchronizing with a mailing list, only referenced content containers from the same mailing list are available. You can recognize this by the changed status in the container panel. Referenced containers that are not associated with your mailing list are displayed as incompatible containers.
 What are containers?
Mailings in Inxmail New Xperience consist of containers that you use to assemble your mailing. Replace the images and dummy texts that are grayed out in the containers with your own texts and images.
Inxmail New Xperience already contains a number of standard containers when you use it the first time. Create layout containers to use your own text-image combinations in a mailing.
Overview of Inxmail containers
Icon
Standard container
Sample screenshot

One column 

Two columns 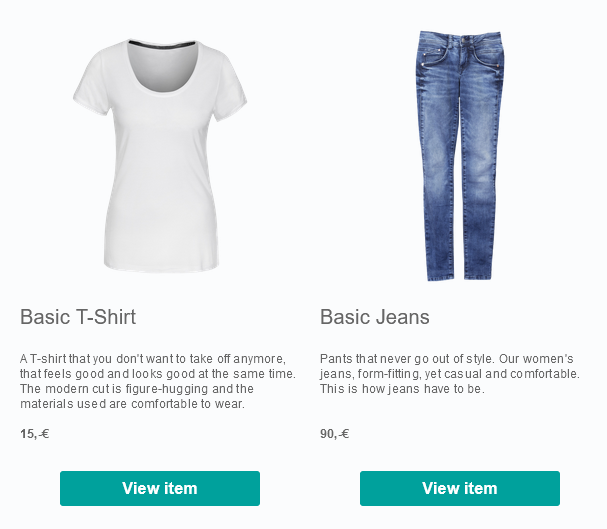

Three columns 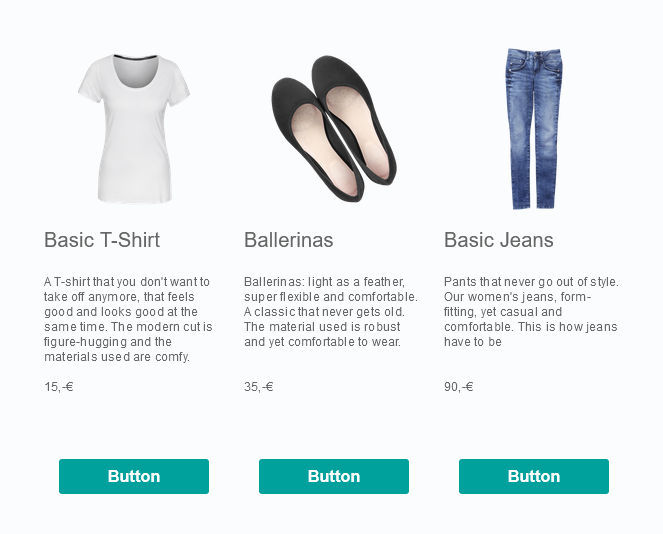

Four columns 

Banner (extra wide)

The banner (extra wide) consists of three image elements. Crop your image to the correct dimensions beforehand, using an image editing program:
-
600 x 300 px (center)
-
150 x 300 px (left + right)

Banner image 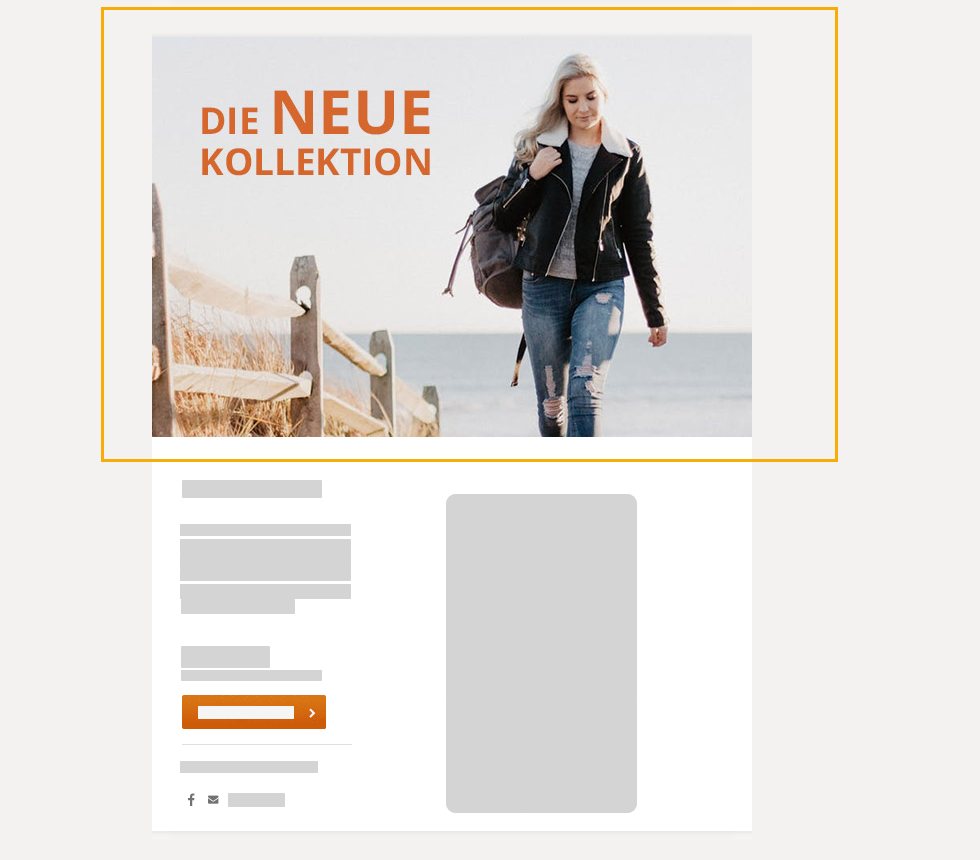

Image + product text 

Image + text 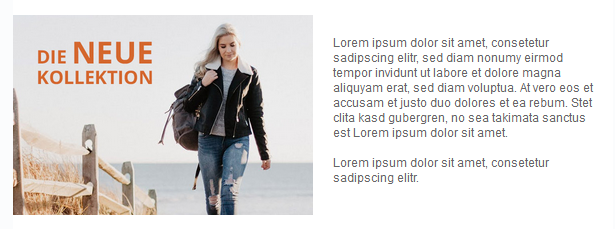

Button 

Footer (text) 

Product text + image 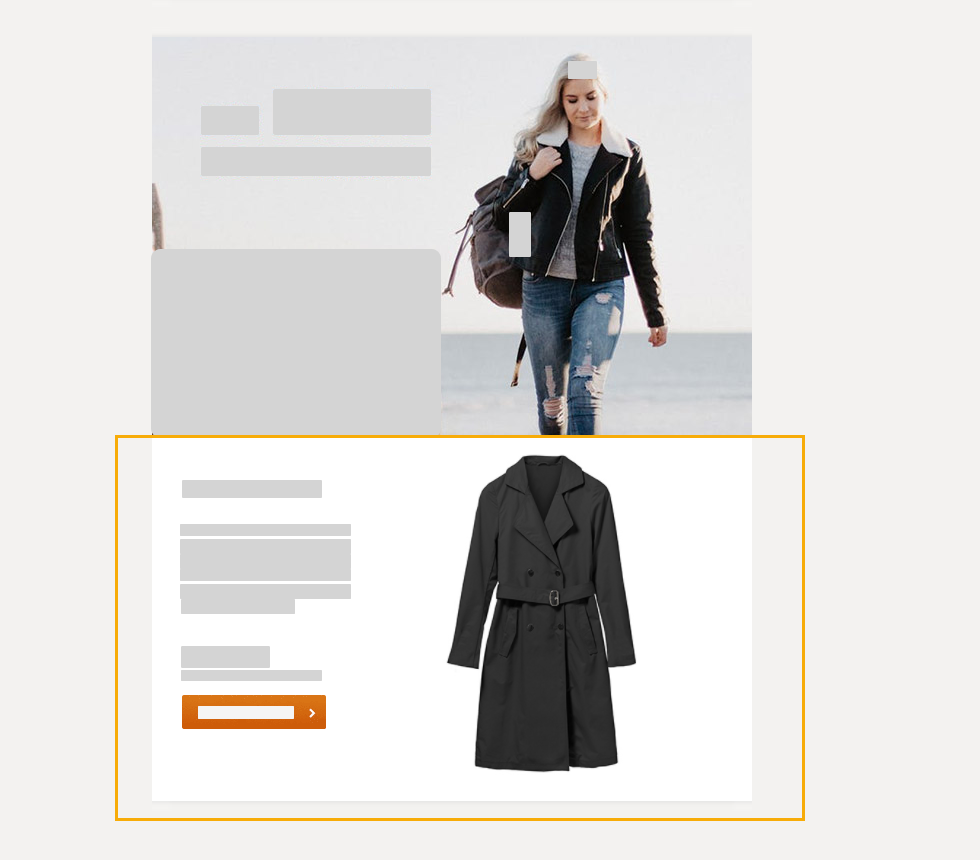

Section 

Text 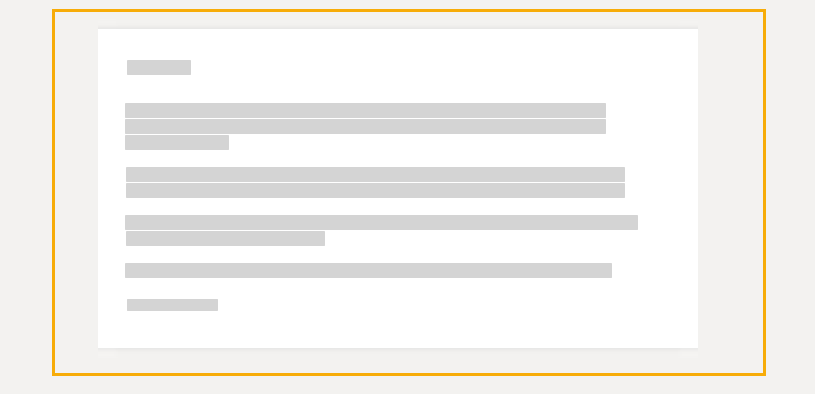

Text (2-column) 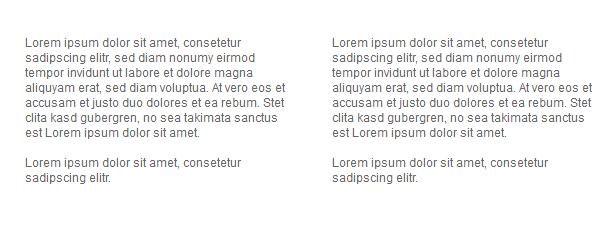

Text + image 

Separator 
-
-
Insert images. There are two restrictions for image size: The resolution must not exceed 25 megapixels, and the file size must not exceed 5 MB.
Mobile: You can also insert a different image for mobile view.
What are alternative text and title?
Below
 "Image information" you can enter an alternative text and title for your image as well as the image URL.
-
Alternative text: The alternative text is sometimes called ALT text, ALT tag or ALT attribute. The alternative text will be displayed if your image cannot be displayed, for example because an e-mail client suppresses the loading of images or because the image has not (yet) been loaded.
The alternative text is not a caption, but should describe exactly what can be seen on a picture, e.g., "Woman in autumn coat walking into the sunset."
-
Title: The title can be seen when your recipients move their mouse over your image. Depending on your email client, this feature is available in the email client itself - or when you open your mailing in web view. You are more flexible when writing the title. For example, you can write the title like a caption. So a title for the above picture with the woman in the autumn coat could be: "Feel-good moments in autumn".
We recommend you to add alternative texts and titles for all your images. This makes your mailing machine-readable and accessible (low-barrier). For example, visually impaired recipients can have the texts read aloud via screen reader. Bots and search engines also like to access the written image information.
What is the best image size? Learn more about optimizing image size for your mailing in our Smart Guide. Depending on your container dimensions, you may have to recalculate the image dimensions from the Smart Guide.
-
-
Insert texts and links, edit your buttons and format your texts.
-
Personalize your mailing
-
Define spacing, subject, and other settings:
-
No need to save your changes!
No, you do not need to save your changes. All changes are automatically saved for you.
- You have edited your first mailing and populated it with content.
Next steps
- Create layout containers to use complex text-image combinations in your mailing.
- Create your own style sets to optimally adapt your mailings to match your corporate design.
- Are you happy with the results? Then review and test your mailing, and approve it for sending.
Did you not find what you were looking for?
-
Send us your feedback.
