Step by step
- Open the
 Style sets navigation item.
 -
Click .
-
Decide how you want to create your style set:
-
Manually
-
Automatically via URL
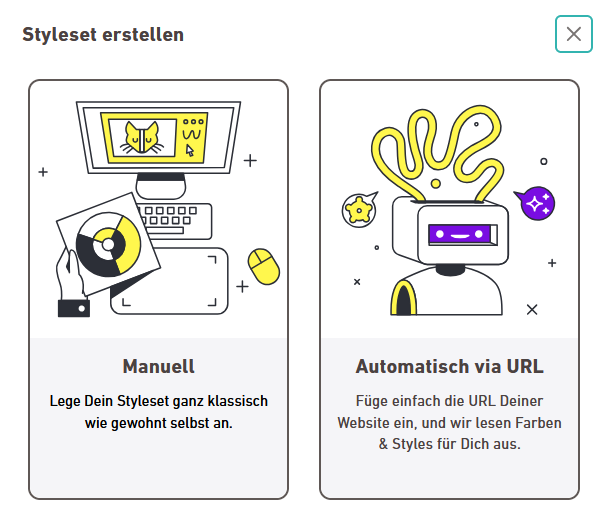
Save time: Simply enter the URL of your website. The colors and styles are automatically extracted and transferred to a new style set.
-
-
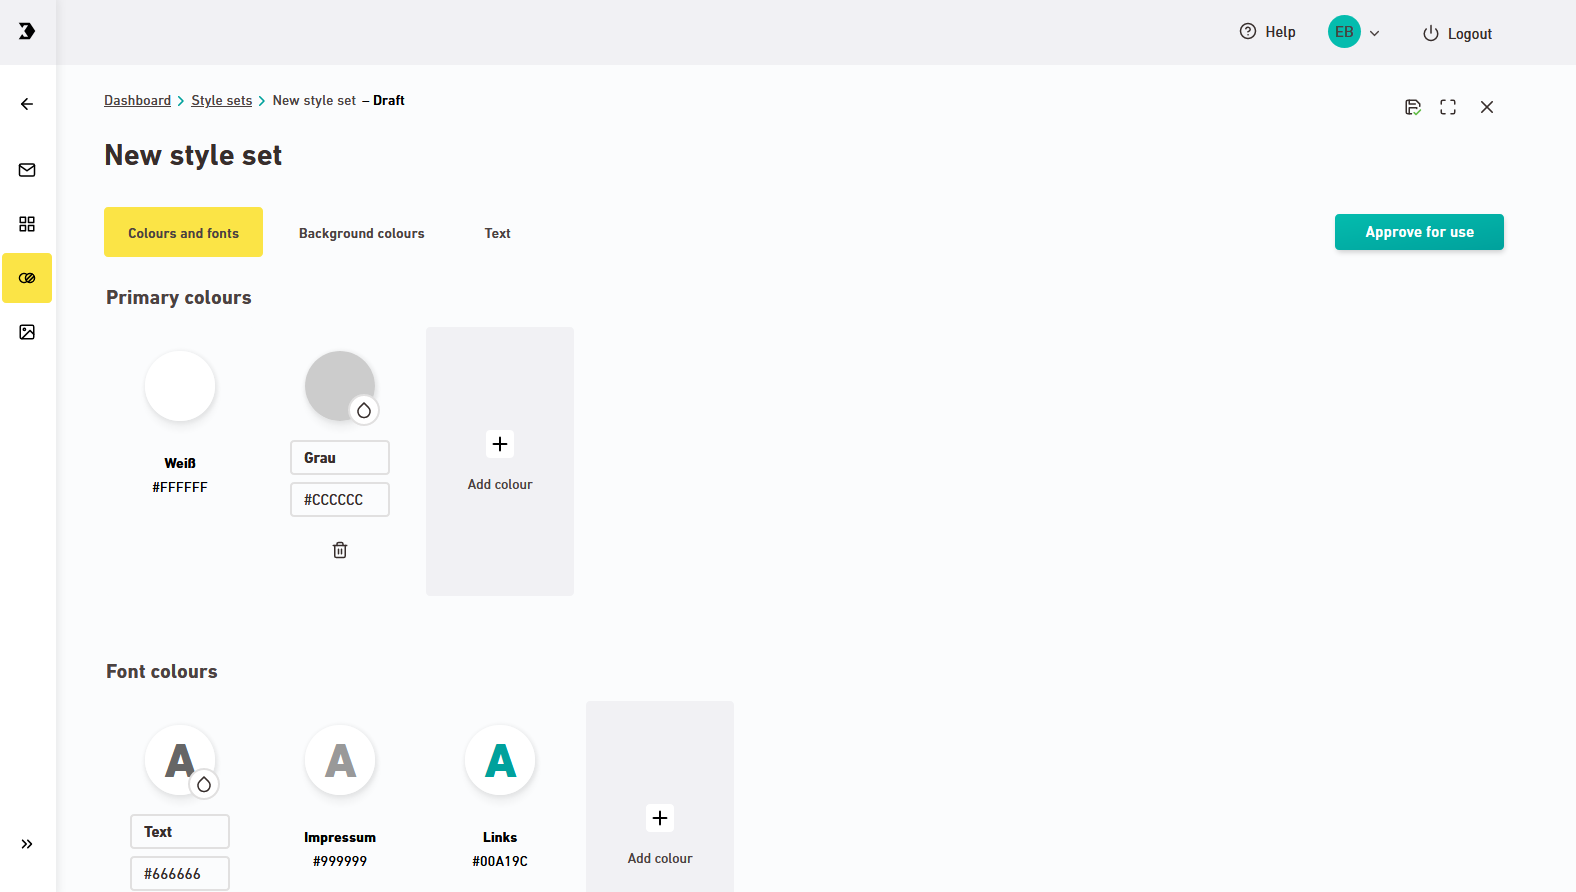
The style set editor appears. Here is where you set up your style set – or adjust the values automatically extracted from your URL.
-
Colors and fonts
Click
 "Add color" or "Add font". This way you can add all colors and fonts of your corporate design.
You want to use your own web fonts? Contact your Inxmail representative or Care-Consulting@inxmail.de if you are not happy with the fonts available and you would like to insert your own web fonts. In any case, when integrating web fonts, you must ensure that your web font is used in compliance with the GDPR.
For more information, including how to delete colors and fonts, see Create and use colors and fonts and Delete styles.
-
Backgrounds
Click the "Backgrounds" tab.
Your mailing has two backgrounds:
- The background color of the mailing itself
- The background color underlying the mailing (the "underlay")

Click the drop-down list to select the background color.
Why are so few colors available? Only colors that you have created as primary colors in the "Colors and fonts" tab are available for selection here.
-
Headings
Go to the “Text” tab in order to view and edit your headings.
By default, 3 headings are available to you:
-
You can adjust the font, font weight, size, color and spacing for these 3 headings. You won't be able to delete the 3 default headings.
-
Add further headings as required.
-
There is a default hierarchy for the 3 headings as h1, h2 and h3. You can change the hierarchy if required and also use the levels h4-h6.
 What do I need headings for? What does h1, h2, h3 mean?
Headings help you structure your mailings. Different heading levels (h1-h6) ensure different weighting of the content within your mailing and help screen readers, for example, to correctly read your source text. This makes your mailing more accessible (low-barrier).
Would you like more colors to choose from? Only colors and fonts that you have created as fonts and font colors in the "Colors and Fonts" tab are available for selection here.
-
-
Text
Specify all text types you want to use in your mailing in the "Text" tab.
Would you like more colors to choose from? Only colors and fonts that you have created as fonts and font colors in the "Colors and Fonts" tab are available for selection here.
-
Buttons
In the "Buttons" tab, create all the button styles you want to use in your mailing.
Critical email clients
In IBM/Lotus Notes the button border and button background color will not be shown. If you know that many of your recipients work with Lotus Notes, we recommend the following:
-
Make sure that the font color of your buttons differs from the background color of your container or mailing. This way, the clickable text will still be visible even if the button background is not displayed.
-
As an alternative, you can work with images as buttons: Create your image buttons outside of Inxmail New Xperience and link them to your landing page.
Rounded corners
The GMX, Web.de, and IBM Lotus Notes email clients do not support rounded corners. Your buttons will be displayed as square buttons in these email clients.
Would you like more colors to choose from? Only colors and fonts that you have created as fonts and font colors in the "Colors and Fonts" tab are available for selection here.
-
-
Do I need to save my changes?
No, you do not need to save your changes. All changes are automatically saved for you.
- You have edited your style set and populated it with content.
Next steps
-
Would you like to create further style sets? Then begin again with step 1 and create another style set.
- Approve style sets
- Use style set in a mailing
Can’t see your current navigation item?
Check your profile to see the rights you have or get in touch with your account manager.
Did you not find what you were looking for?
-
Send us your feedback.
