Step by step
-
Open the
 "Containers" navigation item.
 -
Select which type of container you want to create: layout container or content container.
 Layout container or Content container?
If you only want to define the structure of your container first, create a layout container. You add the specific content such as texts, images or other content later in the mailing.
If you want to create the container with content, create a content container. This makes container content such as stylings, recipients attributes, modules and target groups available to you again in other mailings.
Also in the mailing: You can also save a container directly in the mailing as a content container.
Find out more about the different container types.
-
Click or .
-
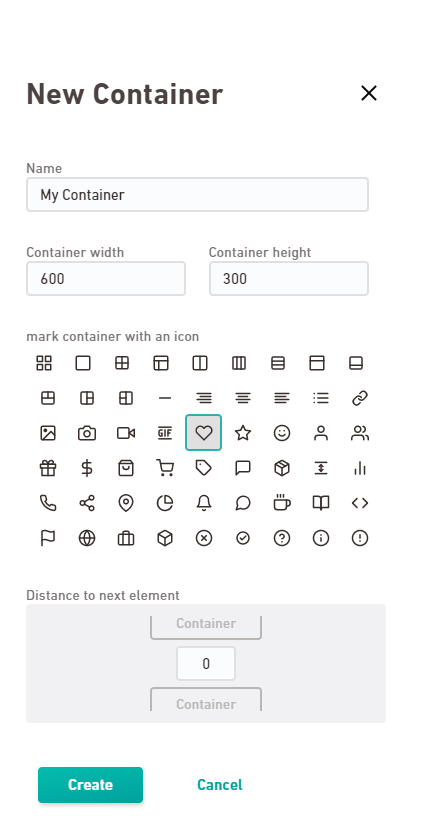
Enter a name for your container.
-
If you want, you can select an icon for your container. A meaningful icon helps you to find locate your container again if you want to add it to your mailing.
-
Enter the width and height of your container and define the distance to the next container.
Note: You can change the values at a later time. You should decide on the width and height early, as later changes can cause extensive container edits to be completely lost.
-
Select a style set.
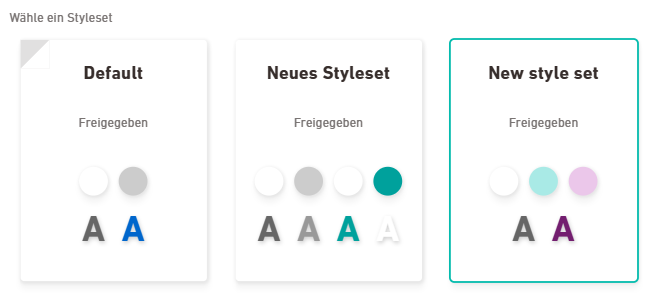
Only for (referenced) content containers: Layout containers automatically use the default style set. Later in your mailing, the design will be adapted to your mailing style set.
-
Click .
- You have created a new container.
Next step
- Edit your container in the container editor.
- Save the content of your content containers.
Can’t see your current navigation item?
Check your profile to see the rights you have or get in touch with your account manager.
Did you not find what you were looking for?
-
Send us your feedback.
