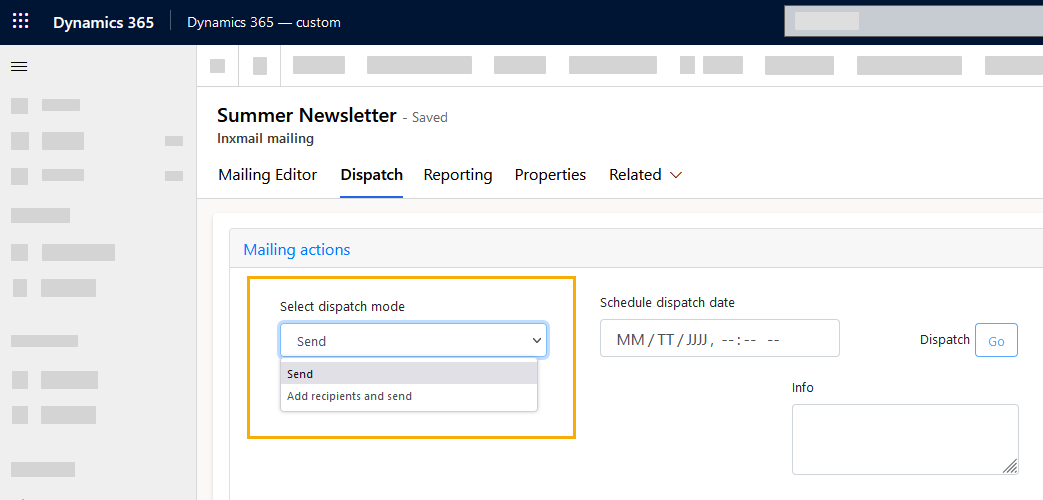
In the "Dispatch" tab, you have the following options:
-
Add and send recipients in one swoop (if you have not added any recipients yet)
-
Send (if you have already added your recipients another way)
This section describes only the sending process for itself.
Step by step
- Switch to the "Dispatch" tab after editing the mailing.
-
Make sure that your mailing is "Approved" and "Ready for dispatch".
Approve your mailing if the checkboxes are not ticked.

-
Select "Send" from the drop-down list.
-
Dispatch name (optional): Enter a dispatch name (optional).
This will make it easier for you to find your dispatch later – e.g. in the “Dispatch” tab of your campaign activity or in your contacts.
-
Scheduled dispatch: Set a date and time if you want to schedule your dispatch. If you do not specify a date and time, shipping will start immediately.
-
Click "Go".
-
Your mailing view will switch to Reporting.
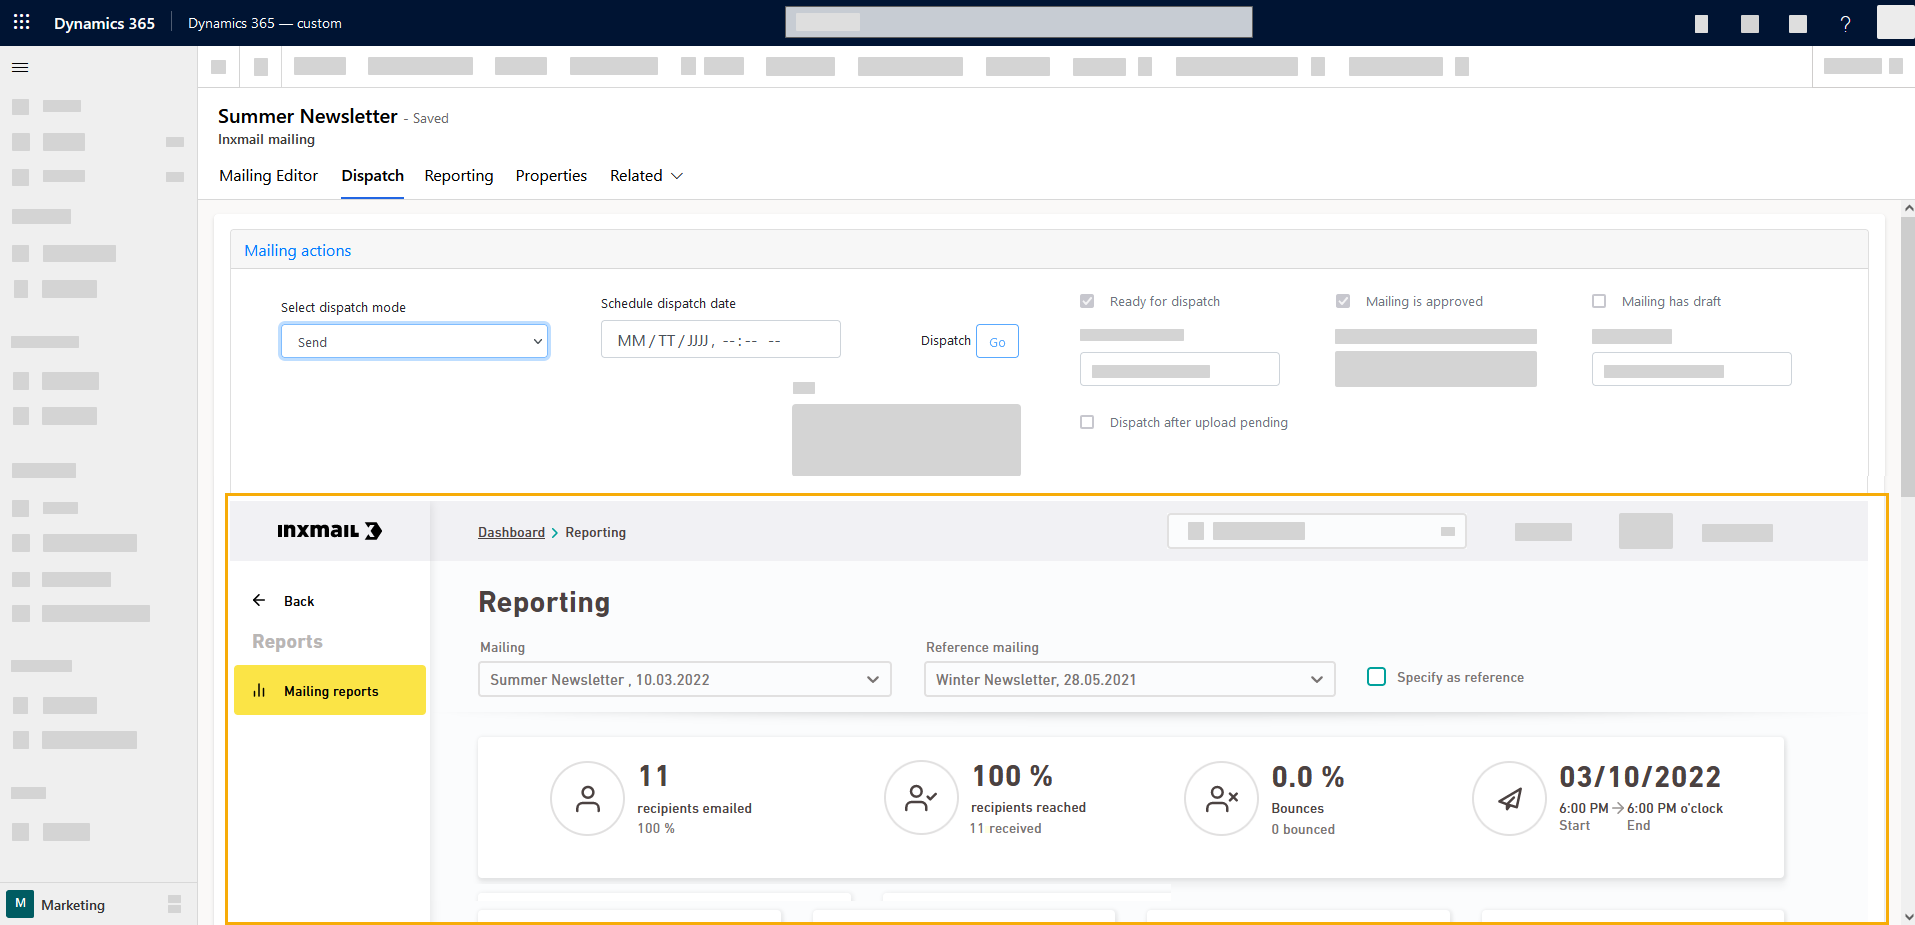
- You have sent your mailing.
Next step

