Step by step
-
Synchronize your mailing with XPRO and approve it for dispatch.
-
Open the
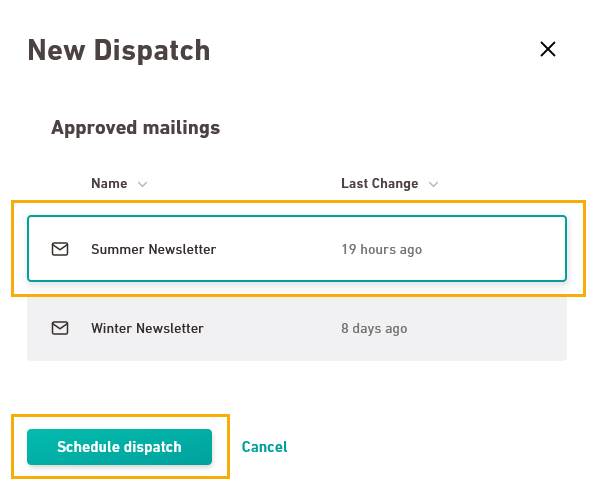
 "Dispatch" navigation item and click .
 -
Select a mailing and click .
You can choose from all mailings that have been approved and synchronized with XPRO.
-
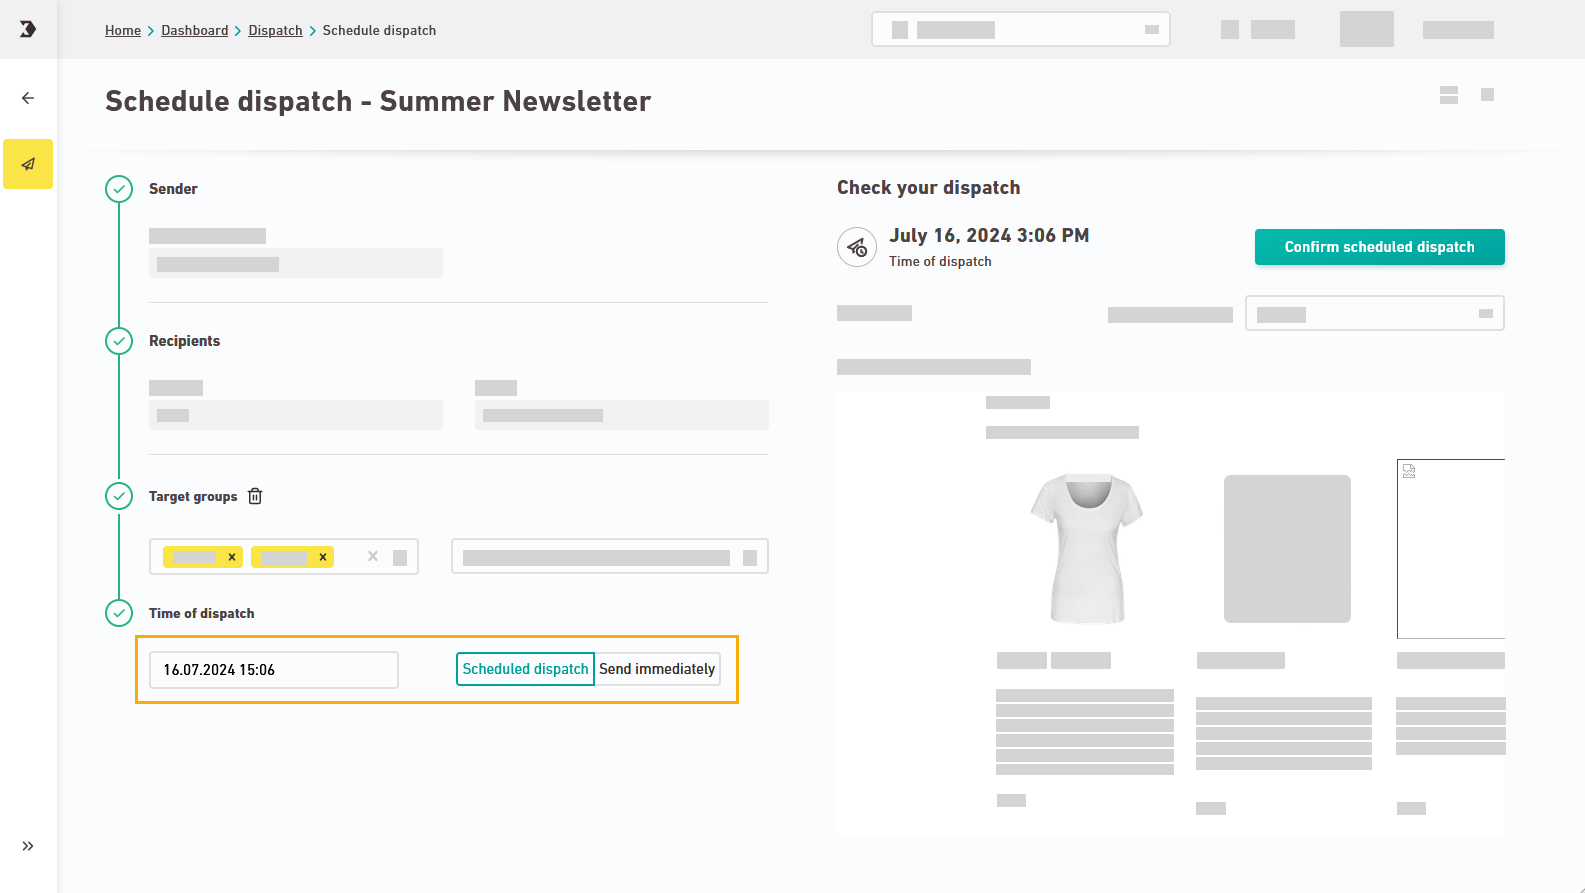
Select test profile: Select a test profile to preview your mailing one last time.
-
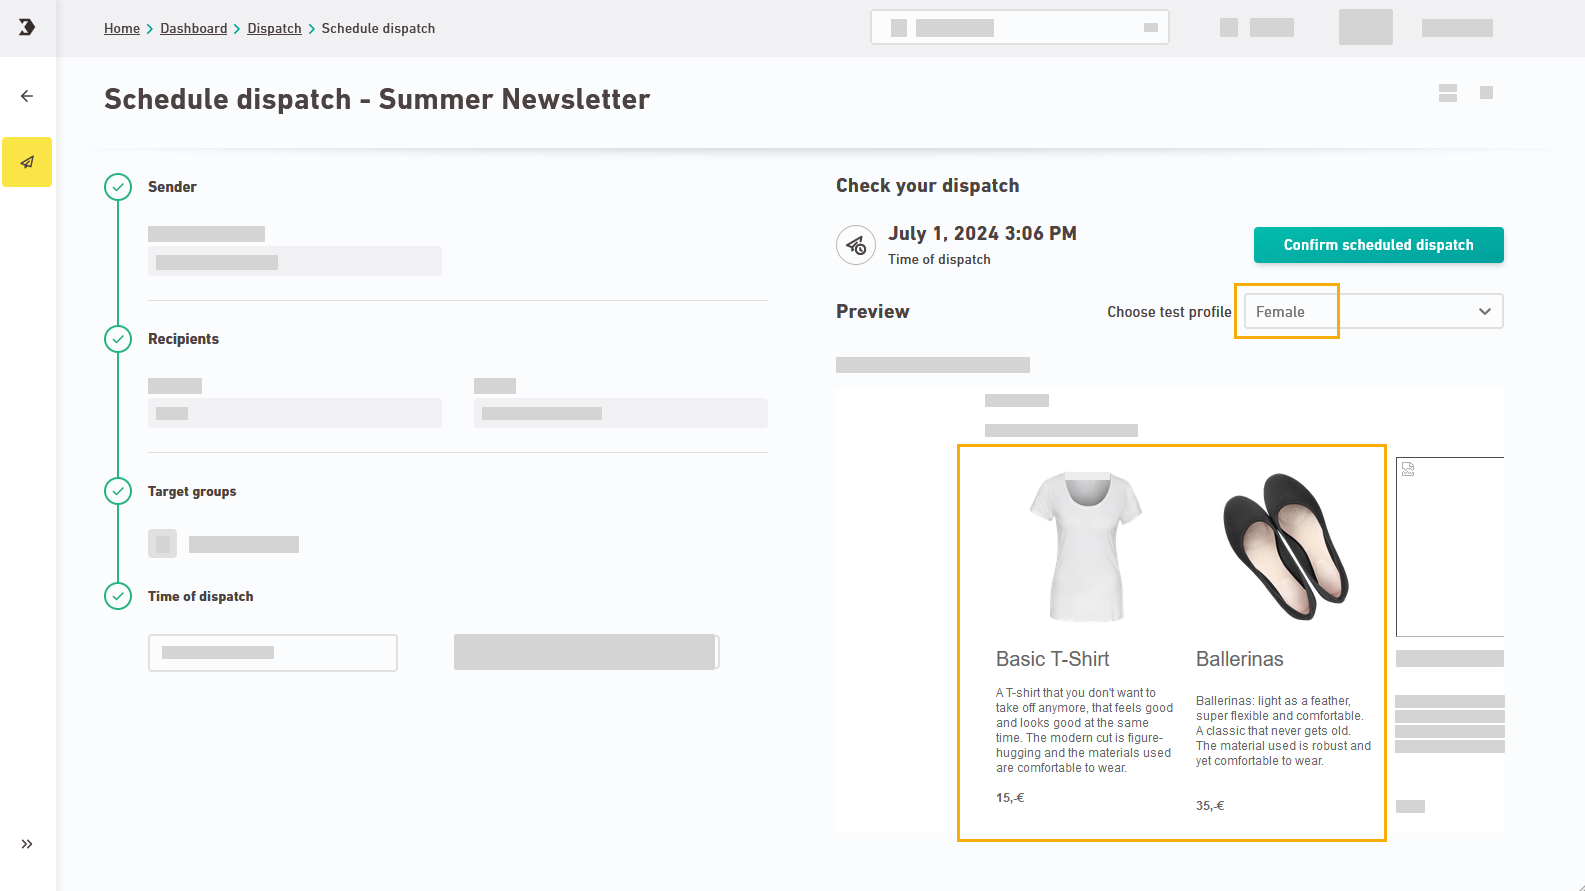
Select target groups: Click
 "Add target group". Select one or more target groups and specify a target group condition if you want to send your mailing to certain target groups only.
(Or, in order to exclude certain target groups from the mailing).
-
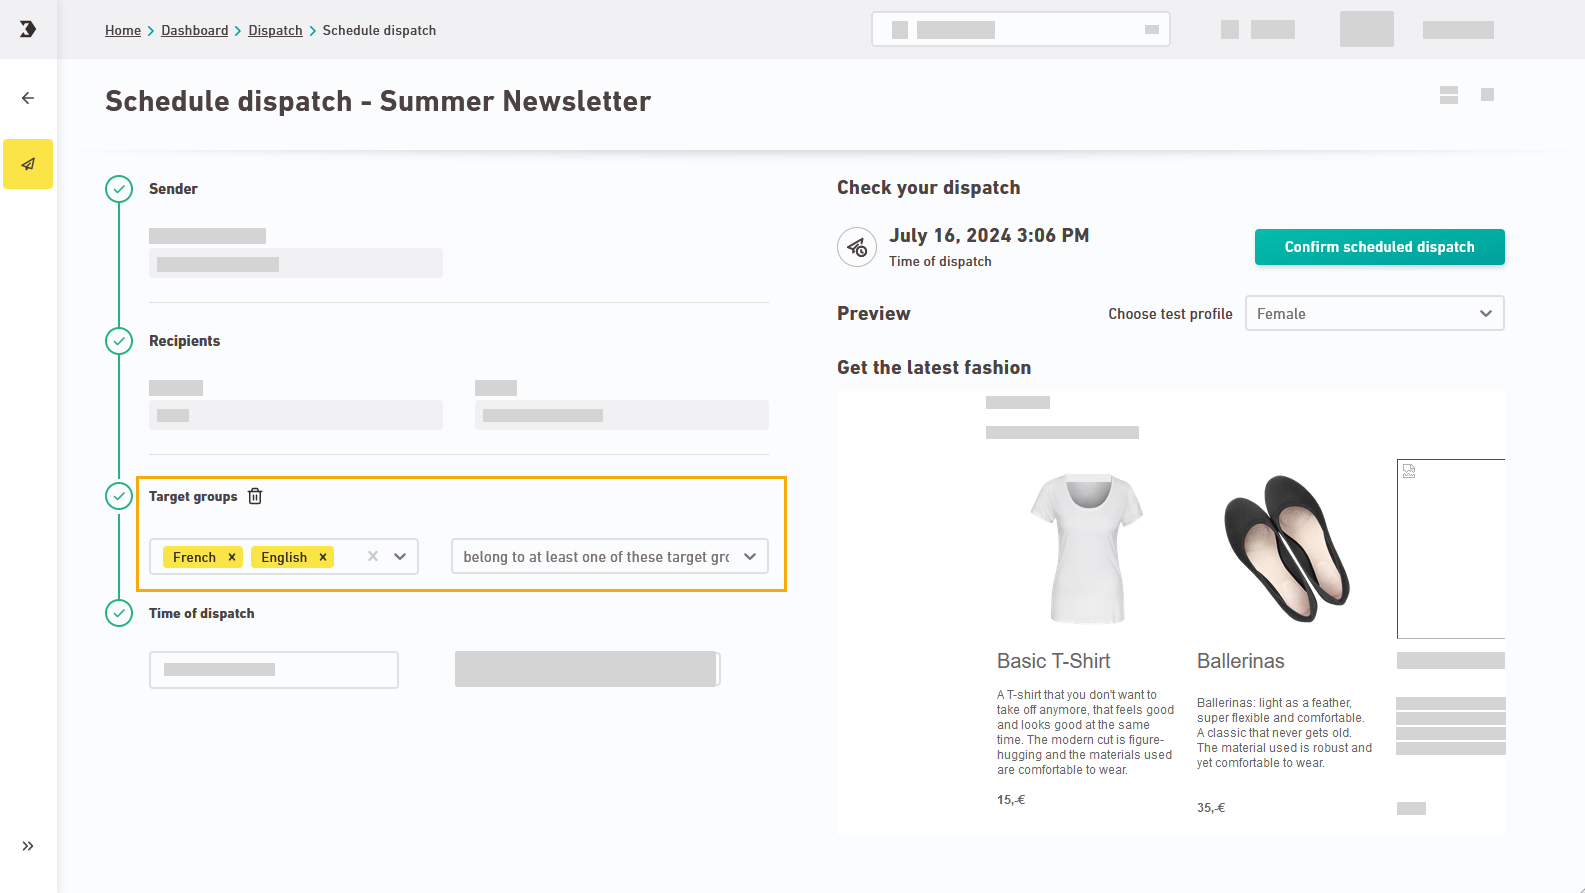
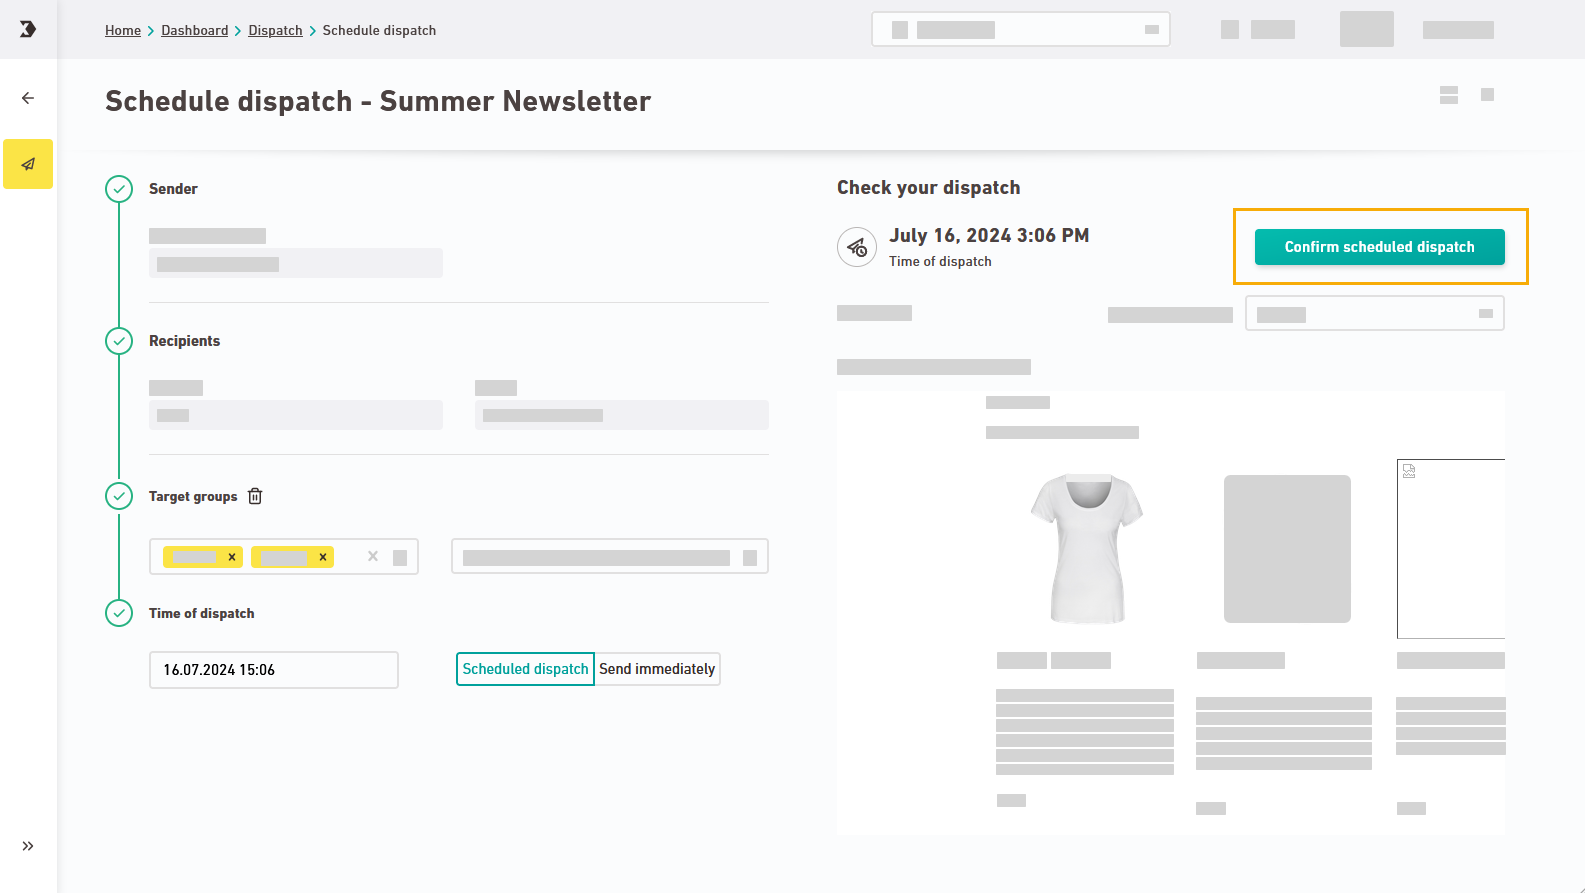
Scheduled dispatch vs. immediate dispatch: Enter dispatch date and time, or switch to .
-
Click .
(Or click if you have selected ).
- You have started a new dispatch.
Next steps
Can’t see your current navigation item?
Check your profile to see the rights you have or get in touch with your account manager.
Did you not find what you were looking for?
-
Send us your feedback.
