Step by step
-
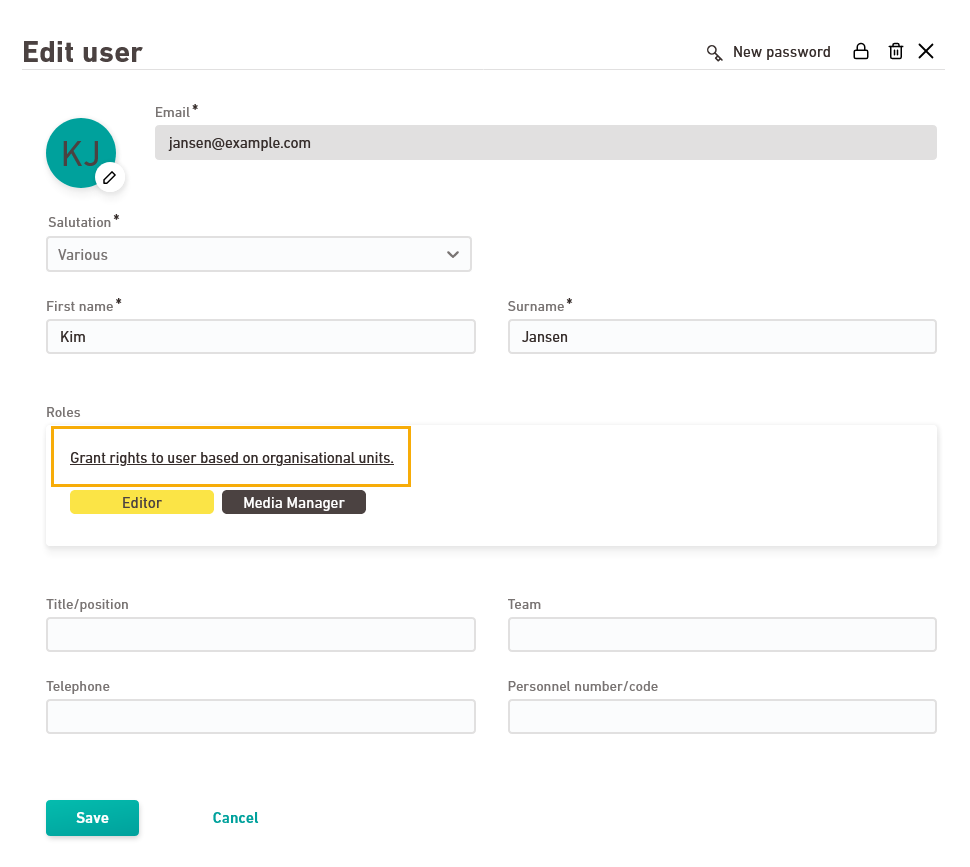
Click the
 Edit symbol for a user in the
  Users navigation item.
 -
Decide whether you want to assign a space or an account role and click "Select role". Alternatively, you can assign all rights by clicking the "Admin" toggle.
 What does "Admin" mean?
As an admin, you have full rights in account management and in all spaces. This means that you have all the rights that can be granted in Inxmail. You can find more information on the page: .
Assign this role with care: The "Admin" role is very powerful. Only assign the role to users who you are sure will use it responsibly.
What are the rights that come with a specific role?
-
You can find out what rights a role contains at: What rights does a specific role contain?
-
For an overview of the Inxmail standard roles, go to: Standard roles
-
-
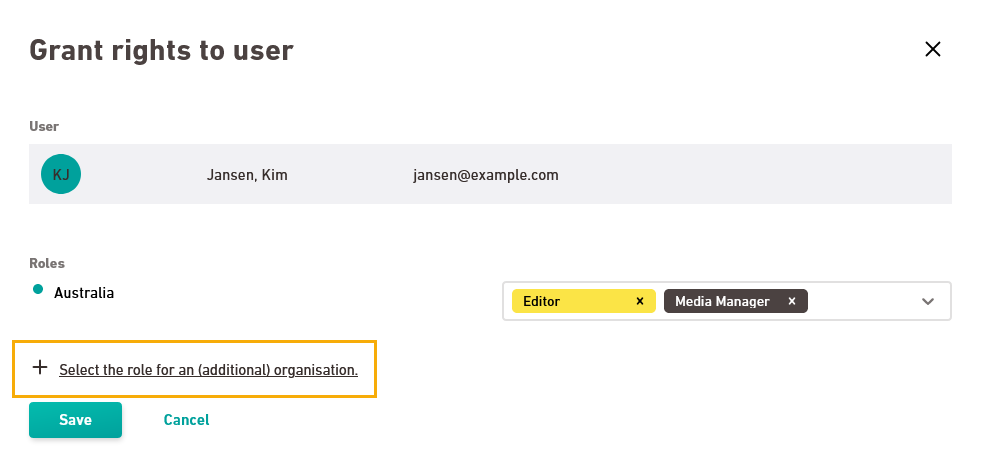
For account roles, you can select a role directly from the dropdown.
-
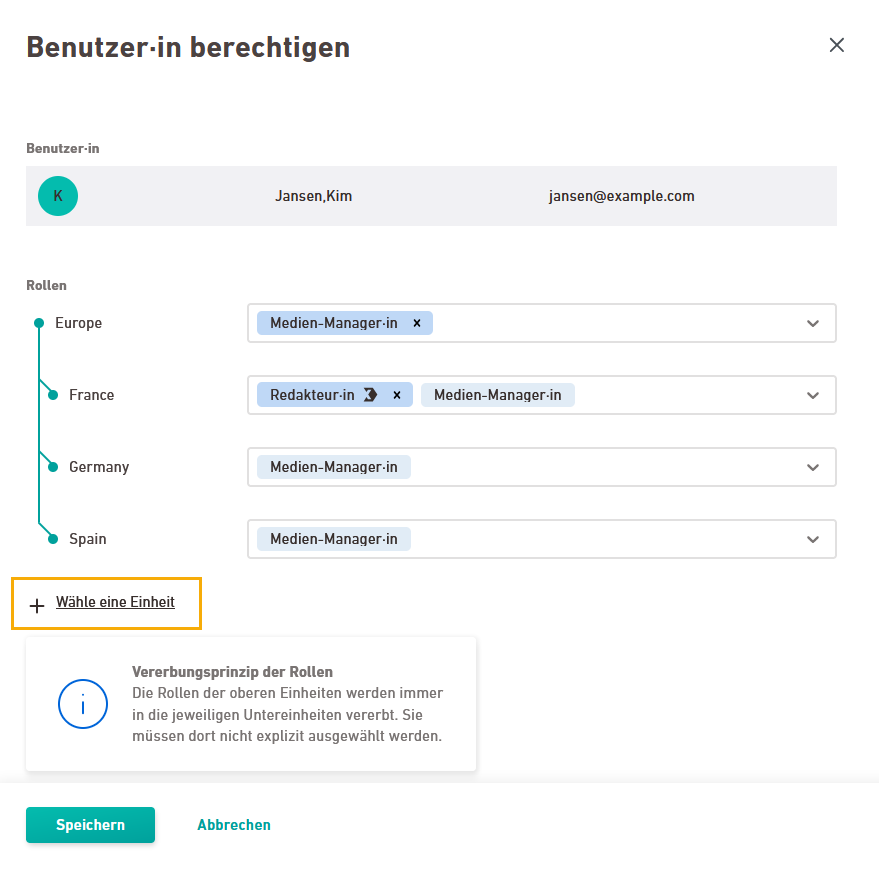
For space roles, you must first select the unit in your organizational chart (and thus indirectly the spaces) in which the role should take effect.
Permissions: Depending on the rights included in your roles, they apply at either space level or account level. Space-level permissions may apply in the Newsletters & campaigns and / or Transactional mails section. Find out more in the Inxmail standard roles description and at: What rights does a specific role contain?
Click “Select a unit”.
-
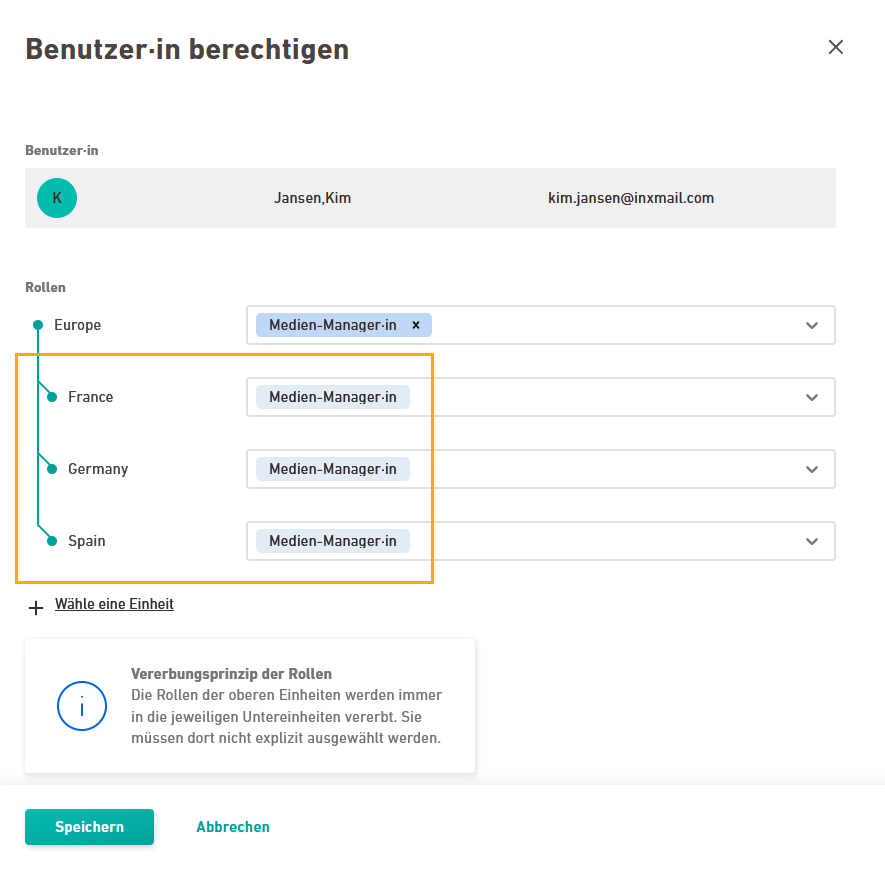
Select a unit and click .

-
Choose a role for the selected unit.
Inheritance: The role will automatically be inherited and thus also applies to all units below.
-
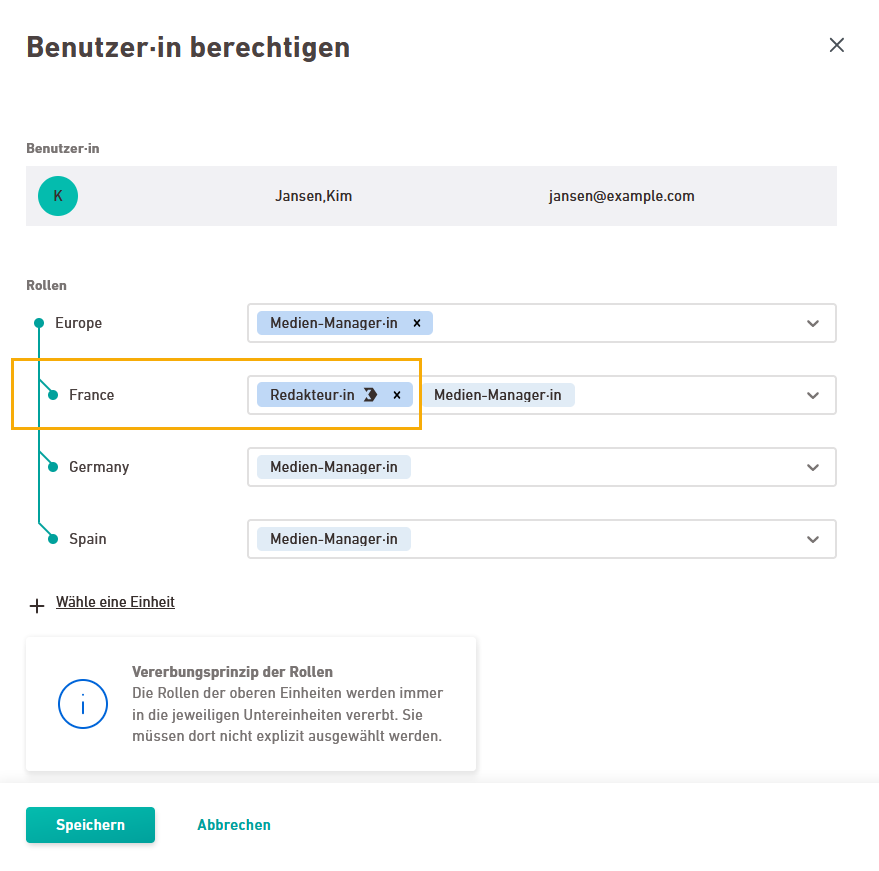
You can assign additional roles to the units below as needed.
-
Click "Select a unit" once again and carry out the same steps for more units and roles for which you want to assign permissions.
-
At the end, click in both windows.
- You have assigned rights to your user.
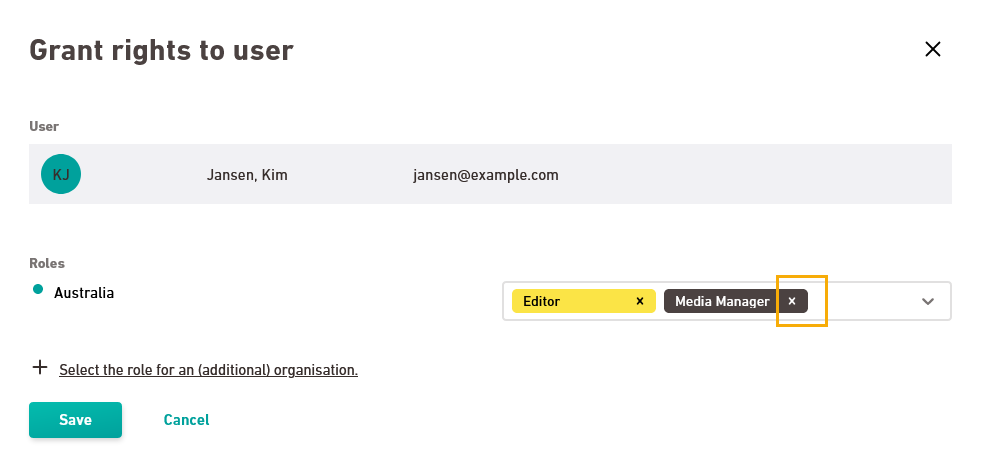
Withdraw rights
Remove roles by clicking the ![]() next to the role's name.
next to the role's name.
Inheritance: You can only remove roles from the units to which you have initially assigned them. In our sample screenshot, this means you can only remove roles at “Europe” level and not at “Germany” or “Spain” level.
Alternative method
Alternatively, you can assign or remove user rights, using the Organizational Chart navigation item.
Can’t see your current navigation item?
Check your profile to see the rights you have or get in touch with your account manager.
Did you not find what you were looking for?
-
Send us your feedback.
