Step by step
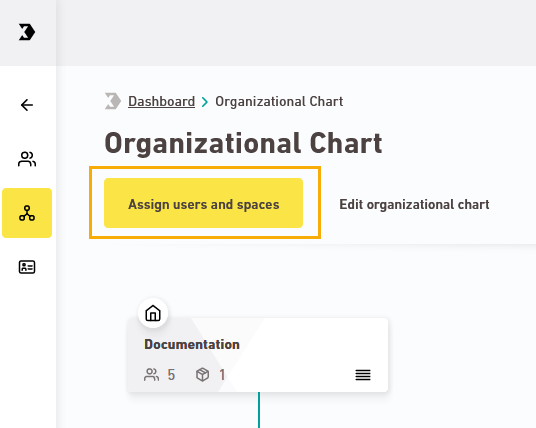
- Open the
 "Organizational Chart" navigation item.
 -
Make sure that you are on the "Assign users and spaces" tab.
-
Click the name of a unit to open it (in this example, "Germany"):
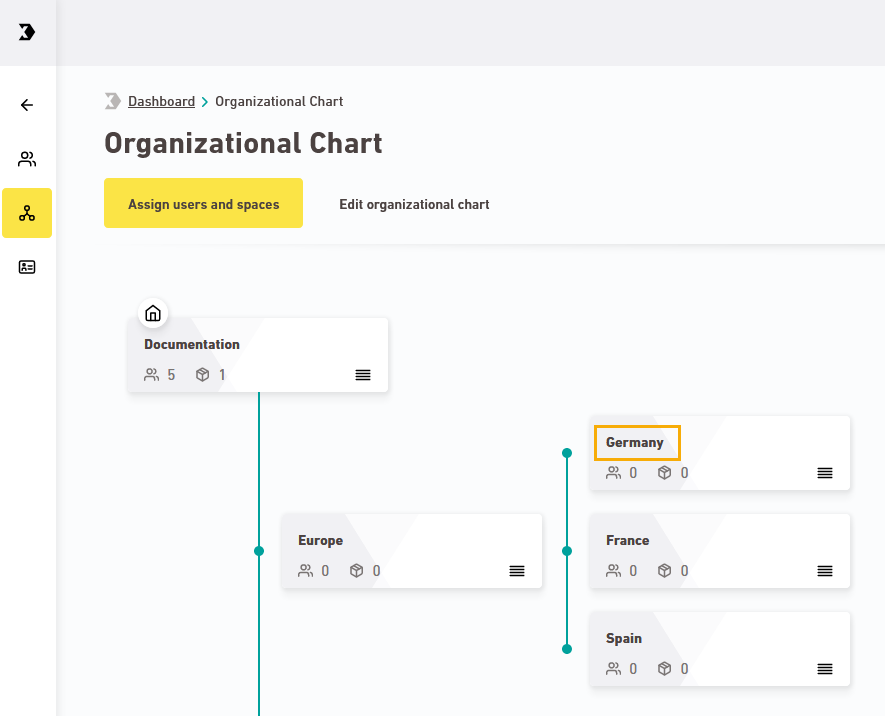
The unit is displayed. You will see all users who have access to the unit here. Access rights can be assigned directly or inherited from a higher-level unit.

-
Click .
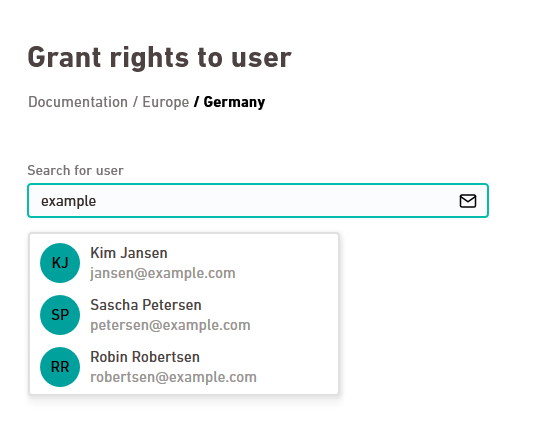
The "Grant rights to user" dialog box is displayed.
-
Begin entering the email address and select your user from the search results.
Only the email address is searched: The first and last names are only included in the search if they are part of the email address.
-
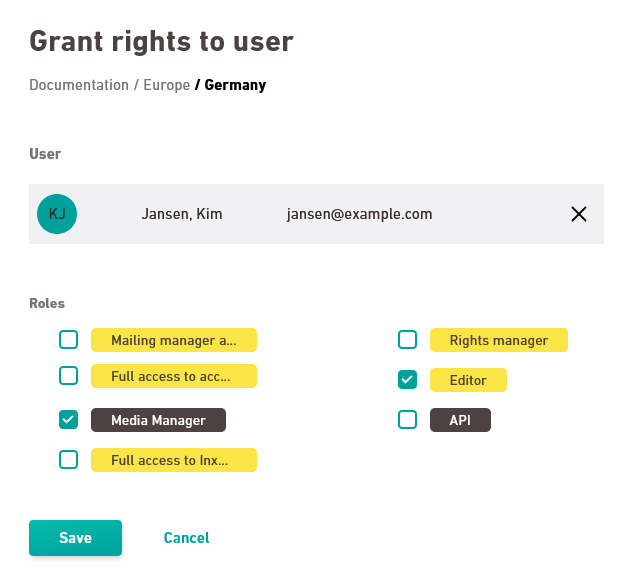
Select one or more roles you wish to assign to your user in this space and click .
-
Assign rights for other units in your organizational chart to your users in the same way.
- You have assigned rights to a user in your organizational chart.
Alternative method
-
Alternatively, you can also assign your user rights in the Users navigation item.
Can’t see your current navigation item?
Check your profile to see the rights you have or get in touch with your account manager.
Did you not find what you were looking for?
-
Send us your feedback.
