Define a grid structure for your container in the "Structure" workflow step.
Step by step
- Open your container in the "Structure" workflow step.
-
Set cuts
-
Move your cursor from the left or right over the container area to set a vertical cut.
-
Move your cursor from the top or bottom over the container area to set a horizontal cut.
-
-
Switch tool
When working with splits, you have four tools available.

Switch between tools to move or delete splits, or set partial splits that do not span the full width or height of the layout.
-
 Set splitSet split is the default and most important tool. Use it to create a split that spans the entire width or entire height of the layout.
 -
 Set partial split
You cannot split a full-width or full-height split after it has been set. So make sure to choose the correct tool before adding the split.
- Click the Set partial split tool to add a split that only applies to the current column or row (1)
-
Click the
Set split tool to add a full-width or full-height split (2)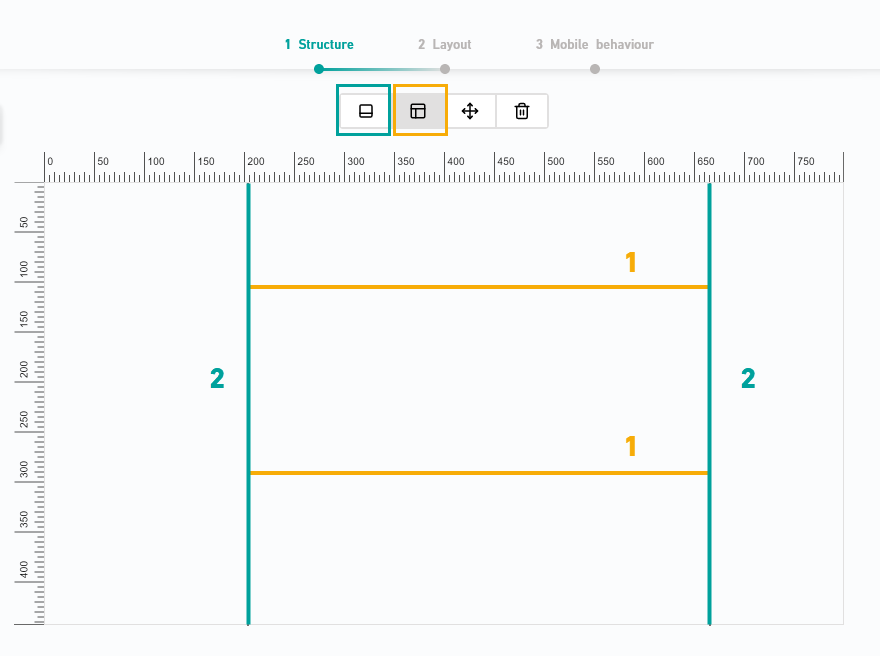
- Click the
-
 Move split
Switch to the Move
tool to subsequently move a split. Work pixel perfect
If you want to specify a pixel-perfect split position, you can enter the exact value in the
Move tool.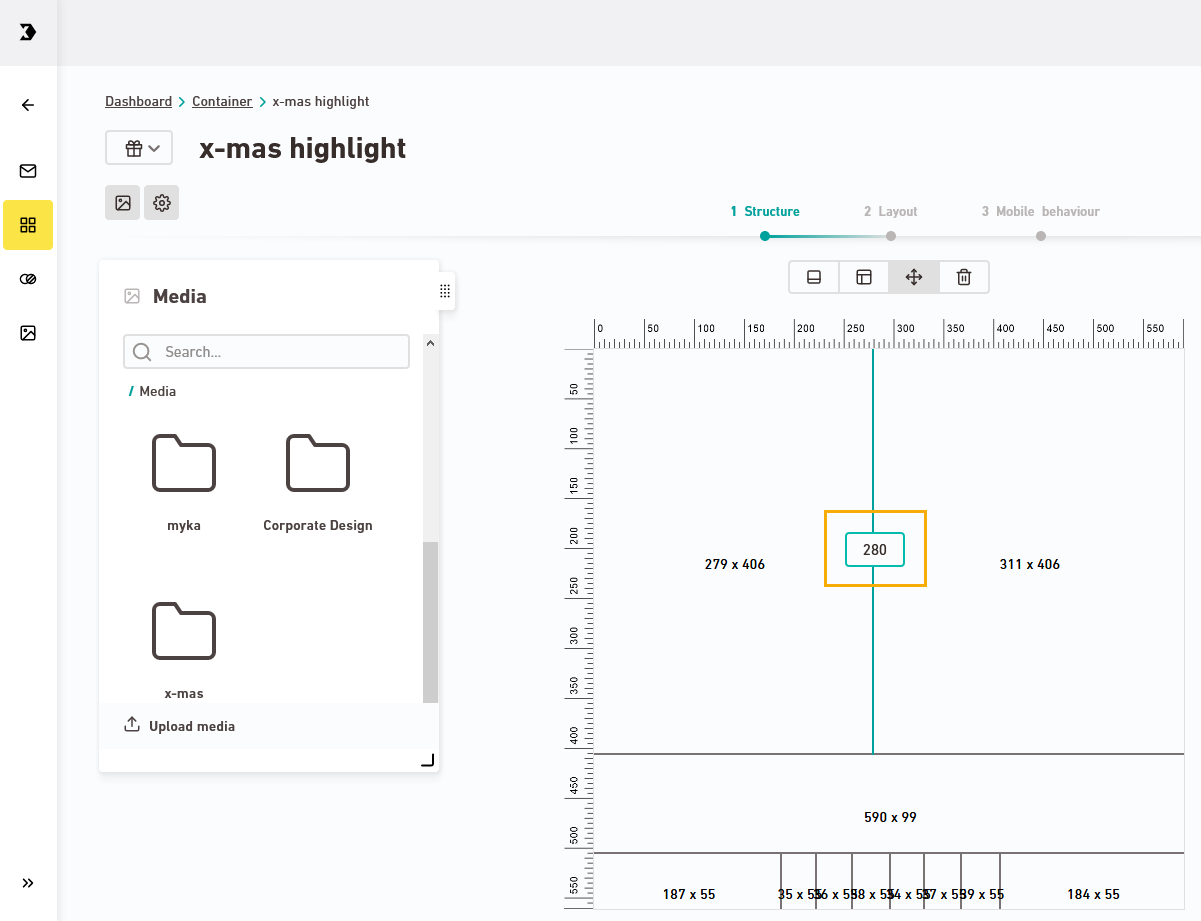
-
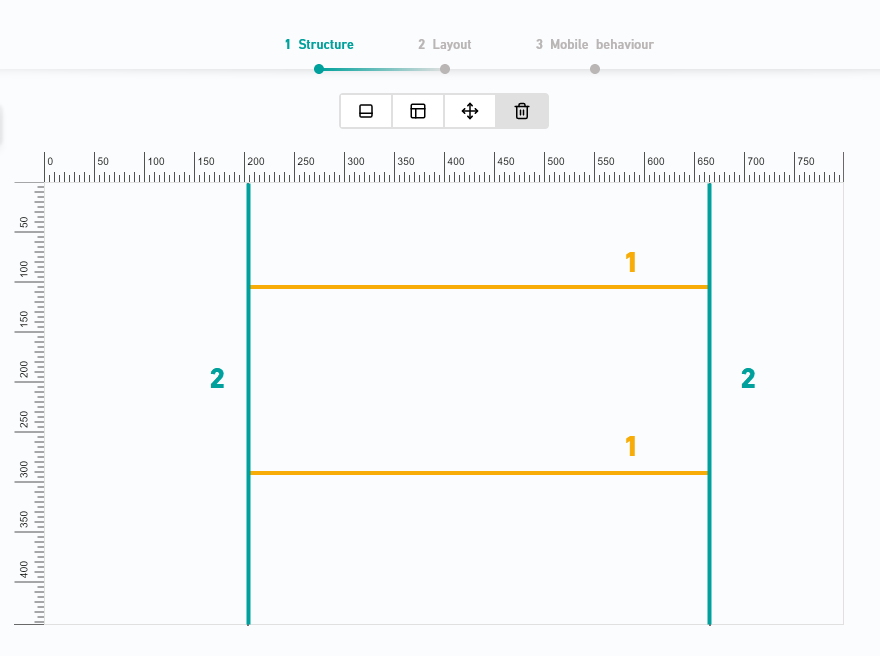
 Delete split
Switch to the Delete
tool to delete a split.Delete sectional splits first
-
First delete all sectional splits which are subordinate to another split
-
You can now delete the splits that served as boundaries for the sectional splits (2).
-
Is your editor not working as it should? Are you suddenly unable to set any further splits? Or is the editor not working like it normally does? In most cases, that's because you are using the wrong tool.
-
- You have defined the grid structure for your container.
Next steps
-
If you'd like, you can add a background image as a template in the container editor. The template helps you orient yourself so you can set your cuts correctly. Learn more about working with templates.
- Fine-tune your layout and define which container cells you want to use for texts and which ones you want to use for images.
Can’t see your current navigation item?
Check your profile to see the rights you have or get in touch with your account manager.
Did you not find what you were looking for?
-
Send us your feedback.
