Use the mailing campaign template if you want to send multiple mailings specifically to a group of recipients. The trigger is always a date:
-
the subscription date to the current list
or
-
another date attribute, such as the date of a specific upcoming event.
Use cases
The use cases for a mailing campaign workflow go far beyond what might first come to your mind when you think of a “subscription date” or another “date attribute”.
Let’s take a closer look: If you use the subscription date as the trigger for your workflow, there are essentially two scenarios: Your recipients subscribe to the list themselves, or you subscribe your recipients manually (e.g. via import).
If your recipients subscribe themselves (e.g., via subscription form), typical use cases include welcome or onboarding journeys. Seasonal mailing actions are also possible, for example a list that you use exclusively for your Christmas mailing.
First mailing dispatch: You can send the first mailing at the earliest one day after the subscription.
Process
Your recipients subscribe themselves to a list. Based on the subscription date, your mailing campaign starts.
The second option is that you create targeted lists based on CRM data or attributes. You then manually subscribe your recipients to this list (e.g. via import from your CRM system). The workflow begins based on this subscription date (which you triggered yourself).
First mailing dispatch: You can send the first mailing at the earliest one day after the subscription.
Process
You create a list specifically for a particular campaign. You then select recipients based on your CRM data or attribute values and subscribe them to the list (e.g. via import from your CRM system).
The mailing workflow starts automatically based on the subscription date you defined.
Example: You create a list of all recipients who purchased sneakers in the last six months. You then set up a mailing campaign to promote complementary products to them.
Use cases: This approach allows you to cover a wide range of use cases such as cross-selling, customer reactivation, follow-up mailings, reminder series for events, webinars or promotions, loyalty programs, whitepaper downloads, and much more.
If you do not start from the registration date to a list, but from another date attribute, this can be an event date, for example, for which you can design mailing routes in advance and afterwards. You’ll find more information on how to structure such campaigns further down below.
Step by step
-
Create workflow
Open the
 "Workflows" navigation item and click
 -
Enter a meaningful name for your workflow.
-
In the tab, select "Mailing campaign".
-
Choose your trigger and proceed to the next step.
 List subscription
Step by step
-
Select your list.
-
Wait for
The workflow is triggered by a subscription to a specific mailing list. All types of subscription will be considered. You can schedule the first mailing to be sent no earlier than one day after the subscription date.
-
Additional mailings
Starting from the first mailing, you can add more mailings to the workflow as needed.
To add more mailings, click
 "Add mailing". To remove a mailing, click the
  "Delete" icon.
There must be at least one day between two mailings. You’ll define the exact wait time later (in the created workflow).
Recipient attribute (date)
Step by step
-
Select your list.
-
Select an attribute to use as the reference date, e.g. an event date.
All attributes of the type “Date” or “Date & time” are available for selection.
-
Send before date
Click
"Add mailing" to add one or more mailings, and define how many days, weeks or months before the reference date they should be sent. -
Send after date
Click
"Add mailing" to insert one or more mailings, and define how many days, weeks or months after the reference date they should be sent.
You’ll define the exact wait times later (in the created workflow).
-
-
Click .
-
Select mailings
Click on each mailing group and make your mailing selection.

-
Wait time
Define the wait times for additional mailings (in days, weeks, or months) based on your workflow trigger:
-
Subscription date to the current list
or
-
other date attributes, such as the date of a specific upcoming event.
Example
For an onboarding series with three mailings in three consecutive weeks, define the wait times relative to your workflow trigger:
-
Wait 1 week → Mailing 1
-
Wait 2 weeks → Mailing 2
-
Wait 3 weeks → Mailing 3
-
-
Schedule dispatch
Under "Schedule dispatch", enter the time of day you want your mailing to be sent.
-
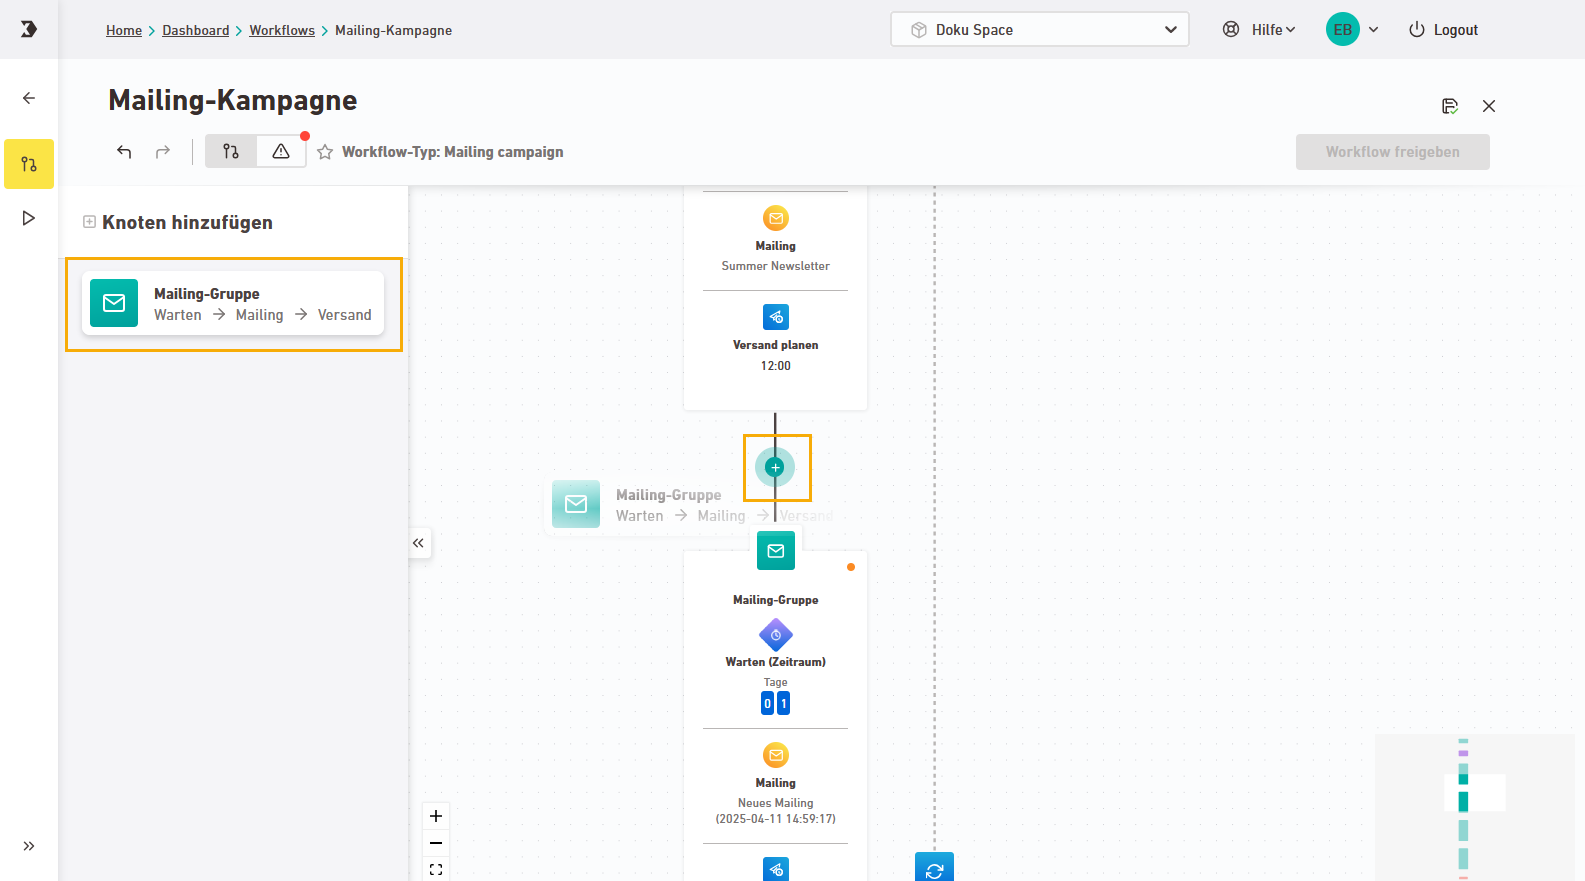
Add more mailing groups
If needed, you can add additional mailing groups via drag and drop. Drag the mailing group node to a connection point. Then define the mailing and its dispatch time.
Editing limitations with Inxmail templates: Inxmail templates are designed for specific use cases. You can only delete or add certain nodes. Create a custom workflow from scratch if you need more flexibility.
-
Approve and activate workflow
- You have successfully created, set up, and activated a new mailing campaign.
Did you not find what you were looking for?
-
Send us your feedback.
