Use the "Import" navigation items to import recipients via Excel or .csv file and subscribe them to or unsubscribe them from your list. It also provides an overview of previous imports.
This article explains how to import recipients into Newsletters & campaigns using an Excel or CSV file. You can also subscribe recipients automatically using Import automation.
Apart from that, in XPROoffers you further import and registration options, among others:
-
Subscription via subscription form
Data storage: In Newsletters & campaigns, what you view and edit is existing data from XPRO. We are not storing data reduntantly within "Newsletters & campaigns".
Step by step
-
In the
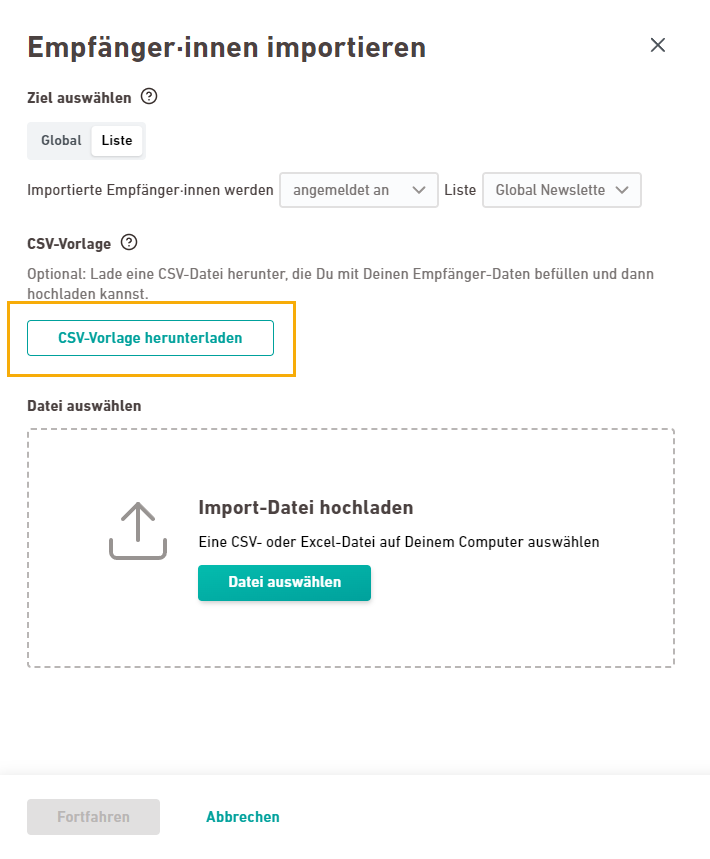
"Import" navigation item, click . We recommend that you work with our CSV template.
 What should my CSV file look like?
Make sure your import file looks like this:
-
Header row: Your first row contains the same attribute names as the list you are importing into. Your import file does not contain any attributes that are not available in the import target. Newly create any missing attributes.
-
email: Your file contains an attribute called email (spelt this way) that contains your recipients' email addresses. This column is used to uniquely identify your recipients.
-
trackingPermission:
-
Import into a list: Your file contains an attribute called trackingPermission (spelt this way), which contains the information whether your recipients have consented to personal tracking or not.
-
Global import: There is no attribute called trackingPermission.
Background: The tracking permission only exists at list level.
-
-
Date format: Inxmail uses YYYY-MM-DD and YYYY-MM-DD HH:mm:ss as default date formats. You can also use a different date format and configure it in the "Customize columns" workflow step.
 What rights do I need to import recipients?
If you want to import recipients, you will need the “Create imports” rights package in the “Recipients” area. Talk to your rights manager if you do not have this right.
Inxmail standard roles: The rights package is included in the Inxmail standard roles "Recipient manager" and "Full access to account".
-
-
Select target: Specify where you want to import your recipients:
-
List: Select a list you would like to import into. You can only select one list.
Subscription or unsubscription: By default, you will import your recipients as subscribed. Change the preselection if you want to unsubscribeyour recipients via import.
-
Global: Recipients that do not yet exist in Inxmail and that you import globally will not appear in any list. This means that you cannot send mailings to newly imported recipients at global level.
 What is the purpose of a global import?
We recommend a global import only in case you want to update the attributes of existing recipients across several lists, e.g. if you want to transfer updated data from your CRM system to Inxmail. Or for similar scenarios. With a global import, the attributes of your existing recipients are updated in all lists - potentially also in other spaces if your XPRO client is connected to additional spaces in your account.
Exception: You cannot import the Tracking Permission globally because it is a list-specific value.
-
-
Drag your Excel or CSV file onto the drag and drop area or click and select the file from your file system.
-
Click .
-
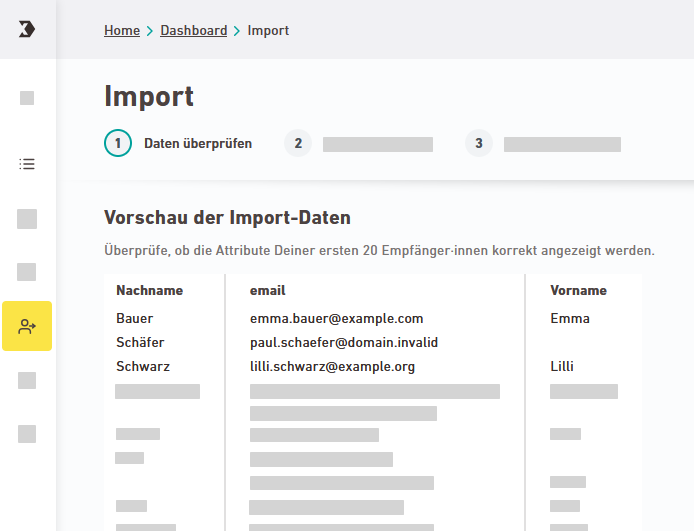
Check data
In the first import step, you will see a preview of your data. Make sure that your first 20 recipients are displayed correctly.
 CSV formatting
If you are importing a CSV file, you can specify how your .csv file is formatted:
-
Character encoding: Select the encoding of your CSV file This way you will make sure that Inxmail displays all your characters and special characters correctly.
-
Field delimiter: Select the character that separates individual cells in your CSV file.
-
Text qualifier: Select the character that your .csv file uses to mark the start and end of a text field.
Example: "Double quotation marks" as a text qualifier means that "Freiburg, Germany" will be interpreted as one single text field. The comma will not be interpreted as a separator by mistake.
-
Text qualifier masking: Select a character that invalidates your text qualifier so that it will be displayed as a normal character.
Example: "Double text qualifier" means that ""quotation marks"" will be interpreted as "quotation marks".
Click .
-
-
Customize columns
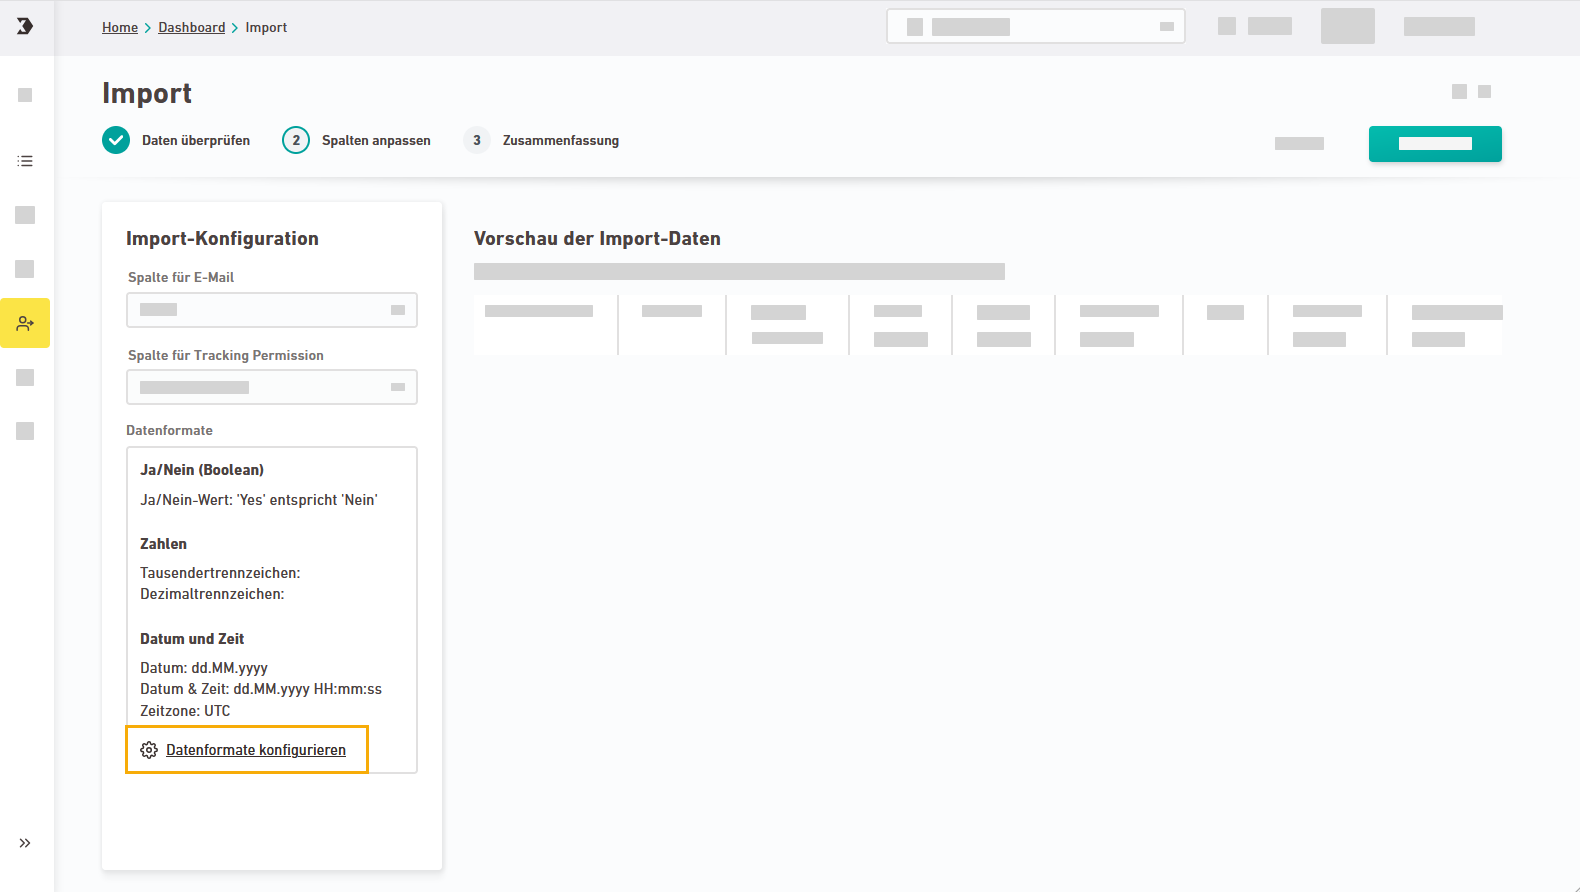
We will automatically map the columns "email" and "trackingPermission" for you. Check and make sure everything is correct.
Tracking permission not required for global import: If you import globally, you do not have to and must not specify a tracking permission.
 CSV data formats
Click "Configure data formats" to adjust the following values for your CSV file:
-
Yes/No (Boolean): Specify for Yes/No attributes which value is Yes (true) or No (false). We automatically assign all other values to the other boolean.
-
Thousands separator and Decimal separator: Select your value from the drop-down list.
-
Date and Date & time: Enter your date or time format, e.g. YYYY-MM-DD HH:mm:ss.
- Time zone: Select your time zone.
Click .
-
-
Settings
In the “Settings” workflow step, you tell us how to handle the following items:
 Attributes
Do you have existing recipients in your import file?
Tell us how to handle their attribute values.
Value
What will happen?
Do not apply any changes You will only import new recipients and their attributes. You will not apply any changes to your existing recipients. Add new attributes You will add attributes to your existing recipients for which no values have yet been entered. Overwrite, but not with empty values You will overwrite existing attributes with new values - but not with empty values. Overwrite completely You will overwrite all existing values - possibly also with empty values. How does Inxmail map my recipients? A recipient is considered to be the same recipient if the email address, i.e. the value of the "email" column, is identical.
 Subscription/unsubscription and tracking permission
 Tracking Permission
The tracking permission is a special attribute that indicates whether your recipients have consented to person-based tracking or not.
Tell us how to handle the tracking permission of recipients that already exist in Inxmail.
Value
What will happen?
Do not apply any changes The tracking permission of your existing recipients will remain unchanged. Overwrite, but not with empty values You will overwrite existing tracking permissions - but not with empty values. Overwrite completely You will apply the tracking permission from your import file for all cases.  List options
The following options are available to you when importing into a list:
-
Re-subscribe recipients: Select this option if you want to re-subscribe recipients who have already unsubscribed from your list. Note that, depending on your XPRO settings, trigger mailings such as welcome mailings may be triggered.
-
Remove subscribed recipients before import: Select this option if you want to delete all recipients from your list and only keep the new recipients from your import file.
 Unknown recipients
Enable the switch if you do not want to import new recipients that do not yet exist in Inxmail. If you do not change any of the settings, they will be imported.
 Notifications
You can choose to receive the following notifications about your current import:
-
Import successful
-
Import errors
-
Import cancelled
-
-
Click .
-
Have a look at the overview of your last imports.
"Draft" status: Imports that you haven't started yet will automatically be saved as drafts. You can re-open them and continue to edit them by clicking the
 edit icon.
- You have imported recipients from an Excel or CSV file.
Did you not find what you were looking for?
-
Send us your feedback.


