Step by step
- Open the subscribe/unsubscribe mailing in the
 Editing workflow step.
 - Create the content of the subscribe/unsubscribe mailing.
- Check your subscribe/unsubscribe mailing in the
 Check workflow step, for example, using the quality test.
 -
Approve your checked subscribe/unsubscribe mailing to be able to activate it for dispatch on the Subscription or Cancel subscription tab.
Note: Please note that only approved subscribe/unsubscribe mailings can be activated for dispatch on the Subscription or Cancel subscription tab.
-
In the
 Approval workflow step, click the
  Request approval button.
A dialog box appears.
-
Either implement an immediate approval or initiate the approval process.
Once approval has been granted, this will be shown to you in the
Approval workflow step.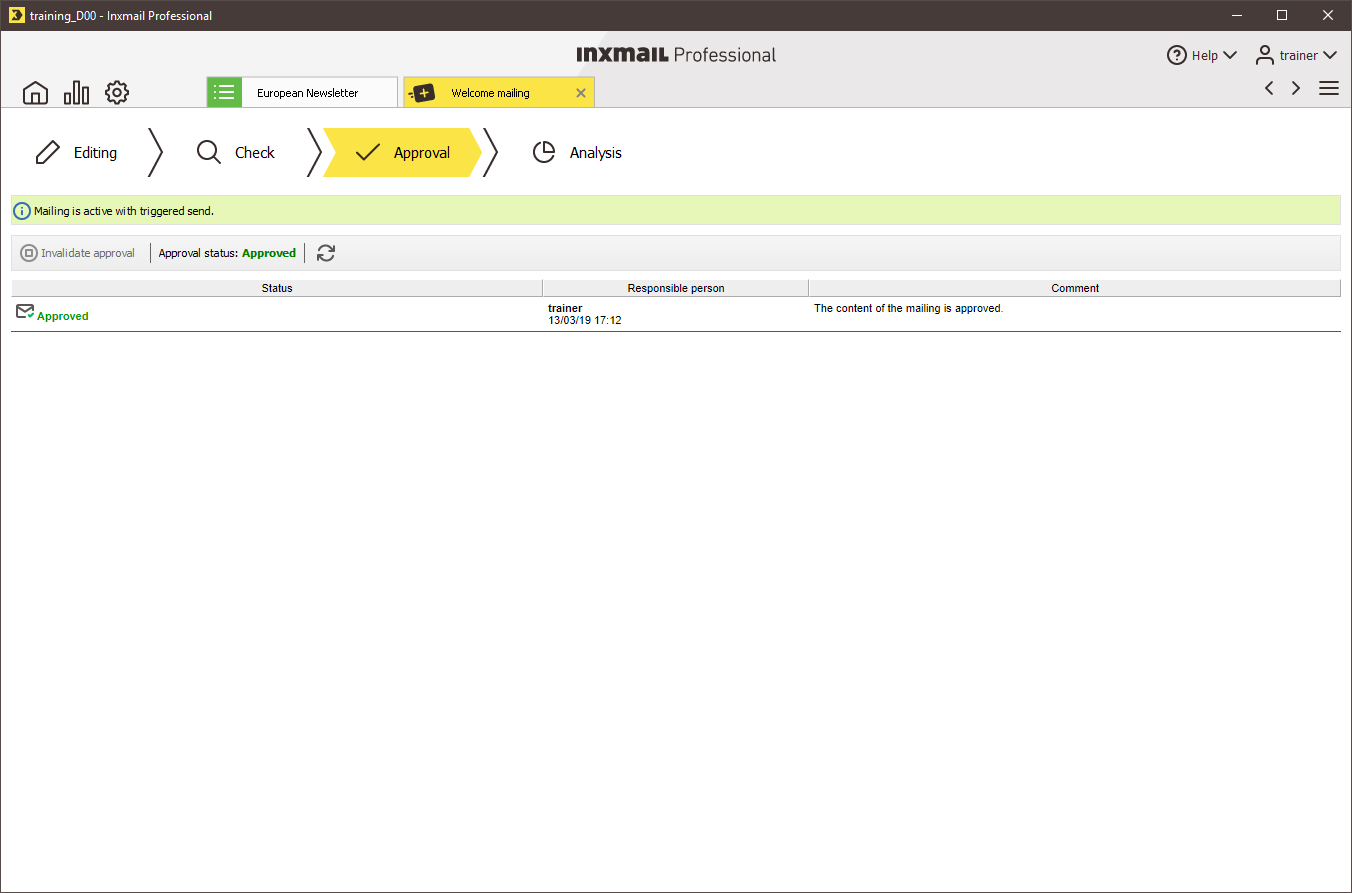
Approved subscribe or unsubscribe mailings can be copied, renamed or deleted, however, they can no longer be edited.
If you need to edit an approved subscribe or unsubscribe mailing, you can revoke the approval in the
Approval workflow step using the  Revoke approval button.
 - Close the tab of the subscribe/unsubscribe mailing.
-
In the
 Subscriptions agent > Subscription or Cancel subscription tab, activate your subscribe/unsubscribe mailing for automatic dispatch during subscription/unsubscription:
Note: As soon as you have activated an approved subscribe or unsubscribe mailing for automatic dispatch, you can no longer revoke the approval for this subscribe/unsubscribe mailing (and can therefore no longer edit the subscribe/unsubscribe mailing). In addition, the subscribe/unsubscribe mailing is also assigned the ‘Active’ status. Subscribe/unsubscribe mailings with this status cannot be deleted.
If you activate another subscribe or unsubscribe mailing for automatic dispatch in the Subscriptions agent > Subscription or Cancel subscription tab, the previously assigned subscribe/unsubscribe mailing is given the ‘Inactive’ status. The subscribe/unsubscribe mailing can now be deleted again. - Select the check box for sending the respective subscribe/unsubscribe mailing (for example, welcome mailing).
- Select your approved subscribe/unsubscribe mailing in the drop-down list.
- Save your entries.
- You have now set up, checked and approved a subscribe/unsubscribe mailing and have activated it for dispatch.
Additional information
You create links for confirming subscriptions and unsubscriptions in the same way that you create unsubscribe links. When you open the Link dialog box in a subscription or unsubscription confirmation mailing, you can select the Subscription confirmation (verify opt-in) or Unsubscription confirmation (verify opt-out) link type in place of the Unsubscribe link (unsubscribe link) link type.
Related topics
Inxmail Professional:
2 possible use cases
Depending on your contract, you might use Inxmail Professional in different ways:
-
As part of the Inxmail platform: You use newsletters & campaigns as your main tool for creating and sending newsletters. Inxmail Professional only serves as a recipient database and configuration tool in the background.
We are constantly expanding the functionality of “Newsletters & Campaigns”. Check out newsletters & campaigns section to find out if the feature you are looking for might already be available there.
-
Full scope: You use the legacy tool Inxmail Professional as your main tool for creating and sending newsletters.
Did you not find what you were looking for?
-
Send us your feedback.
