In this step, you must make sure that the import file and the recipient table in Inxmail Professional are compatible by ‘telling’ Inxmail Professional how the import file is constructed. This will allow the system to interpret the data correctly.
The system assigns the columns in the import file to the columns in the recipient table using the names of the respective columns. This means that the columns in the import file must have the same names as the columns in the recipient table to ensure that the columns can be assigned correctly.
Unlike when you import recipient data manually, no assignments between import file columns and recipient table columns can be made in the course of an automatic import process. Therefore it is essential that the source and target columns are assigned correctly before an automatic import takes place.
Step by step
To edit the settings for the import file, proceed as follows:
- Open the import in the
 Settings workflow step.
 -
Click the Edit button next to Column assignment.
The Column assignment dialog box is displayed.
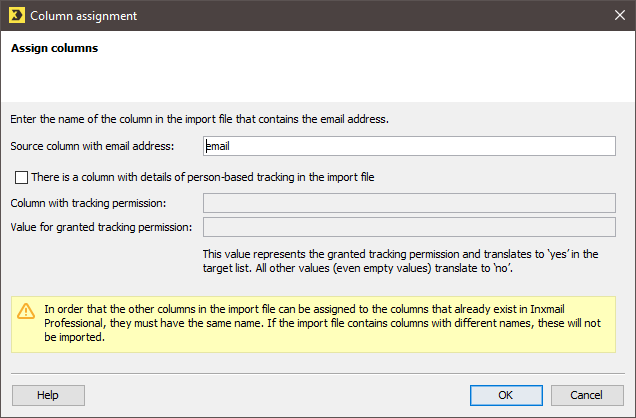
- In the Source column with email address field, specify which column of your import file contains the email address.
-
GDPR If you would like to import person-based tracking details, select the corresponding check box.
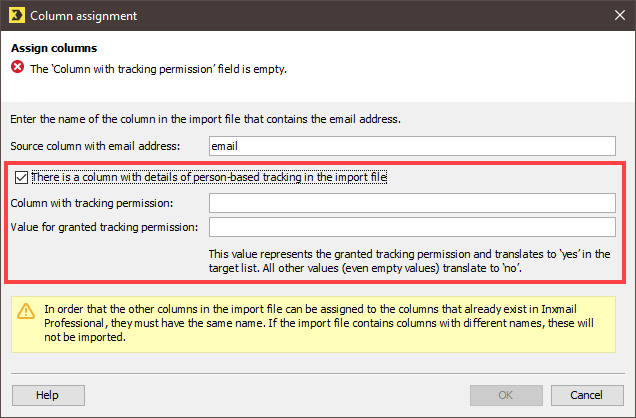
Note: Values for the Tracking Permission column can only be assigned if you are importing the recipient data to the Subscribed tab of a (standard) mailing list. If you are importing the data to the global recipient table or to the Unsubscribed tab of a (standard) mailing list, this check box is greyed out.
- In the Column with tracking permission field, specify the source column of your import file that contains person-based tracking details.
-
In the Value for granted tracking permission field, specify which value in the Tracking Permission source column stands for
 Yes.
Yes.Note: The value
Yesin the Tracking Permission column in Inxmail Professional means that the recipient has consented to person-based tracking.In the example screenshot below, the name of the column in the source file is Pers.Tracking. The value for
Yes from the source file is Permitted.Note: If you would like to import recipient data that you have previously exported from Inxmail Professional, you must enter TRUE as the
Yes value for the tracking permission, as the values of Yes/No columns in Inxmail Professional are exported as TRUE/FALSE values.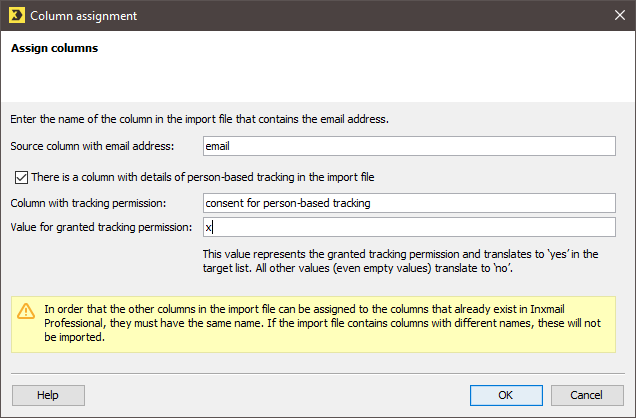
- Confirm the dialog box by clicking OK.
- You have now edited the settings for the import file.
Related topics
- Configure import source
- Test access to import source
- Specify import target
- Edit file formatting
- Specify file structure
- Managing tracking permission and enabling the ‘Tracking permission’ property
- For information on the handling of Yes/No values, see also Example 1 and Example 2 in Specify file structure.
Inxmail Professional:
2 possible use cases
Depending on your contract, you might use Inxmail Professional in different ways:
-
As part of the Inxmail platform: You use newsletters & campaigns as your main tool for creating and sending newsletters. Inxmail Professional only serves as a recipient database and configuration tool in the background.
We are constantly expanding the functionality of “Newsletters & Campaigns”. Check out newsletters & campaigns section to find out if the feature you are looking for might already be available there.
-
Full scope: You use the legacy tool Inxmail Professional as your main tool for creating and sending newsletters.
Did you not find what you were looking for?
-
Send us your feedback.
