Step by step
-
Click the
 (Global settings) tab >
  Users agent > Users tab. Then click the
  (Create new user) button.
The fields on the Settings and Roles/Rights tabs are enabled for you to set up the new user.
-
Set up the user data on the Settings tab using the relevant fields.
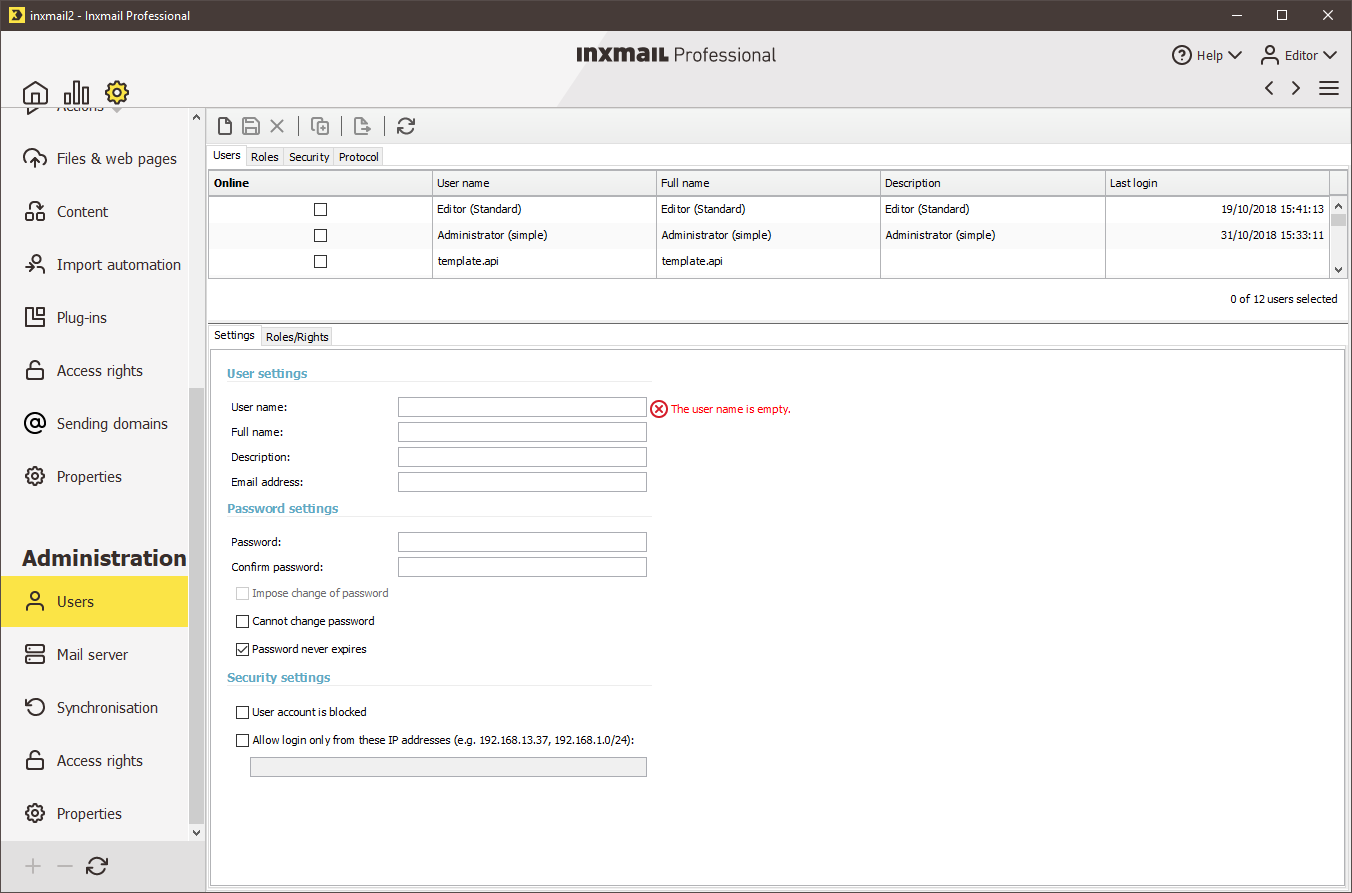
 Field descriptions
Field
Description/example
User name
Mandatory field, for example: ‘miller’
Full name
(Mandatory field) for example: ‘John Miller’
Description
For example: ‘Marketing Manager’
Email address
For example: ‘miller@test.de’
Password
Mandatory field, for example: ‘*****’
Confirm password
Mandatory field, for example: ‘*****’
Impose change of password
If this check box is selected, the user will be prompted to change their (existing) password the next time they log in.
Note: You are only able to select this check box if the Password never expires and Cannot change password check boxes (below) are disabled.
Cannot change password
If this check box is selected, the user will be denied the right to change their password themselves.
Note: You are only able to select this check box if the Impose change of password check box (below) is disabled.
Note: Information on how users can change their own password (assuming they have the appropriate right) can be found under Change password.
Password never expires
If this check box is selected, the user's password will never expire.
Note: If a restricted validity period is configured for all passwords on the Security tab (Configuring security settings and the log), then it will be ignored for the user as a result of selecting this check box.
Note: You are only able to select this check box if the Impose change of password check box (above) is disabled.
User account is blocked
If this check box is selected, the user account is blocked.
Note: This can be necessary, for example, if a user leaves the company, but their Inxmail Professional data is not to be deleted.
Note: User accounts can also be automatically blocked due to too many unsuccessful login attempts by the user. Information on unblocking these user accounts can be found under Unblocking user accounts.
Login only from these IP addresses
If this check box is selected, you can specify a range of IP addresses from which the user must log in.
When specifying the range of IP addresses, follow CIDR notation (Classless Inter-Domain Routing).
Note: If a restricted IP address range is configured for the login of all users on the Security tab (Configuring security settings and the log), then it will be ignored for the user as a result of selecting this check box.
-
Assign rights to the new user on the Roles/Rights tab.
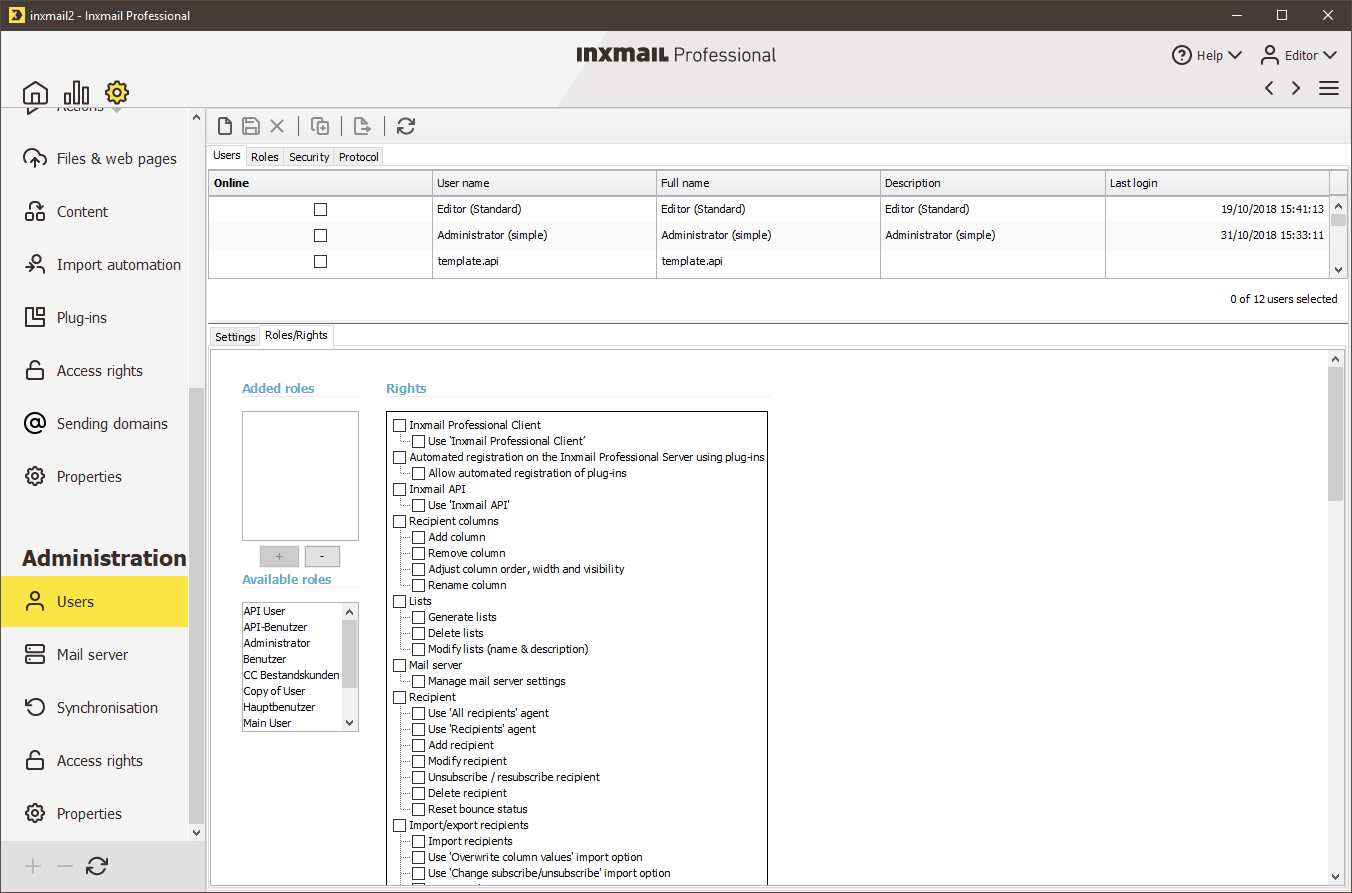
You can assign rights to the user either directly or through roles that have particular predefined rights:
- Edit the user settings on the Settings and Roles/Rights tabs.
- Delete the user using the
 (Delete user) button.
 -
Save your entries.
Note: Bear in mind that when a role is assigned, all rights linked with the role are automatically assigned. These rights are then enabled and will appear greyed out.
- You have finished setting up a new user. The new user can now log in to Inxmail Professional with the user name and password you have specified.
Additional information
You can select a created user in the table and then:
- Edit the user settings on the Settings and Roles/Rights tabs.
- Delete the user using the (Delete user) button.
Related topics
Inxmail Professional:
2 possible use cases
Depending on your contract, you might use Inxmail Professional in different ways:
-
As part of the Inxmail platform: You use newsletters & campaigns as your main tool for creating and sending newsletters. Inxmail Professional only serves as a recipient database and configuration tool in the background.
We are constantly expanding the functionality of “Newsletters & Campaigns”. Check out newsletters & campaigns section to find out if the feature you are looking for might already be available there.
-
Full scope: You use the legacy tool Inxmail Professional as your main tool for creating and sending newsletters.
Did you not find what you were looking for?
-
Send us your feedback.
