Step by step
-
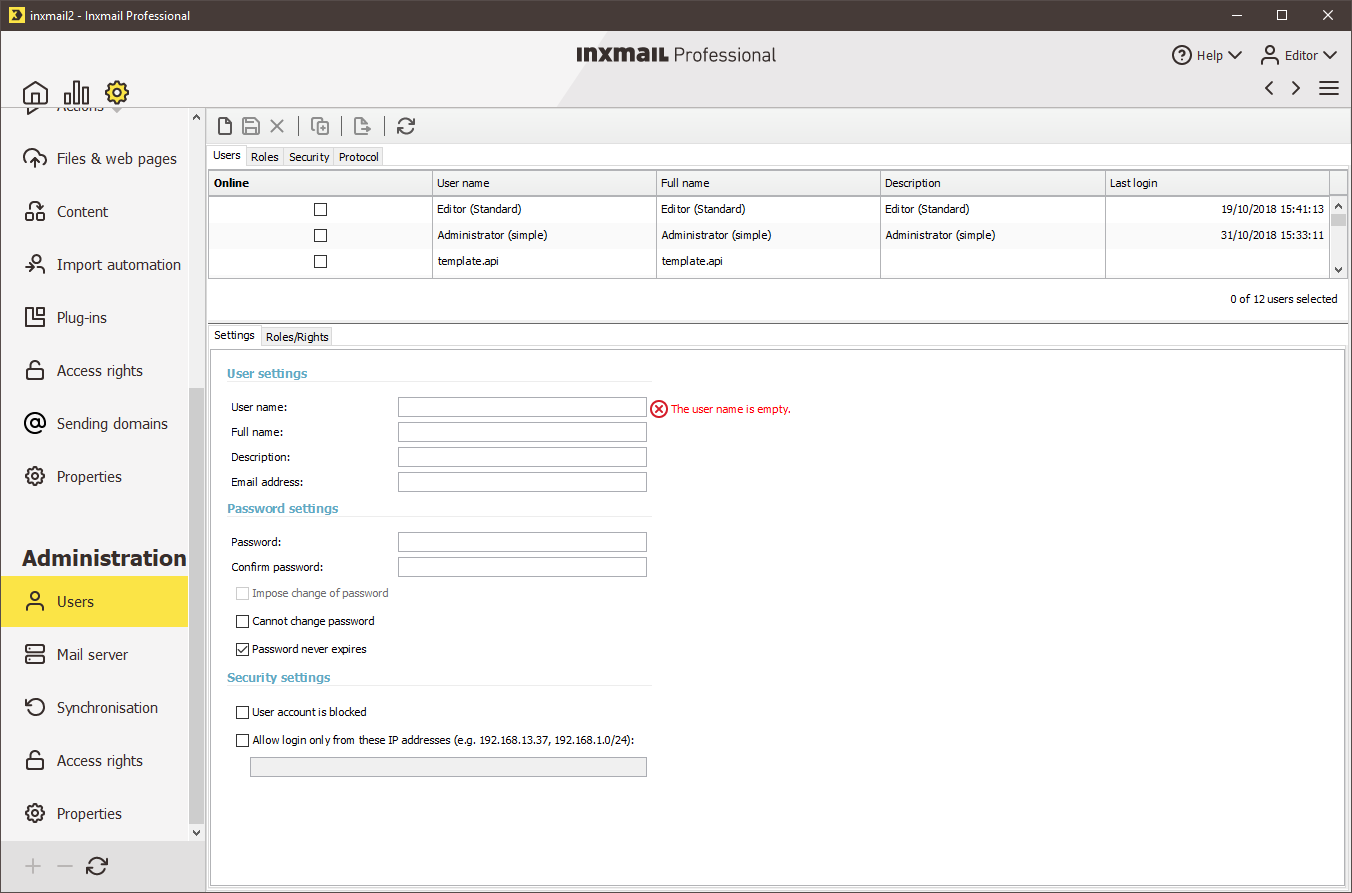
Click the
 (Global settings) tab >
  Users agent > Roles tab. Then click the
  (Create new role) button.
The fields in the Role settings and Rights sections are enabled for you to set up the new role.
- In the Role settings section, enter a name for the new role and a brief description.
-
To assign rights to the role, enable the relevant rights in the Rights section.
To assign an individual right (for example, ‘Add column’), select the check box in front of the right. The higher-level rights package is then automatically also enabled (for example, ‘Recipient columns’).
To enable a complete rights package (including all subordinate rights), select the check box in front of the rights package.
- Save your entries.
- You have finished creating a new role.
Additional information
You can select a created role or standard role (Overview: Standard roles) in the table and then:
- Edit the user settings on the Settings and Roles/Rights tabs.
- Delete the user using the
 (Delete user) button.
 - Create a new role by duplicating an already created role using the
 (Duplicate) button and then adjusting the rights for the new role.
Related topics
Inxmail Professional:
2 possible use cases
Depending on your contract, you might use Inxmail Professional in different ways:
-
As part of the Inxmail platform: You use newsletters & campaigns as your main tool for creating and sending newsletters. Inxmail Professional only serves as a recipient database and configuration tool in the background.
We are constantly expanding the functionality of “Newsletters & Campaigns”. Check out newsletters & campaigns section to find out if the feature you are looking for might already be available there.
-
Full scope: You use the legacy tool Inxmail Professional as your main tool for creating and sending newsletters.
Did you not find what you were looking for?
-
Send us your feedback.
