What are attributes? Attributes contain data, characteristics or information about your recipients. They include details such as first name, last name or zip code which you can use as placeholders in your mailing – or as a basis for your target groups and workflows. You can create and change attributes in the ![]() Recipients navigation item.
Recipients navigation item.
Synchronization required: Synchronize your mailing with XPRO to use your attributes in Newsletters & campaigns.
Step by step
-
Sync your mailing.
-
Text
Select a text element and set your text attributes using the text tools.
Click the
 icon or type "@" and then select the recipient attribute that you want to insert.
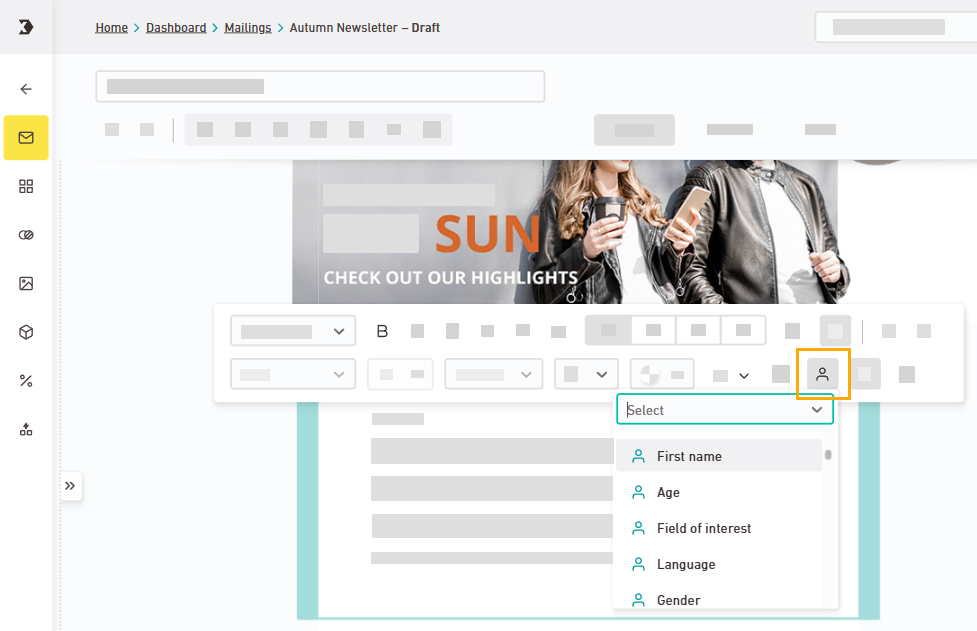
Look for the green
 icon and attribute name to locate the attribute you just added.
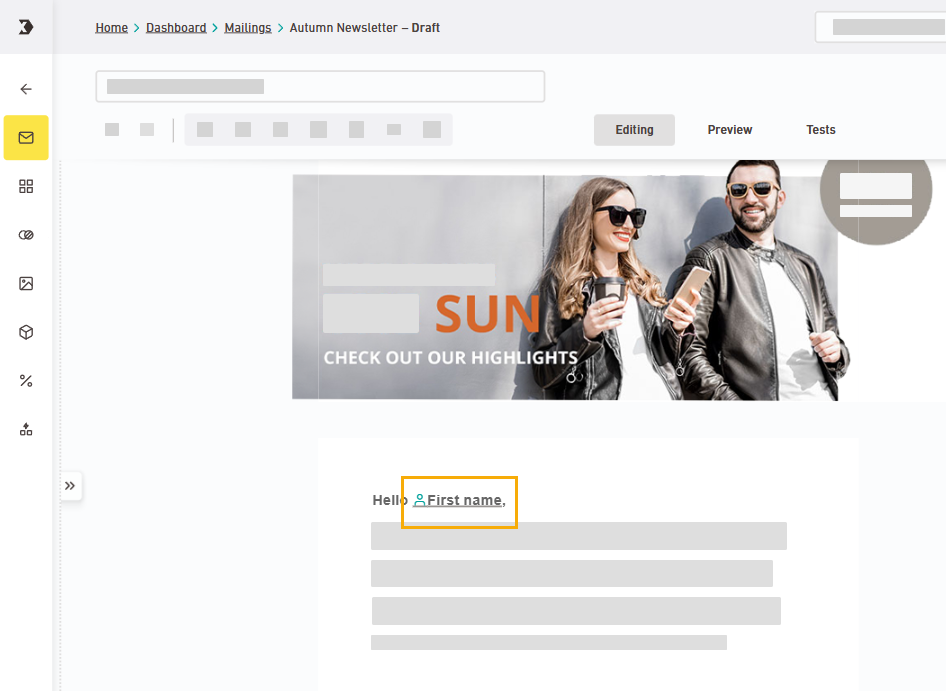
Click the green
or  icon to delete modules that you added by accident.
 -
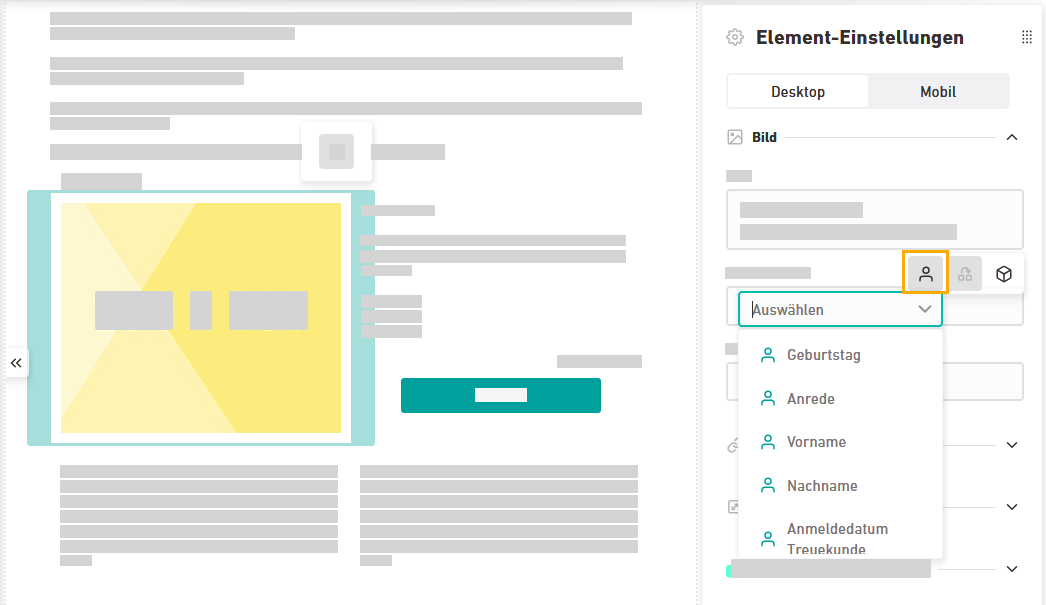
Image
Select an image element and set your image attributes in the "Element settings."

-
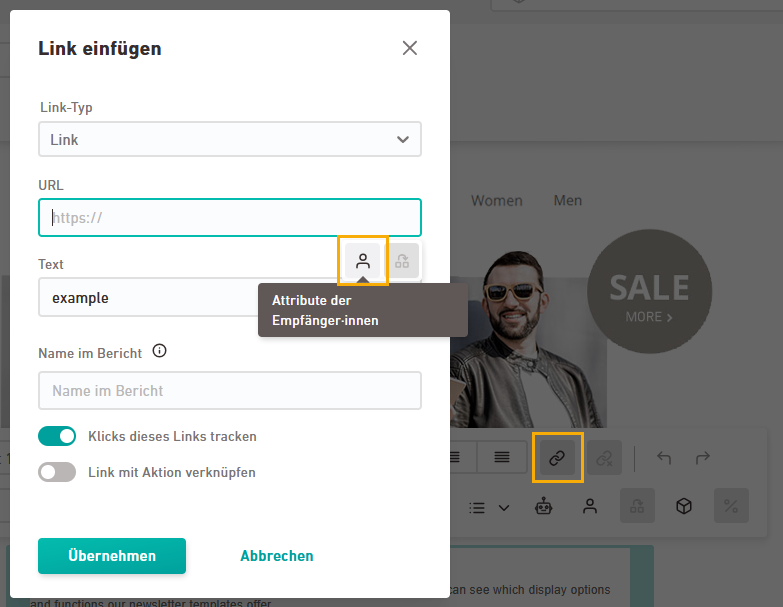
Image link
Set attribute-based links to images in the "Element settings."
-
Text links
Set your attribute-based links to texts using the text tools.
-
Check the results in the Preview tab.
-
You have added personal recipient attributes to your mailing.
Did you not find what you were looking for?
-
Send us your feedback.
