The following describes how to insert text that covers the entire width of the mailing into a mailing. Text like this can be inserted using the One-column text module.
If you would like to place several text fields side by side, you can use the Two-column text and Three-column text modules. These individual text fields essentially behave like the text field in the One-column text module. When using multiple text fields side by side, you can also control the distance between the individual text fields.
If you would like to place an image and a text field side by side, you can use the Image/Text and Text/Image modules.
Step by step
Proceed as follows to insert text that covers the entire width of the mailing:
- Click
 Insert new module.
The Add module dialog box is displayed.
- Select the One-column text module.
The module has been inserted.
The two elements Text and Layout (Module) are displayed in the module section.
The text (sample text) with activated shortcut menu is displayed in the preview section.
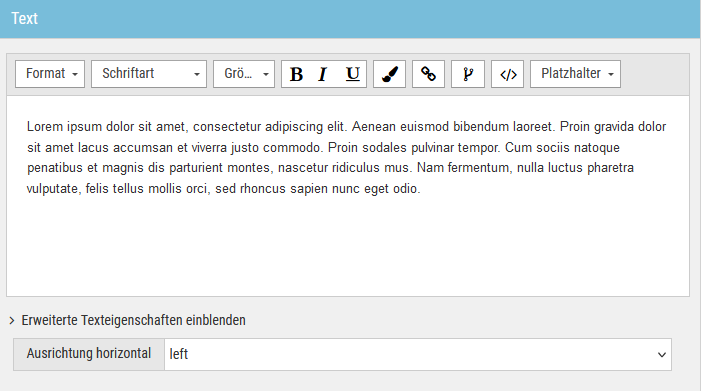
- Click Text in the module section.
The text editor is displayed.
-
Text
Create the desired text.
You can choose between different fonts, font sizes, font colours and formatting.
-
Headings
You can format the current paragraph as a normal paragraph or as a heading using the "Format" dropdown.
 What do I need headings for? What does heading 1 to heading 6 mean?
Headings help you structure your content. The different heading levels (heading 1 and 6) correspond to the HTML headings h1 to h6 and allow you to prioritize pieces of content differently within your mailing. They help screen readers, for example, to correctly read your source text. This makes your mailing more accessible (low-barrier).
-
Further editing options
You also have the following editing options:
- You have inserted text.
Additional information

