Step by step
Proceed as follows to create a new campaign activity:
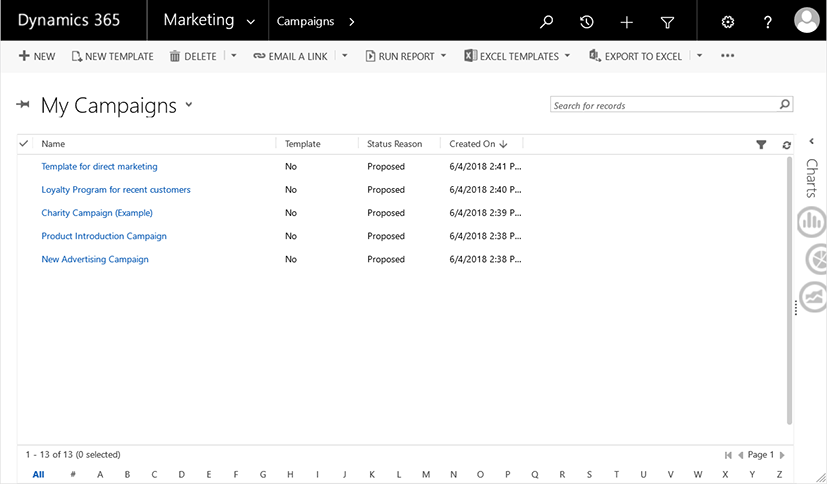
- To open your campaign in Microsoft Dynamics365, select the Marketing category in the navigation bar.
-
Now click the Campaigns category under Marketing.
The Campaign overview opens.
-
In the list, click the campaign in which you would like to create a new campaign activity. Alternatively, create a new campaign.
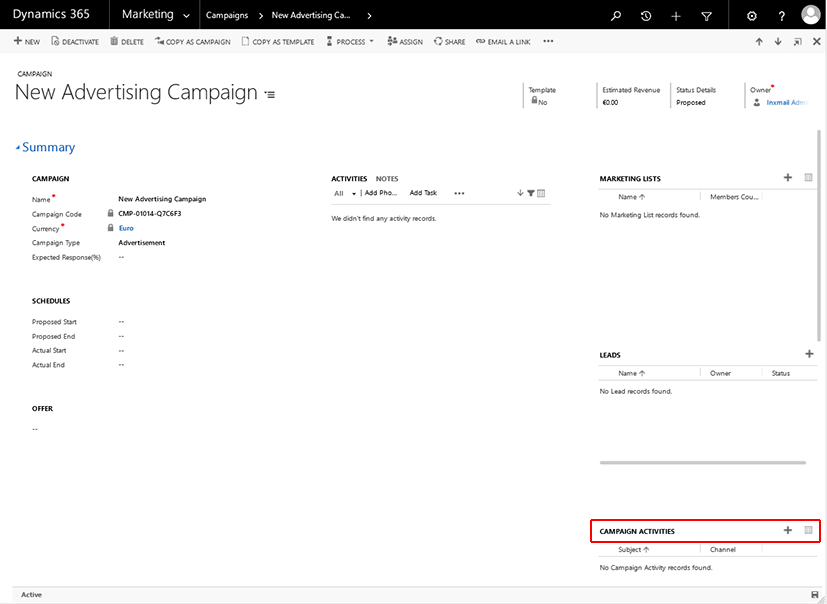
The overview for the created campaign is displayed.
-
Under Campaign activities, click the
 Add the campaign activity data record button.
You will be directed to the New: Campaign activity overview.
-
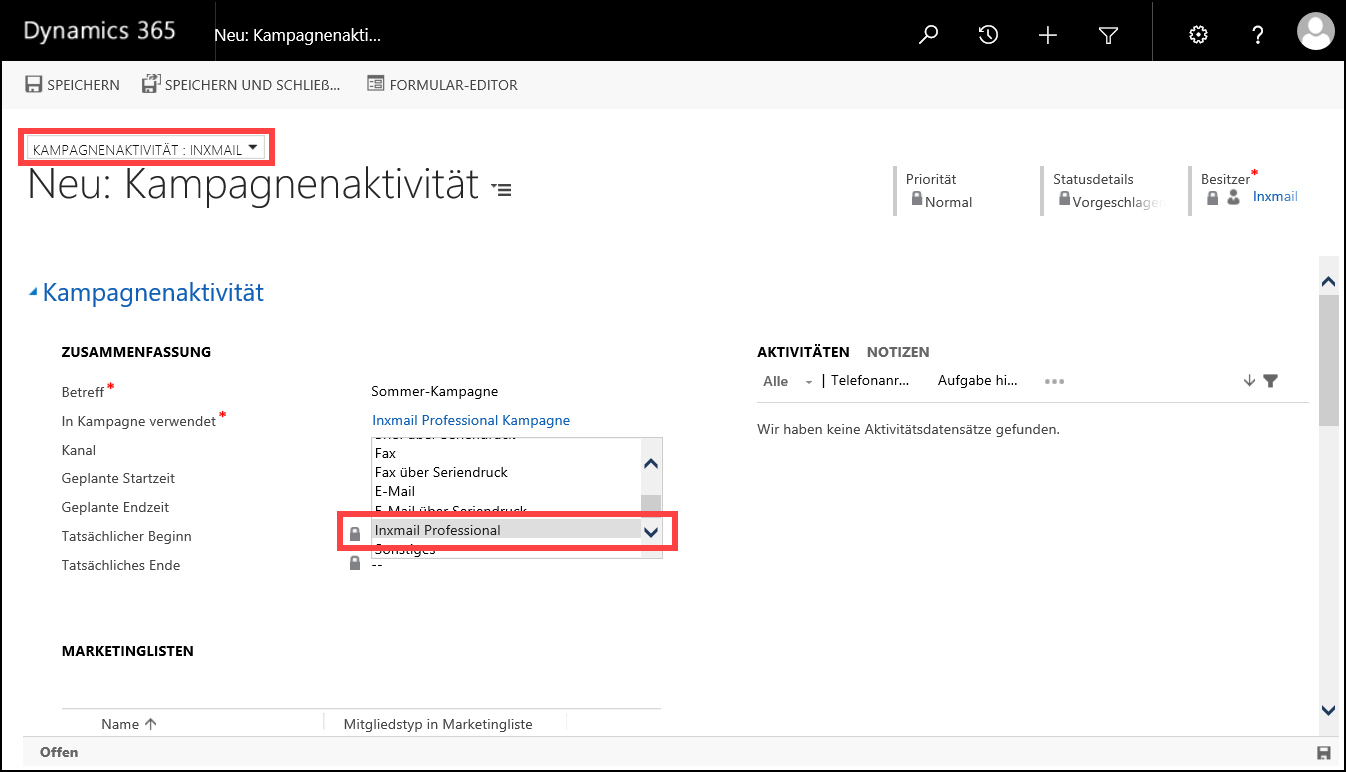
Select the Inxmail form if it is not already preselected.
-
Specify your settings in the fields in the Summary area.
 Field descriptions for the ‘New: Campaign activity’ overview
Field Description Subject
Enter a meaningful name for the campaign activity in the Subject field.
Used in campaign
The used campaign is displayed here.
Channel
Select Inxmail Professional from the drop-down list.
By selecting the Inxmail Professional channel, the Inxmail Professional area is displayed.
Planned start time
Here you can enter the planned start or end time for the campaign activity.
Planned end time
Actual start
The time of the actual start or actual end of the campaign activity is displayed here.
Actual end
-
Specify your settings in the fields in the Inxmail Professional area. Fields that you cannot change are marked with a lock symbol.
Field descriptions for the ‘New: Campaign activity’ overview
Field Description List properties
Name of the Inxmail Professional list
Specify the name under which the mailing list will be created in Inxmail Professional. This field is already prefilled with the subject name of the campaign activity. You can change this name after saving the campaign activity.
Note: If you specify the name of an existing mailing list in Inxmail Professional, the creation of the mailing list in Inxmail Professional will fail. Make sure that the name of the mailing list is not already assigned in Inxmail Professional.
ID of the Inxmail Professional list
You cannot make an entry in the field under ID of the Inxmail Professional list. The ID is automatically stored when you save the campaign activity.
Last synchronisation
You cannot make an entry in the field under Last synchronisation. Here you can see when the last synchronisation between the campaign activity in Microsoft Dynamics 365 and Inxmail Professional took place.
Global settings
Overwrite global presettings
You can define standard settings (such as the sender and reply address, transfer of recipients, email activities and recipient reactions) centrally and use them for the current campaign activity.
Select No to apply the global presettings. For information on how you can change the global presettings, see Standard settings for campaign activities and campaign reactions.
Select Yes to overwrite the global presettings and define your own settings for the current campaign activity. Further information on the fields that are shown when the value Yes is selected can be found in Overwriting global presettings for a campaign activity.
Mailing information
Mailing information
You cannot make an entry in the field under Mailing information. This field is filled automatically as soon as you have sent the mailing in Inxmail Professional (see Sending the mailing). The following information will then be visible in this area:
Mailing status
This field shows whether the mailing was sent in Inxmail Professional.
Bounce information
You cannot make an entry in the fields under Bounce information. These fields are filled automatically as soon as you have sent the mailing in Inxmail Professional (see Sending the mailing). The fields are reset when the email address is changed. The following information will then be visible in this area:
Soft bounces
This field shows how many soft bounces have occurred. A soft bounce occurs if the mailing could not be sent to a recipient due to a temporary error (for example, because the target mail server could not be reached due to a recipient's full email inbox). The mailing is delivered to the recipient as soon as the temporary error has been rectified.
Hard bounces
This field shows how many hard bounces have occurred. A hard bounce occurs if the mailing could not be sent to a recipient due to a permanent error (for example, due to an incorrect email address or deleted email account).
Unknown bounces
This field shows how many unknown bounces have occurred. The Unknown bounces category is used by Inxmail Professional for all bounces that cannot be assigned to any other category.
- Save your entries.
- You have now created and configured a campaign activity. A corresponding mailing list has also automatically been created in Inxmail Professional.
Additional information
Make sure to close inactive or concluded campaign activities to avoid performance problems. To do so, open the campaign activity overview and click Close campaign activity on the toolbar. The status of the campaign activity changes to Closed under Status details. When synchronising, the interface only takes account of open campaign activities.

