The Advanced Template allows you to insert images at numerous positions, for example, as a banner or header graphic. For this, you can use the ![]() Link image function. A linked image is not a fixed component of your mailing, but is uploaded onto a Web server in advance. It is then linked in the mailing.
Link image function. A linked image is not a fixed component of your mailing, but is uploaded onto a Web server in advance. It is then linked in the mailing.
Note: We recommend using the image formats JPG or GIF. Please ensure that the image files are web-optimised.
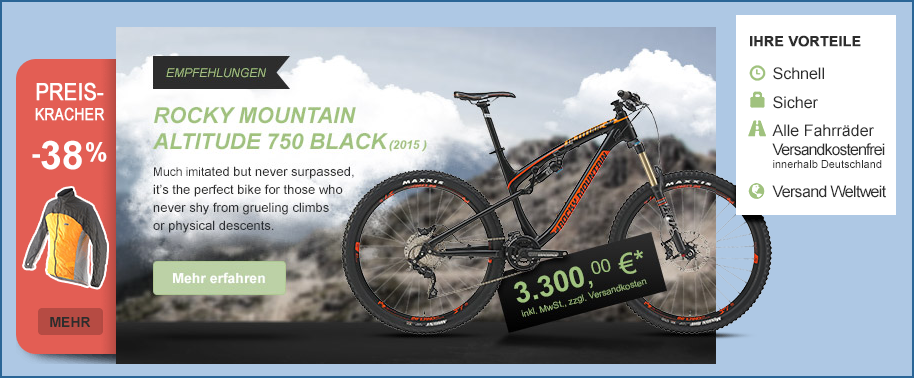
Optional banner elements (for example, for drawing attention to special discount promotions) can be added to a header graphic in the Advanced Template.
Note: We recommend storing the header graphic in graphics containers. That way you can arrange the position of the header graphic in a number of ways, and set several further links. If, on the other hand, you create the header graphic in the Banner element, the graphic is always positioned at the very top.
Step by step
To link an advanced header in the mailing, proceed as follows:
- Click the Header main element in the Template Editor.
-
Add the Graphics container > Image element to the header using the
 Add element function.
 -
Click the
 Link image button in the Image element.
The Link image dialog box will be displayed.

The following settings need to be specified:
 Field descriptions for ‘Link image’ dialog box
Field
Description
Image source
Enter the Web address (URL) of the image.
You can either link the image file from a webspace or enter a link address manually in the field.
Note: Make sure that the image you insert has a width of at least 480 px, in order to ensure an optimum display in the mobile view. There is no expected quality loss in the desktop version, as the image size is reduced accordingly.
Preview
Here you can see a preview of the image file.
Alternative text
Enter an alternative text, for example, Header. The alternative text will be displayed in place of the image if the image is blocked by the recipient’s email program.
Tooltip
Enter a tooltip here.
The tooltip will be displayed if the recipient hovers the mouse pointer over the image.
Name in the report
Note: You can skip the entry of a name. The Track graphic call-up check box must be enabled before you can enter a specific name in the report for the tracked image. When using an Inxmail Professional smart template, the graphic call-up is already counted via a tracking pixel, so that separate image tracking is unnecessary.
Track graphic call-up
Note: You can skip the Track graphic call-up setting. When using an Inxmail Professional smart template, the graphic call-up is already counted via a tracking pixel.
Couple graphic call-up with action
Note: You can skip the Couple graphic call-up with action setting. This setting is only meaningful if used in combination with the ‘Track graphic call-up’ setting.
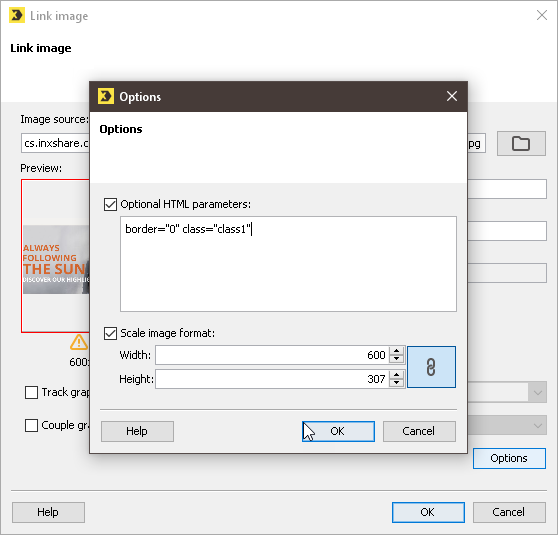
Options
Note: You can skip the settings under Options. The scaling of the images is already controlled via the Inxmail Professional smart template.
- Specify your settings in the fields.
- Confirm the dialog box by clicking OK.
-
Click the
 Couple image with link button if you want to add a link to the image.
The Link editing dialog box is displayed.
Field descriptions for ‘Link editing’ dialog box
Field
Description
Link type
Text and image links
Unique count link (unique clicks)
Inxmail Professional determines the number of unique clicks and the total number of clicks for this link type.
Personal dataWhen the appropriate settings have been made, unique count clicks allow you to collect various personal data. This allows you to determine the clicking recipients through the formation of target groups, for example. This lets you send mailings specifically to those recipients who have expressed interest in particular products or services through their click behaviour (Creating conditions based on recipient reactions).
Note: Within the European Union, it is necessary to obtain the consent of your recipients to be able to collect their personal data.
Settings
To collect and process personal data, you must assign the value Yes to the advanced property ‘Include consent for person-based tracking’ in the respective mailing list or enable the setting in the global settings and apply for the respective mailing list (Mailing lists > Advanced properties).
Total count link (all clicks)
Inxmail Professional determines the total number of clicks for this link type.
The multiple clicks of recipients are also counted. This means that if the same recipient clicks the same link several times, each individual click will be counted.
Personal data
No personal data is stored for this type of link. This means you cannot tell if the clicks were made by various recipients or by just a single recipient.
No count link (no counting)
This link type only makes the link functionality available.
Neither the number of clicks nor personal data is stored by Inxmail Professional.
Tracking permission links
Grant tracking permission
The Grant tracking permission link allows you to obtain consent to person-based tracking from your recipients. As soon as a recipient clicks this link, the value in the Tracking permission column is set to
 Yes.
Yes.Withdraw tracking permission
You can provide your recipients with the option to withdraw consent to person-based tracking once they have given it at any time through the Withdraw tracking permission link. As soon as a recipient clicks this link, the value in the Tracking permission column is set to
 No.
No.Link text
Enter a link address here.
Click the
 Select webpage button to select the address or enter the address manually in the field.
Name in the report
Select a unique name that will be used for the link in the reports.
Couple link with action
You can couple the link with an action.
To do so, enable the check box and select an action from the drop-down list.
- Specify your settings in the fields.
-
Confirm the dialog box by clicking OK.
You have linked a header graphic as an image.
- In the Header main element, switch to the Banner element.
-
Open the Optional banner graphic element (left) or Optional banner graphic element (right) elements.
Click
Link image and specify your settings in the fields as described above.Note: The optional banner graphic elements have a preset fixed image width (left: 100 px, right: 180 px). If the image width does not correspond to the requirements, the images are automatically adjusted when you confirm the dialog box.
- Couple the image with a link if necessary.
- Save your entries.
- The header is displayed with the additional banner elements.
Additional information
If you would like to embed an image (for example, your corporate logo) rather than link it, select the ![]() Embed image function using the
Embed image function using the ![]() Insert commands drop-down list in the Template Editor toolbar. Then specify the required image source in the Embed image dialog box.
Insert commands drop-down list in the Template Editor toolbar. Then specify the required image source in the Embed image dialog box.
Note: If the image is larger than 300 px, you must also integrate the ncs class, which scales the image to 100% of the available width in the mobile view. Open the Options dialog box from within the Embed image dialog box, and under Optional HTML parameters enter the command class="ncs" in the field.