Step by step
-
Click the tab of the mailing list >
 Email connector agent > Settings tab.
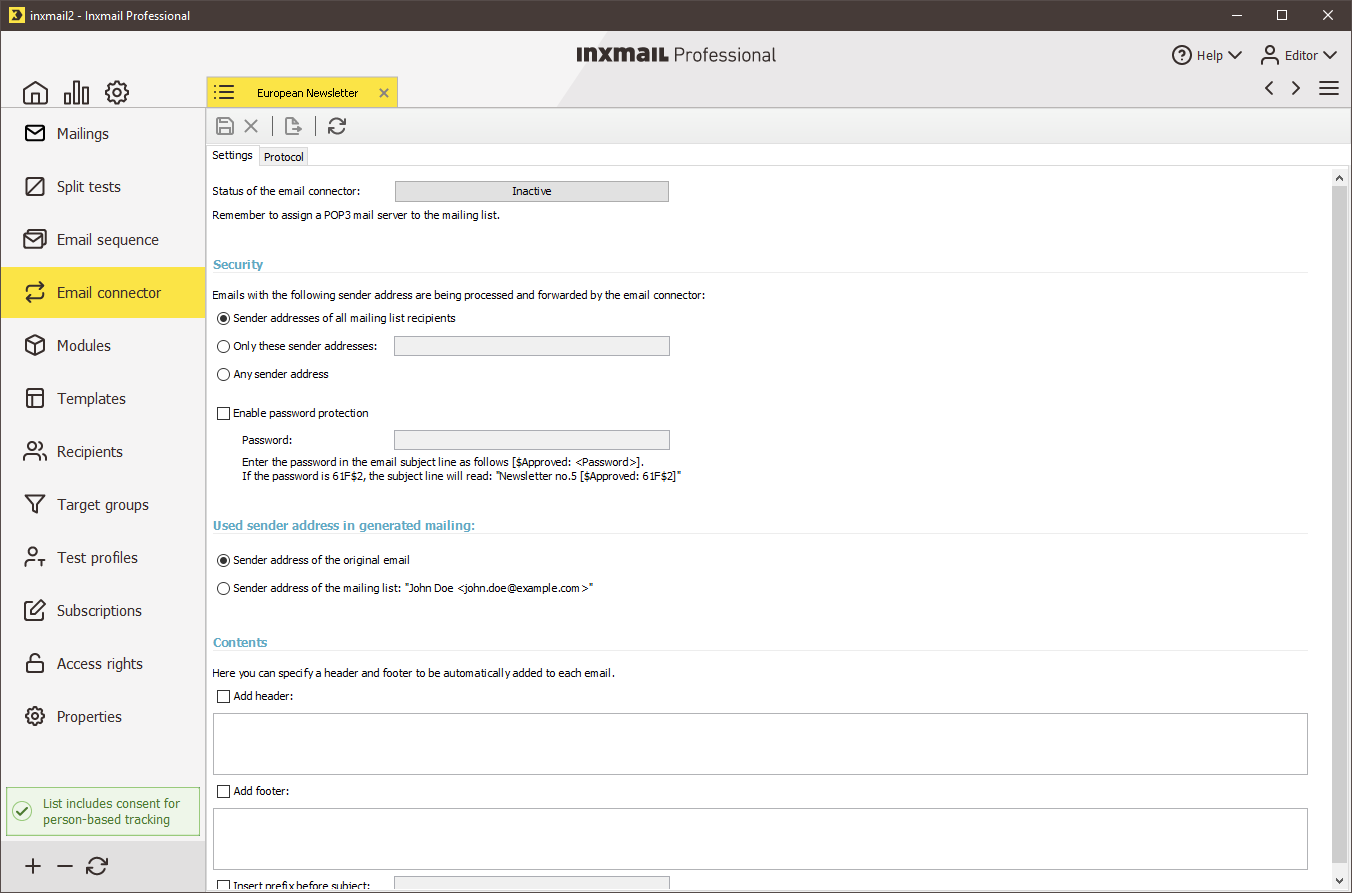
-
To activate the email connector, click the Inactive button.
If you have not yet set up a POP3 mail server account for the mailing list (Set up a mailing list), an error message is displayed.
-
Use the following fields in the Security settings section to specify the persons (that is, sender addresses) from which the email connector forwards emails (for example, replies to mailings) to the mailing list recipients:
 Field descriptions
Field
Description
Sender addresses of all mailing list recipients
If this option button is selected, the email connector forwards emails from all mailing list recipients.
Only these sender addresses
If this option button is selected, the email connector forwards emails only from the email addresses specified in the entry field.
Note: Separate the email addresses with a comma.
Any sender address
If this option button is selected, the email connector forwards emails from all persons (including persons to whom the mailing has been forwarded by a recipient for information only, for example).
Enable password protection
If this check box is selected, the email connector accepts only emails whose subject contains the password defined in the entry field (for example, the email subject must contain ‘[$Approved: r&tzfb2]’ for the defined password ‘r&tzfb2’).
Note: This way, you can ensure that no unauthorised persons send emails when the Any sender address option button is selected.
-
Use the following fields in the Used sender address in generated mailing section to set up the sender address for the mailings sent by the email connector:
Field descriptions
Field
Description
Sender address of the original email
If this option button is selected, the original sender address of the (forwarded) email is used.
Sender address of the mailing list ‘xxx’
If this option button is selected, the sender address configured for the mailing list is used (Setting up the properties of mailing lists).
-
Use the following fields in the Contents section to specify whether Inxmail Professional should add texts to the header and footer and/or to the subject before forwarding the mailings:
Field descriptions
Field
Description
Add header,
Add footer
If these check boxes are selected, you can specify texts that Inxmail Professional then inserts in the header or footer of the mailings before forwarding them (for example, a personalised salutation in the header, a copyright notice or unsubscribe link in the footer).
Note: You can also use a placeholder here for personalisation purposes (Mailings (editing)).
Insert prefix before subject
If this check box is selected, you can specify a prefix that Inxmail Professional then inserts in the subject of the mailing before forwarding it (for example, your company name).
- Save your entries.
- You have activated and set up the email connector. Inxmail Professional will now forward all emails received in the POP3 account (linked with the mailing list) to the mailing list recipients.
Inxmail Professional:
2 possible use cases
Depending on your contract, you might use Inxmail Professional in different ways:
-
As part of the Inxmail platform: You use newsletters & campaigns as your main tool for creating and sending newsletters. Inxmail Professional only serves as a recipient database and configuration tool in the background.
We are constantly expanding the functionality of “Newsletters & Campaigns”. Check out newsletters & campaigns section to find out if the feature you are looking for might already be available there.
-
Full scope: You use the legacy tool Inxmail Professional as your main tool for creating and sending newsletters.
Did you not find what you were looking for?
-
Send us your feedback.
