Step by step
Open the Embedding an image dialog box as follows:
- Open the mailing in the
 Editing workflow step.
 - Click the position in your mailing where you would like to insert the image.
-
Click the
 Insert commands button and then select the
  Embed an image option.
A dialog box appears.
- In the dialog box, click the
 button to select the location where the image file is stored.
 -
A dialog box appears.

- In the corresponding tab, select whether the image file is stored locally on your computer, on your webspace or on the Inxmail Professional Server, and then select the image file.
- In the Name of the embedded image field, you may need to adjust the file name under which the image file is stored in the
 Files & web pages agent > Uploaded files tab.
 - If you have selected an image file stored on your local computer or your webspace, then additionally select one of the following settings for the file:
- Do not approve: The image file is embedded once and is not stored internally.
- Approve for the current list: The image file can, in future, be embedded in all mailings on the current mailing list. For this purpose, the file is stored in the Files & web pages agent > Uploaded files tab.
- Approve for all lists: The image file can, in future, be embedded in all mailings on every mailing list. For this purpose, the file is stored in the Files & web pages agent > Uploaded files tab.
- Confirm the dialog box by clicking OK.
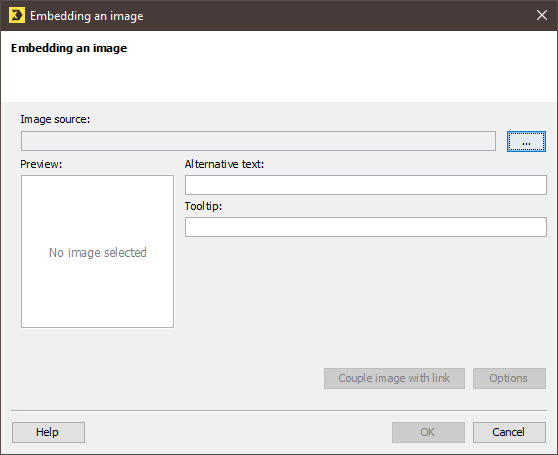
- You return to the Embedding an image dialog box. The dialog box displays a preview of the image.
- Enter an alternative text in the Alternative text field. This will appear in the mailing in place of the image if the image is blocked by the recipient’s email client.
- Enter a tooltip in the Tooltip field. This will appear if the recipient hovers the mouse pointer over the image in the mailing.
- If you want recipients to be forwarded to a particular Web page when they click this image, click the Couple image with link button. You can now configure an appropriate link in the Link editing dialog box.
- To configure additional options for the image (for example, to specify additional HTML parameters or to change the image size), click the Options button. You can now specify relevant options in the dialog box.
- Confirm your entries in the dialog box by clicking OK.
- The corresponding Inxmail Professional code for the image is inserted into your mailing (for example, <img src="[%embedded-image(4227);Logo.png]" alt="" width="500" height="201" border="0" />).
- Save your entries.
- You have embedded an image. The quick preview (
 (Show/hide quick preview) button) shows you the image.
Related topics
Inxmail Professional:
2 possible use cases
Depending on your contract, you might use Inxmail Professional in different ways:
-
As part of the Inxmail platform: You use newsletters & campaigns as your main tool for creating and sending newsletters. Inxmail Professional only serves as a recipient database and configuration tool in the background.
We are constantly expanding the functionality of “Newsletters & Campaigns”. Check out newsletters & campaigns section to find out if the feature you are looking for might already be available there.
-
Full scope: You use the legacy tool Inxmail Professional as your main tool for creating and sending newsletters.
Did you not find what you were looking for?
-
Send us your feedback.
