Note: You will usually receive the access data for your web space from Inxmail. If you have set up your own web space, you will receive the access data from your internal IT. For questions, contact your Inxmail contact person or Care-Consulting@inxmail.de.
Prerequisites
The required webspace has been set up.
Step by step
-
Click the
 (Global settings) tab >
  Files & web pages agent > Webspaces tab. Then select the corresponding webspace in the table.
If the webspace requires you to log in, a dialog box will be displayed.
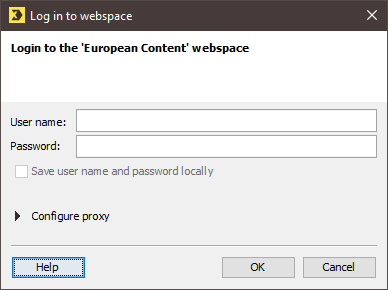
- Enter your user name and password for the webspace in the dialog box.
- If you would like to save the login data on your computer so that you can log in to the webspace in the future, select the Save user name and password locally check box in the dialog box.
-
If you require a special proxy setting for the webspace (for example, for the FTP protocol, which has no integrated proxies), click the Proxy button in the dialog box.
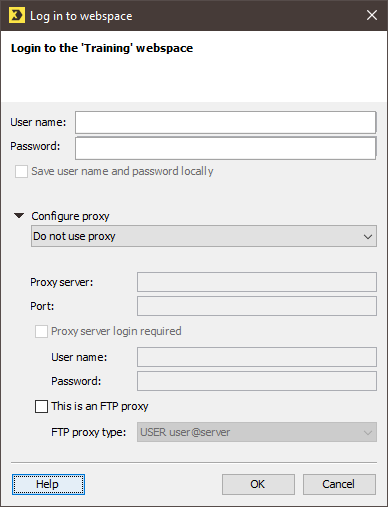
Select one of the following proxy server settings:
- Do not use proxy (if you do not require a proxy server to access the webspace)
- Same proxy as for Inxmail server connection (to transfer your proxy server settings from the Inxmail Professional login section).
- Same proxy as for Internet connections (to transfer your Internet proxy server settings from the user menu, see Configuring an Internet proxy)
- Specify other proxy settings… (to configure another proxy server).
If you use an FTP proxy server, you may only select Do not use proxy or Specify other proxy settings….
If you select Specify other proxy settings you must enter the following
additional information:
- Enter the HTTP address of the proxy server in the Proxy server fields, and in the Port field, enter the port number of the proxy server.
- If you are required to complete an extra login to access the proxy server, select the Proxy server login required check box and enter the user name and password for the proxy server in the fields below.
- If you use an FTP proxy server, then select the check box This is an FTP proxy and select the FTP proxy type in the drop-down list (if necessary, ask your Inxmail Professional administrator for the type used).
- To log in to the webspace using the information you entered, click the Connect button (with proxy settings) or OK (without proxy settings).
- The webspace is now open and you can view the stored folders and files.
Inxmail Professional:
2 possible use cases
Depending on your contract, you might use Inxmail Professional in different ways:
-
As part of the Inxmail platform: You use newsletters & campaigns as your main tool for creating and sending newsletters. Inxmail Professional only serves as a recipient database and configuration tool in the background.
We are constantly expanding the functionality of “Newsletters & Campaigns”. Check out newsletters & campaigns section to find out if the feature you are looking for might already be available there.
-
Full scope: You use the legacy tool Inxmail Professional as your main tool for creating and sending newsletters.
Did you not find what you were looking for?
-
Send us your feedback.
