Let the AI chat assistant guide you step by step to create a workflow tailored to your needs.
You can switch off all AI functions via rights - or centrally for your entire account.
-
Via rights: Remove the "Use AI functions" rights package from all your roles. Make sure that your users do not have any Inxmail standard roles that include the "Use AI functions" rights package, e.g. Space manager, Mailing manager and designer or Editor.
Only admins will then be able to use AI functions.
-
For your entire account: Contact your Inxmail representative or Care-Consulting@inxmail.de if you want to prevent even admins from using AI functions.
Step by step
-
Open the
 "Workflows" navigation item and click
 -
Select a use case.
 What's behind the use cases?
All use cases used in the AI chat are based directly or indirectly on Inxmail’s workflow templates. However, they’re even more targeted to practical use cases you might encounter. The AI assistant helps refine your workflow setup with smart follow-up questions based on your selections.
 Work in progress: We’ll keep adding more use case templates you can use as a basis for your custom workflows. We’ll also keep optimizing the AI prompts in the background so the assistant can guide you to your goal even faster.
 -
Example: A/B test
We’ll demonstrate how the AI chat works using the "A/B test – mailings" use case. The same logic applies to all other use cases.
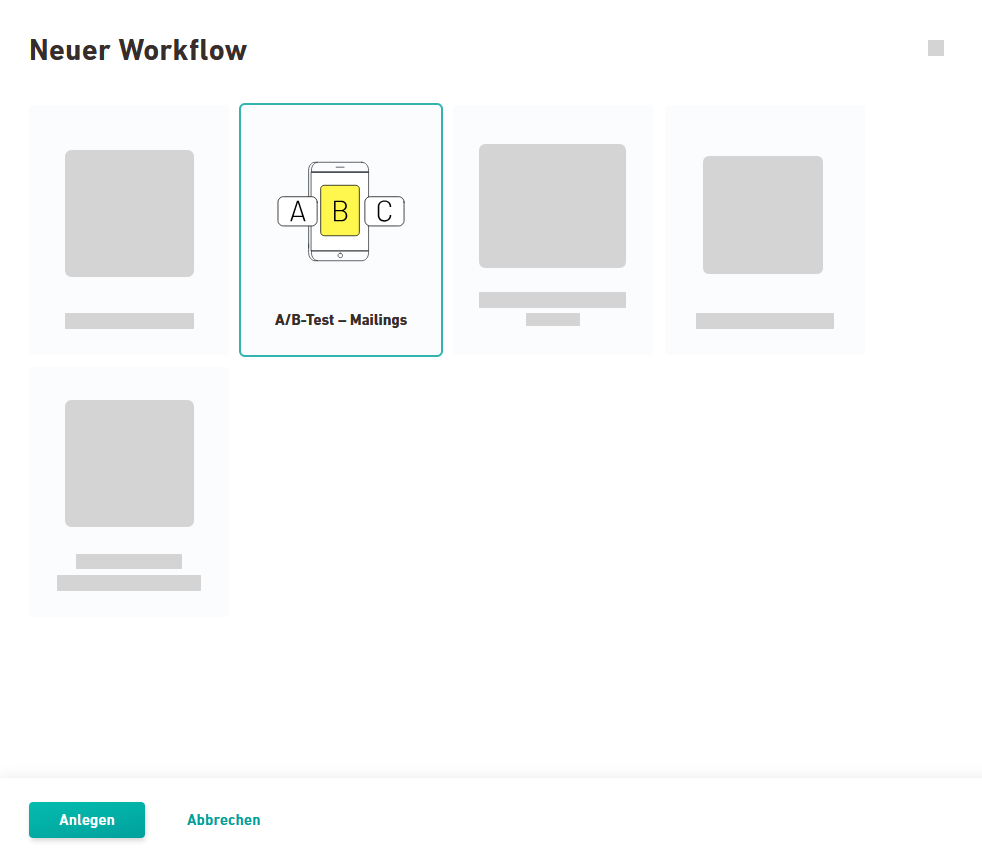
Select the "A/B Test - Mailings" tile and click .
-
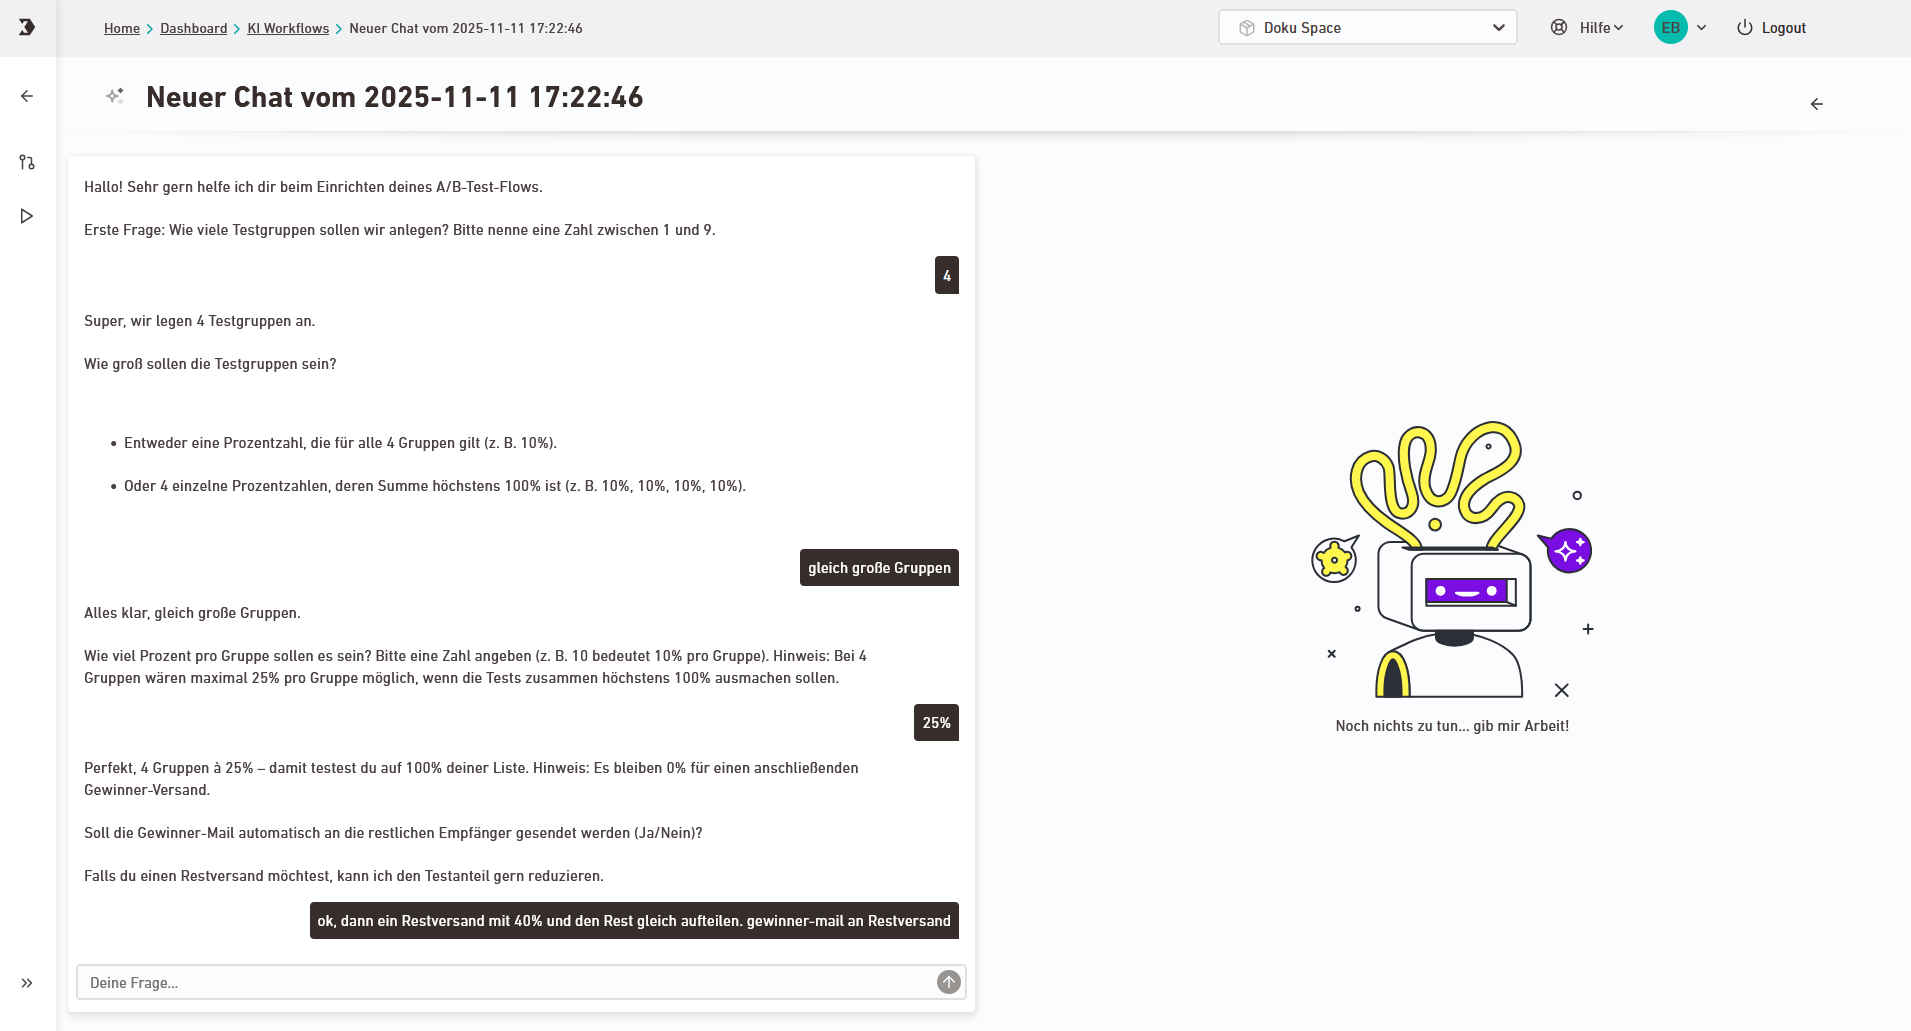
A chat window opens.
Chat name: Your chat will initially be named New chat from [date] [time]. This name will update automatically based on your selections, e.g. A/B test four groups 60/40. To rename the chat manually, double-click the name.
-
The AI will now guide you through a set of relevant questions, such as:
-
How many test groups should be created?
-
How large should each test group be?
-
Should there be a final dispatch to the remaining recipients?
-
Send the best-performing mailing automatically?
-
Which KPI should be used to determine the winner: open rate or click rate?
-
-
Answer the questions one by one.
-
Once the AI has gathered all the necessary details, it generates a workflow preview based on your input.
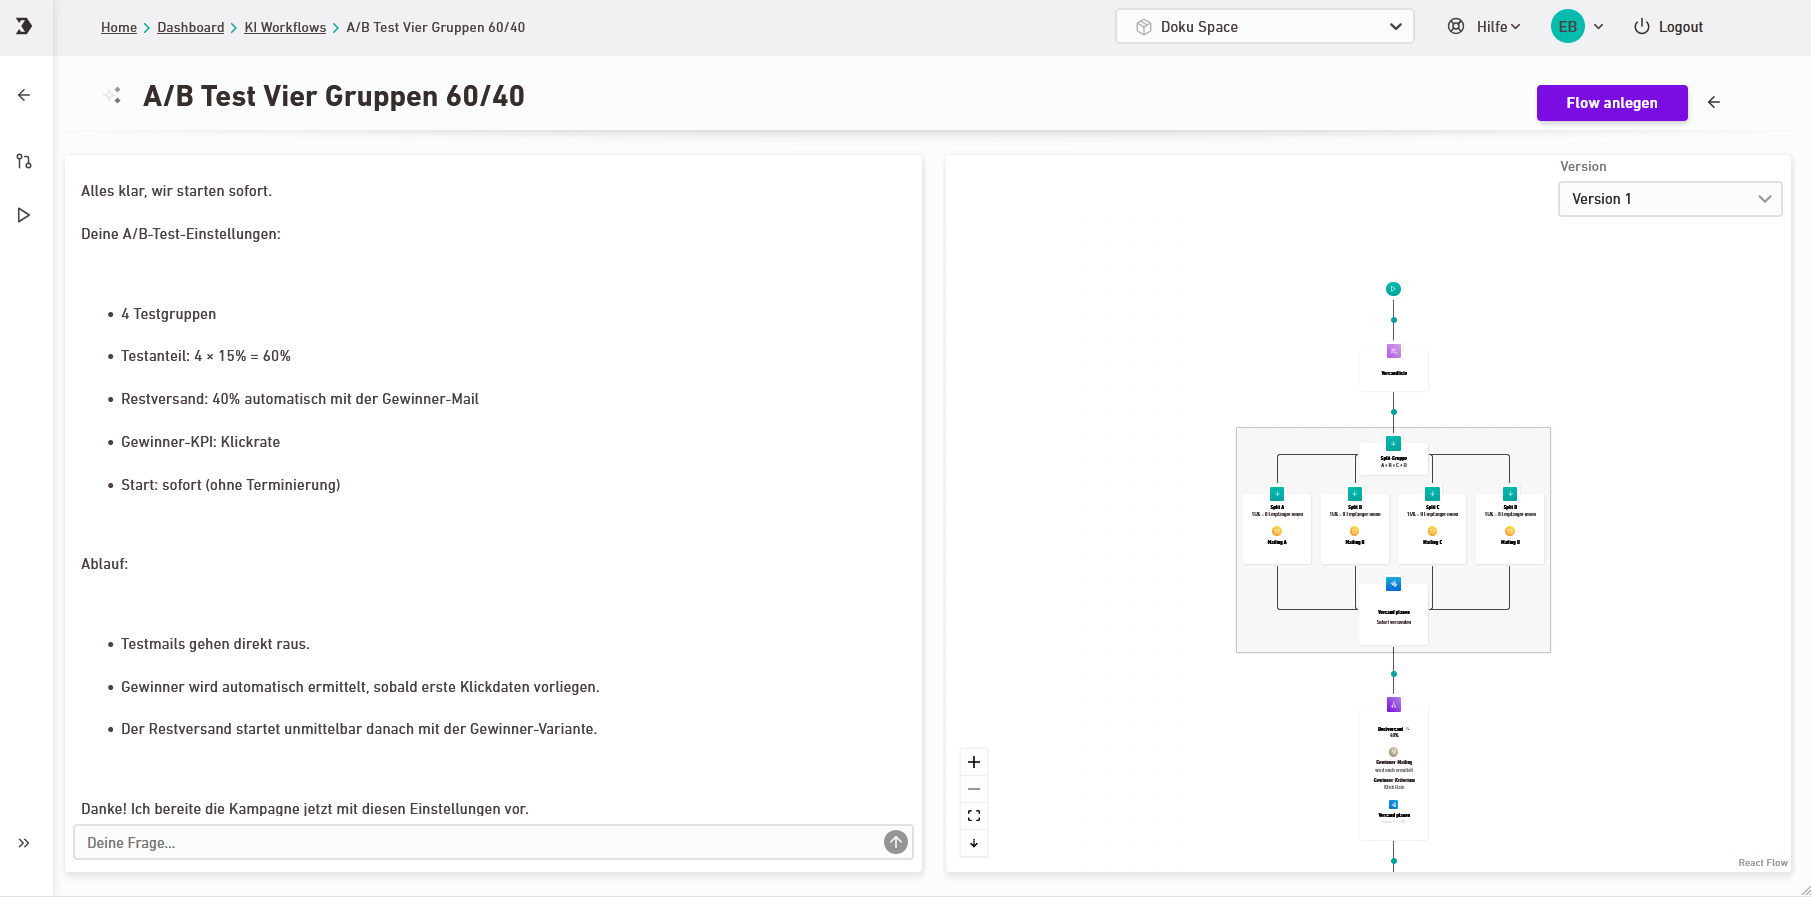
If you want to change anything later, you can adjust the settings by simply continuing the chat.
-
Click . Your workflow will appear in the "Workflows" tab.
-
Complete the workflow by adding any missing objects, such as a list or mailing.
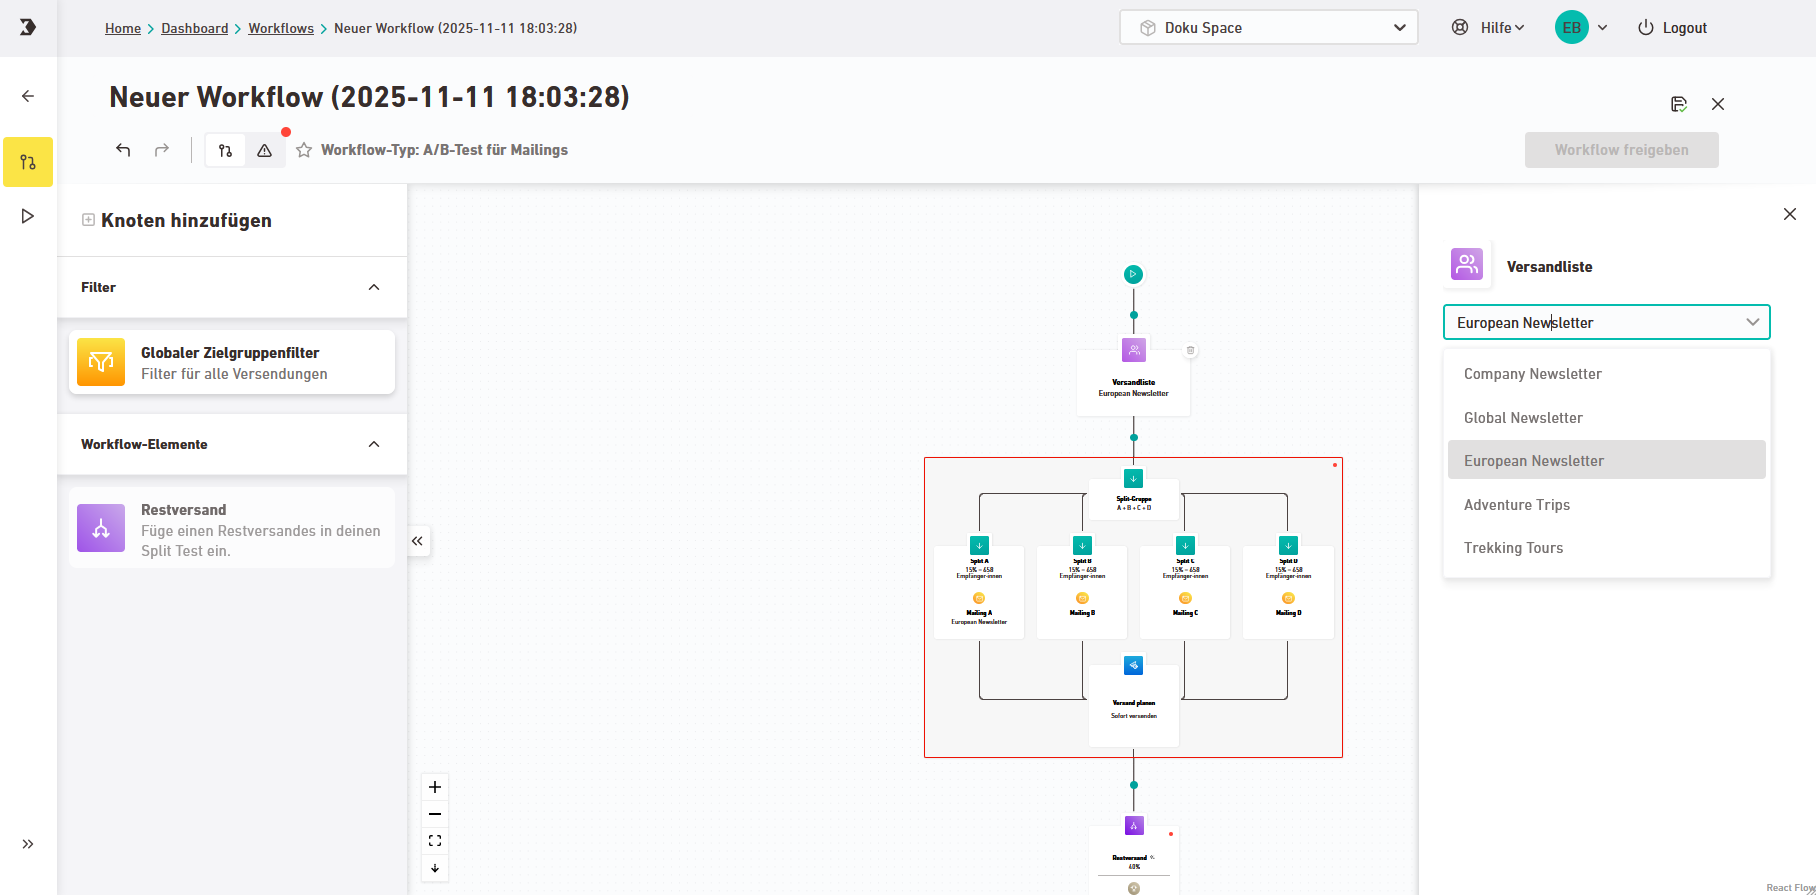
- You have created and activated a workflow with the help of the AI assistant.
Did you not find what you were looking for?
-
Send us your feedback.
