Mailings must be integrated into a workflow before they can be sent by Inxmail Commerce. This applies to mailings with and without an attachment.
Prerequisites
You must first create a mailing before you can integrate it into a workflow. Detailed information on creating mailings can be found in the section Creating mailings with the Mail Builder.
Step by step
Proceed as follows to integrate a mailing into a workflow and thereby activate the sending of the mailing:
- In the selection bar, click the event in whose workflow you would like to integrate a mailing.
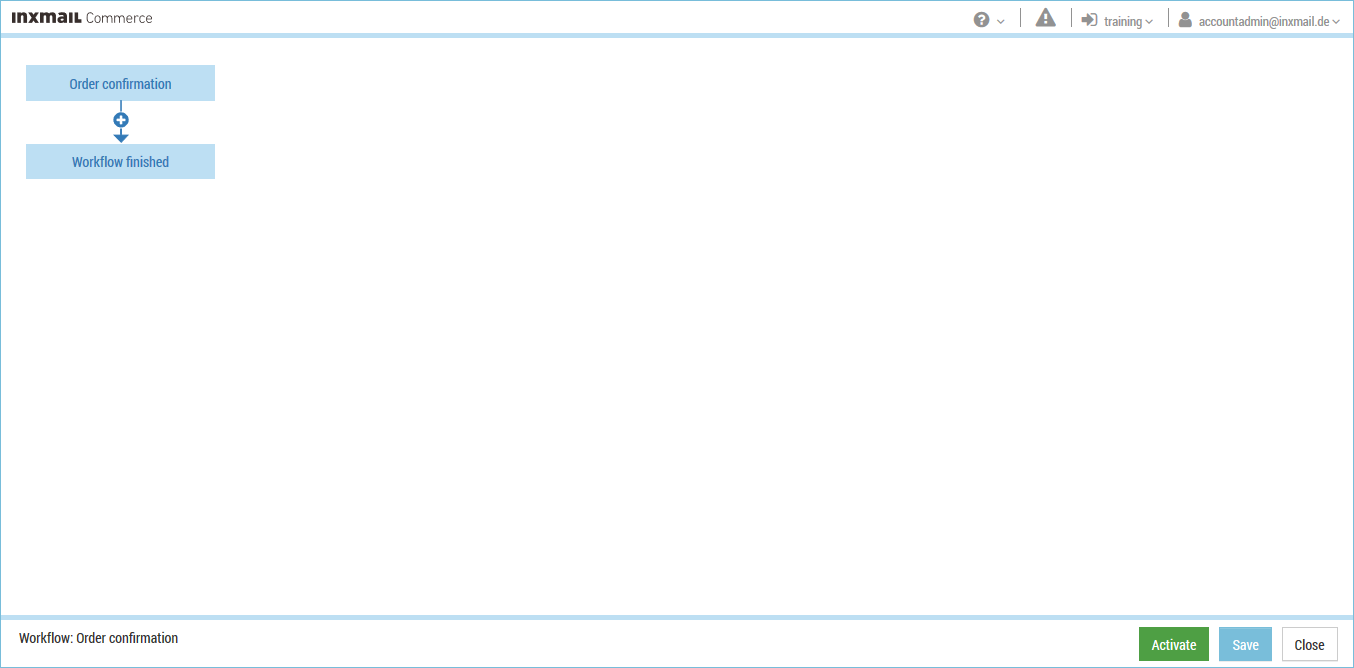
The start and end points of the workflow are displayed.
- Click Edit workflow.
You will be directed to the workflow editor.
- Click the connecting arrow between the start and end points of the workflow.
(As soon as you move your mouse pointer over the connecting arrow, the
 button is displayed.)
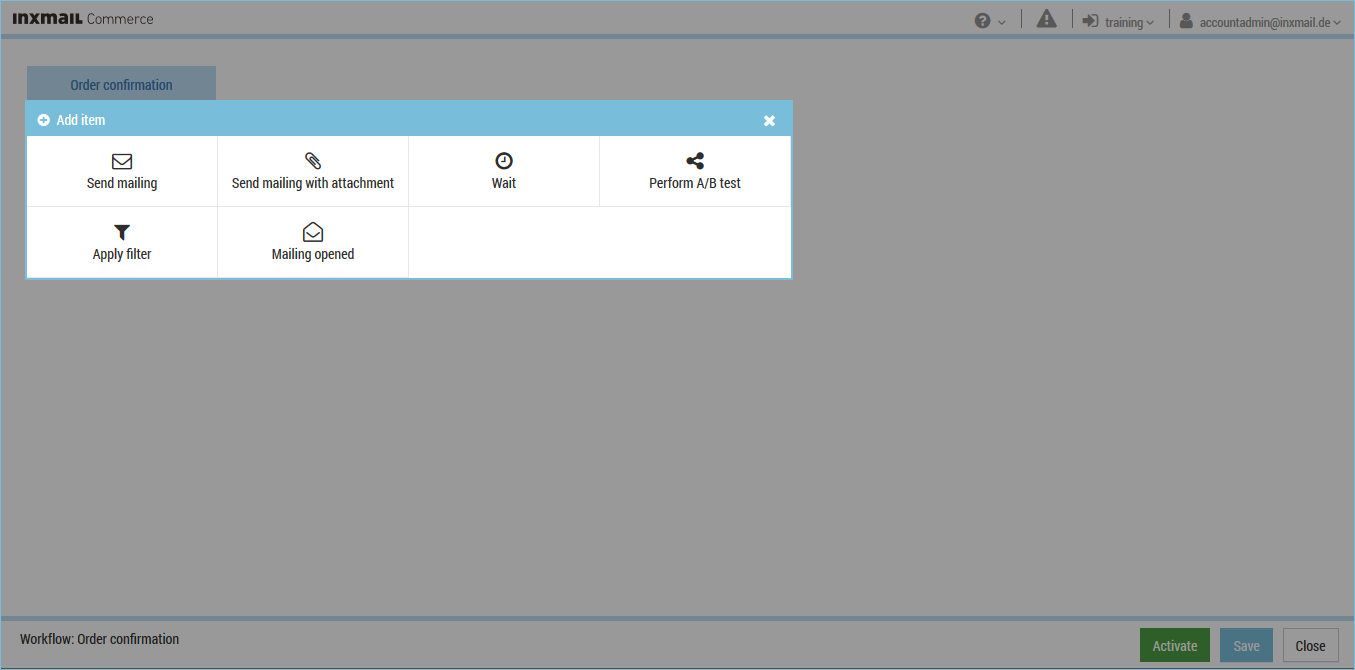
The Add item dialog box is displayed.
- Select the Send mailing or Send mailing with attachment element type.
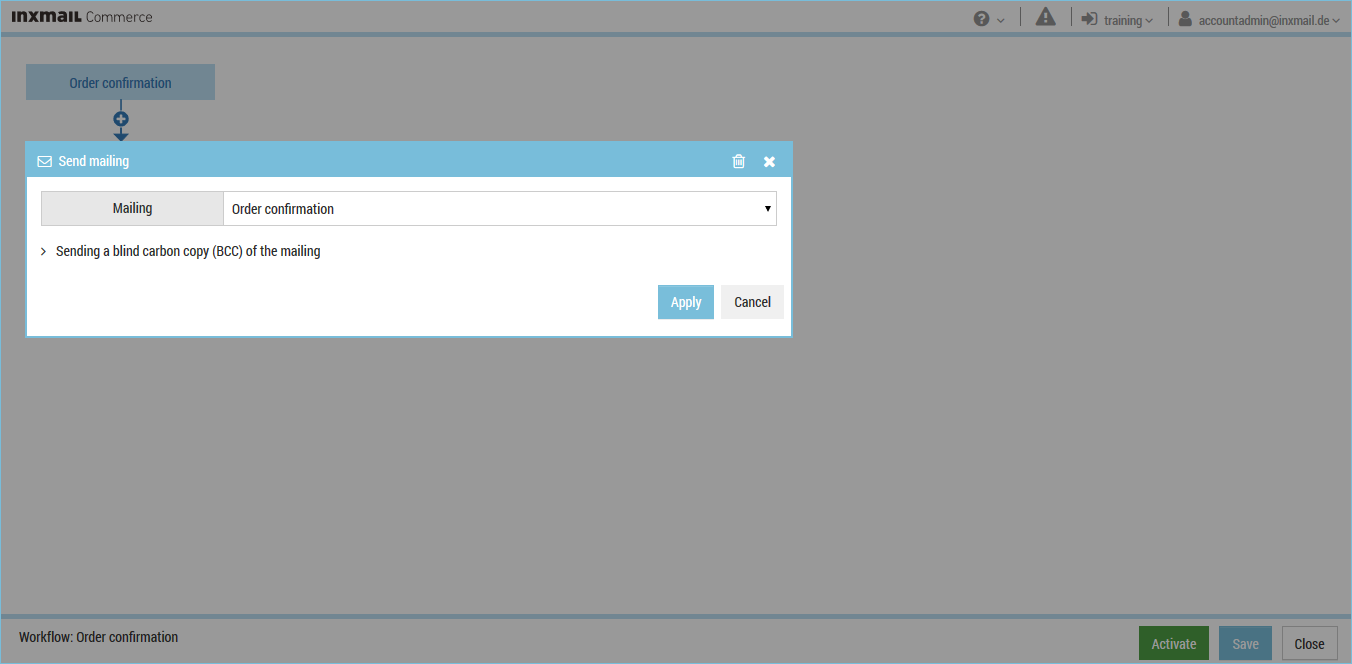
The Send mailing or Send mailing with attachment dialog box is displayed.
Note: All of the mailings of the corresponding event will be displayed in both the Send mailing dialog box and the Send mailing with attachment dialog box.
Select the Send mailing with attachment element type if attachments for the mailing will be made available in the source system for the corresponding event. This may be the case for invoices and vouchers, for example. - Select the desired mailing.
You return to the workflow editor.
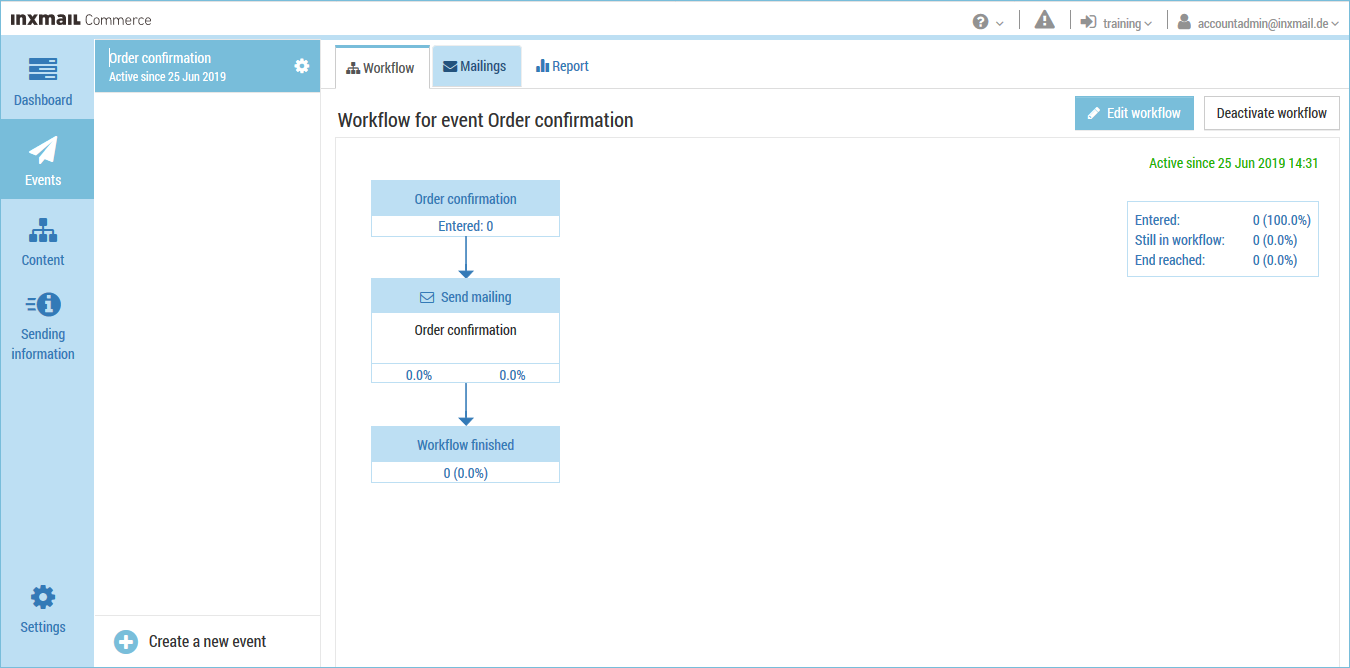
The selected mailing is displayed as a component of the workflow.
- Click Activate.
A confirmation dialog box appears.
- Click Activate now.
(You can also activate the workflow at a scheduled time. See the Activating the workflow section.)
You return to the Workflow tab.
- You have integrated a mailing into a workflow and activated the sending of the mailing.
Related topics


