Whether you have to specify plug-in access via a proxy server after installing the plug-in will depend on the plug-in.
Step by step
-
To open the Configure plug-in access dialog box, select the plug-in from the table on the
 (Global settings) tab >
  Plug-ins agent. Then click the
  (Specify access) button.
A dialog box appears.
- In the dialog box, select one of the following proxy server settings under Plug-in proxy:
- Do not use proxy (if you do not require a proxy server to connect to the Internet).
- Same proxy as for Inxmail server connection (to transfer your proxy server settings from the Inxmail Professional login section).
- Same proxy as for Internet connections (to transfer your Internet proxy server settings from the user menu, see Configuring an Internet proxy)
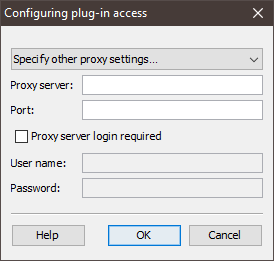
- Specify other proxy settings… (to configure another proxy server).
- If you selected the Specify other proxy settings… option, enter the following additional information in the dialog box:
- In the Proxy server: and Port: fields, enter the HTTP address and port number of the proxy server respectively.
- If you are required to complete an extra login to access the proxy server, select the Proxy server login required check box and enter the user name and password for the proxy server in the fields below.
- Confirm your entries by clicking OK.
- You have finished setting up the proxy server for plug-in access.

