Note: The following explanations for the Graphics container main element also apply to the Graphics container (mobile) main element.
You can set up a graphics container to store one image or several images that together form a graphic. You can couple each image with a different link, so that when the reader clicks an advertised product in the graphic, he/she is directed to that product in the webshop. The Graphics container element is a purely graphical element – texts cannot be added.
A special feature of the graphics containers is the integration of slices from Photoshop. Slices divide graphics into individual image elements that can then be integrated as a linked image.
Important: When using slices, it is important to note that all slices when put together must not exceed an image width of 600 px.
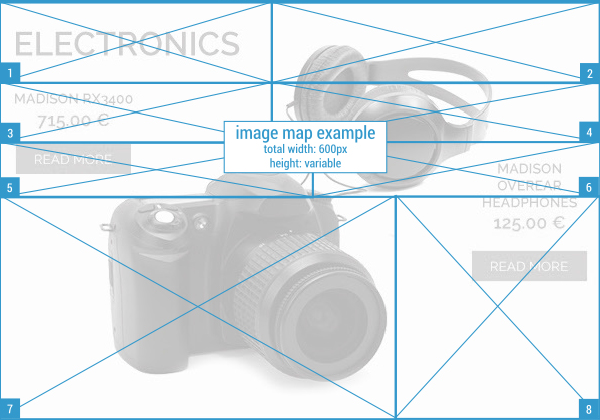
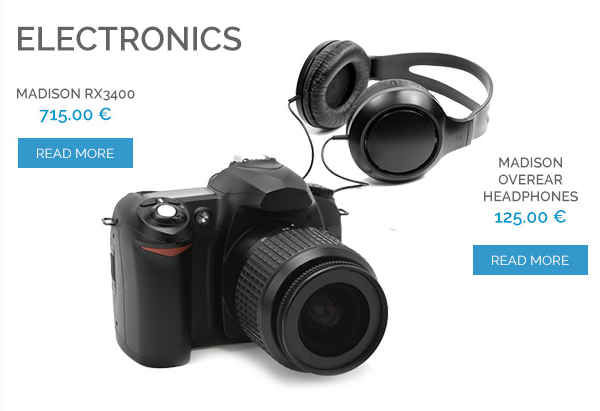
Each image element can then be provided with a separate link, so that the reader is directed to the desired (product) page. In this way, very individual graphics can be integrated and are also displayed optimally on mobile devices.
Step by step
To integrate a graphic using slices, proceed as follows:
- In the Template Editor, open the Graphics container element at the desired place.
-
Click the
 Add element button.
The Add new element dialog box is displayed.
- Insert the Image element into the graphics container in accordance with the number of slices.
-
Link each slice in the respective Image element using
 Link image.
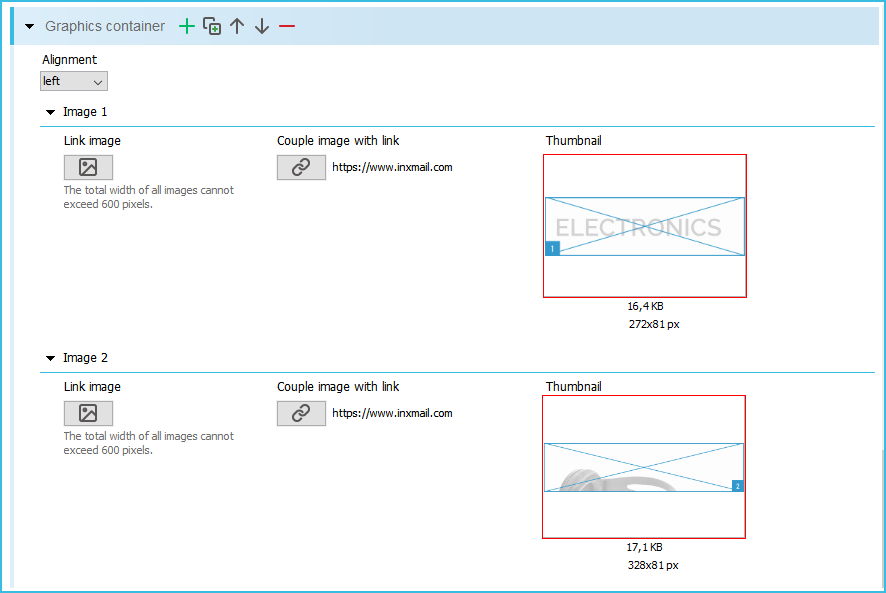
Note: Keep in mind the maximum image width of 600 px. Create further graphics containers if the maximum image width has been reached within a graphics container.
-
Then click the Couple image with link button.
The Couple image with link dialog box is displayed.
- Couple every image element with an individual link that directs the reader to the appropriate (product) page.
- Save your entries.
-
You have created a graphic using slices and have provided it with individual links.
Additional information
To help you quickly find particular image elements, you can give graphics containers an additional name. The chosen name is displayed in the Template Editor, both in the structure tree and in the template element. The name is not displayed in the newsletter.

To give a graphics container an additional name, add the Name element to the Graphics container main element using the ![]() Add element button. Then enter the desired name in the Name field.
Add element button. Then enter the desired name in the Name field.
You can use the Alternative dark mode graphics element to store an alternative dark mode graphic for the Graphics container (mobile), see Mobile behavior of individual main elements > Graphics container.

