In order to be able to perform the following steps, you require software that you can use to create Web pages. These steps are not carried out in Inxmail Professional.
Step by step
To create and publish a container Web page, proceed as follows:
-
Create a container Web page using software of your choice.
The container Web page may be a simple HTML page on your Web server or also a sub-page in your CMS (Content Management System). The container Web page will not be linked in the navigation or at other places within your website. To access it, you must know the URL.
-
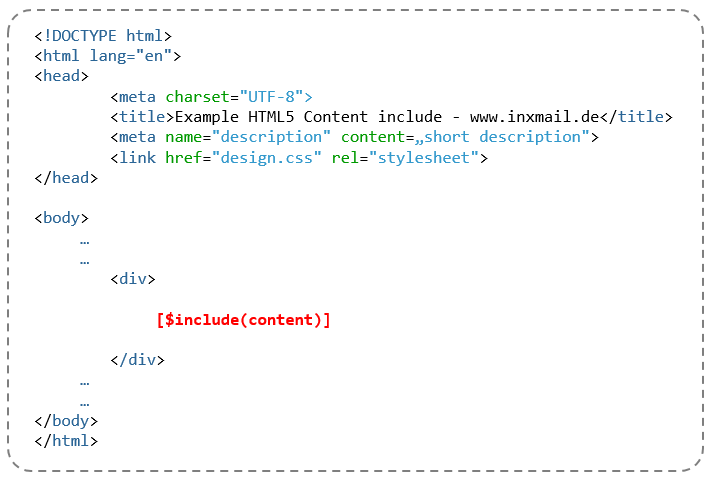
Define a place in the container Web page where the dynamic Web page is to be integrated.
The form will be displayed later at this place.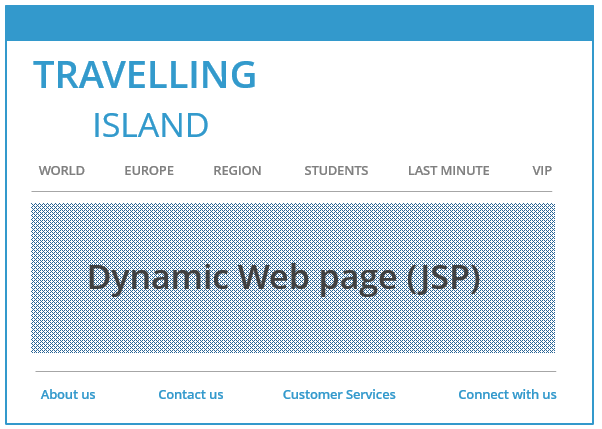
-
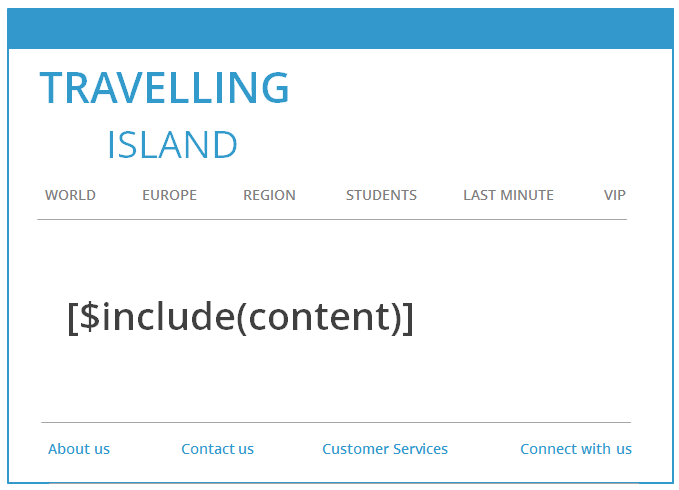
Enter the Inxmail [$include(content)] command here.
-
Publish the container Web page on your Web server.
-
Make a note of or copy the URL, for example, https://www.example.com/subscription.
Note: Make sure your container website and its contents (including images) are https-encrypted.
- You have created and published a container Web page.
The subsequent steps for integrating the dynamic Web page are to be carried out in Inxmail Professional and are described in the following:
Inxmail Professional:
2 possible use cases
Depending on your contract, you might use Inxmail Professional in different ways:
-
As part of the Inxmail platform: You use newsletters & campaigns as your main tool for creating and sending newsletters. Inxmail Professional only serves as a recipient database and configuration tool in the background.
We are constantly expanding the functionality of “Newsletters & Campaigns”. Check out newsletters & campaigns section to find out if the feature you are looking for might already be available there.
-
Full scope: You use the legacy tool Inxmail Professional as your main tool for creating and sending newsletters.
Did you not find what you were looking for?
-
Send us your feedback.
