Prerequisites
You have created the required dynamic Web page.
Step by step
To add the Dynamic entry element and enter the URL of the container Web page, proceed as follows:
-
Click the Settings main element.
The
 symbol is displayed.
 -
Click
Add element.
The Add new element dialog box is displayed.
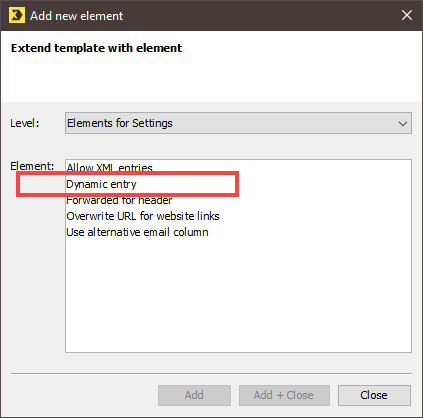
- Select Dynamic entry.
-
Confirm the dialog box by clicking Add + Close.
The Dynamic entry element is displayed.
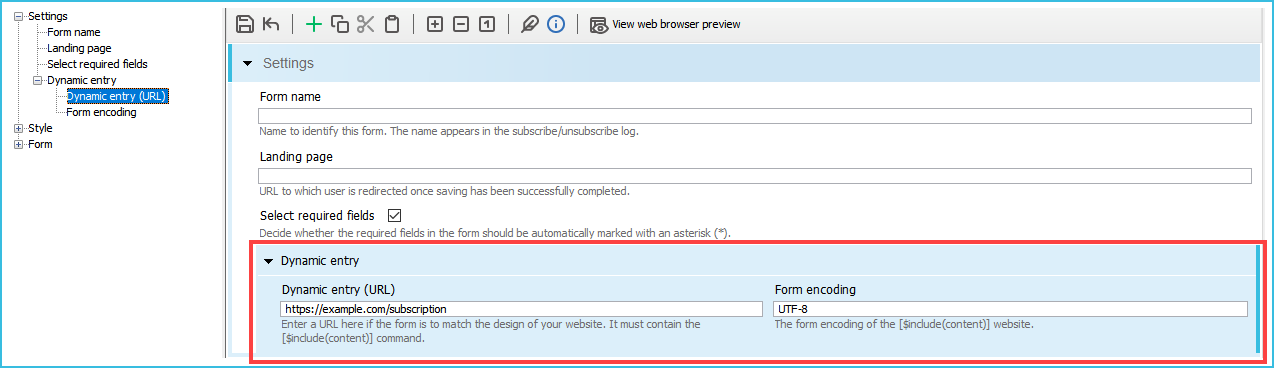
-
Enter the URL of your container Web page in the Dynamic entry (URL) field.
Note: Your website or homepage and the dynamic Web page must be available with the same encryption. For example, if your homepage is still accessed using http, but your Inxmail client is using https, proper functionality will not be possible. All content (including images) must be available either over http or with https encryption. Mixing the two protocols will result in errors.
- Enter the character set encoding in the Form encoding field.
- Save your entries.
- You have added the Dynamic entry element and have entered the URL of the container Web page.
Next steps
Inxmail Professional:
2 possible use cases
Depending on your contract, you might use Inxmail Professional in different ways:
-
As part of the Inxmail platform: You use newsletters & campaigns as your main tool for creating and sending newsletters. Inxmail Professional only serves as a recipient database and configuration tool in the background.
We are constantly expanding the functionality of “Newsletters & Campaigns”. Check out newsletters & campaigns section to find out if the feature you are looking for might already be available there.
-
Full scope: You use the legacy tool Inxmail Professional as your main tool for creating and sending newsletters.
Did you not find what you were looking for?
-
Send us your feedback.
