Authorize your interface user to set up the connection between Inxmail Professional and Salesforce.
Step by step
-
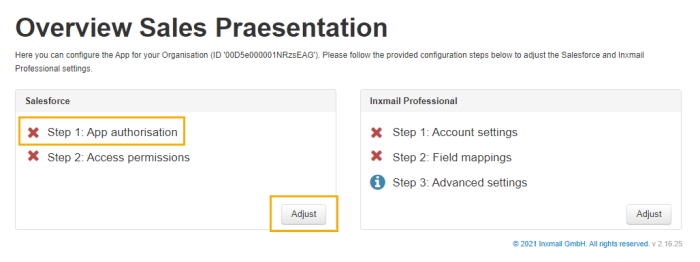
Click "Customize" or "Step 1: App authorization" under "Salesforce."
-
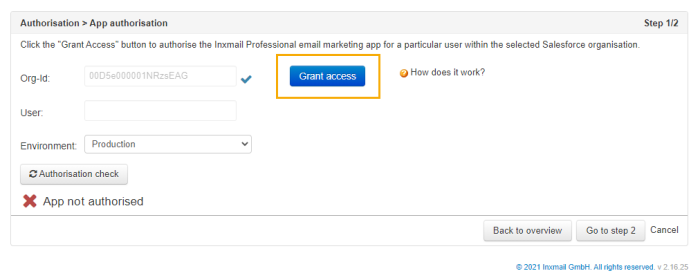
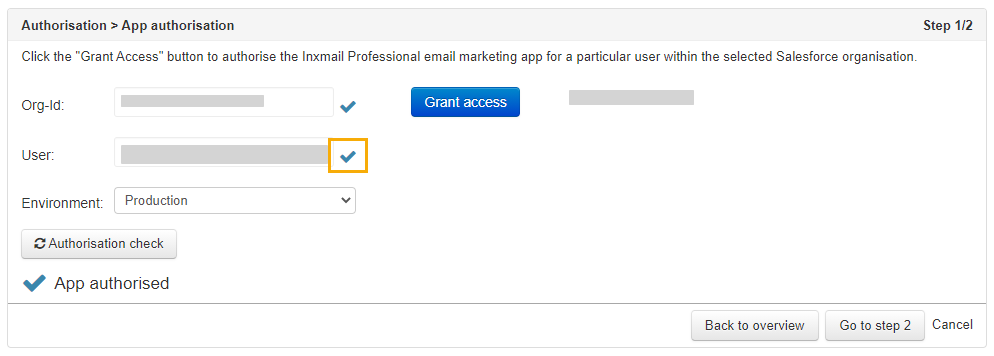
Click "Grant access."
-
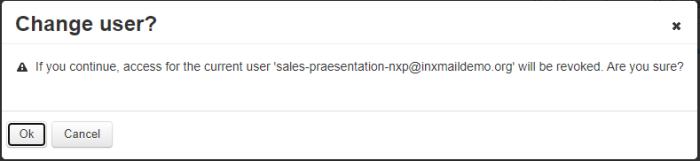
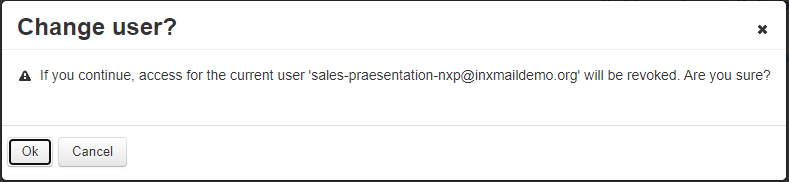
If a previous user was already authorized, you'll see this in the "Change user" dialog box.
Click "OK" and save your interface user as a new user.
-
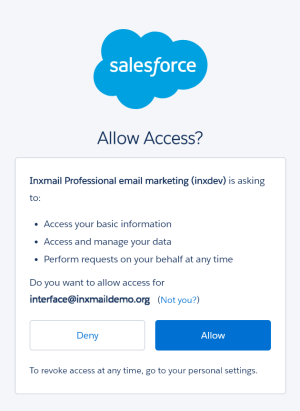
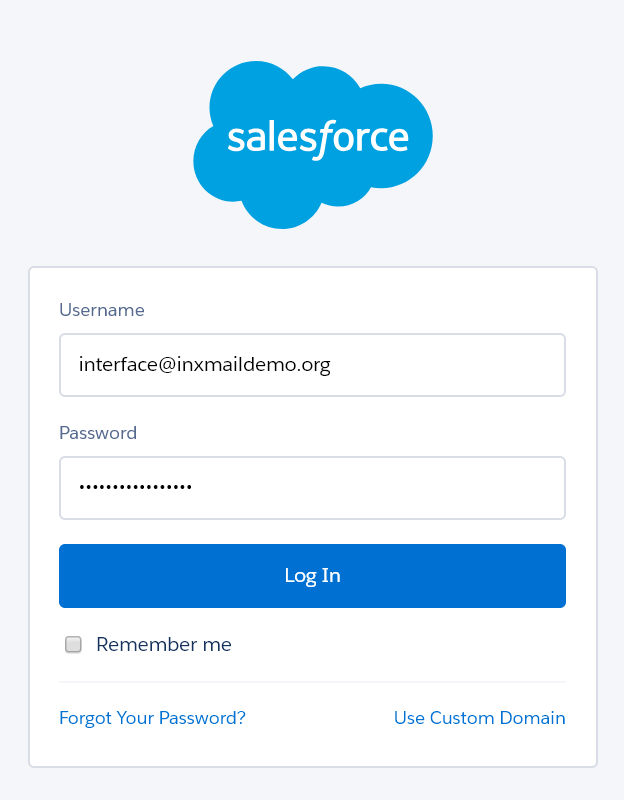
Log in.

-
Allow the Inxmail Email Marketing for Salesforce app to access your interface user's data.
-
If the user account was successfully authorized, you'll see a blue check mark behind the "User" field.

-
Save your changes.
-
Click "Back to overview" to return to the Inxmail Connector start page. All entries you make are saved automatically.
-
When you continue to the next step, this information is also saved.
-
Click "Cancel" to abort the configuration process. Changes are not saved.
-


-
You have authorized a user account.
Next step
-
Click "Go to step 2" to define the access rights for Salesforce.

