Step by step
Proceed as follows to create a new test profile at the time of creating a new event:
- Select the menu item in the navigation bar.
Events that have already been created are displayed in the selection bar.
- Click
 at the bottom end of the selection bar.
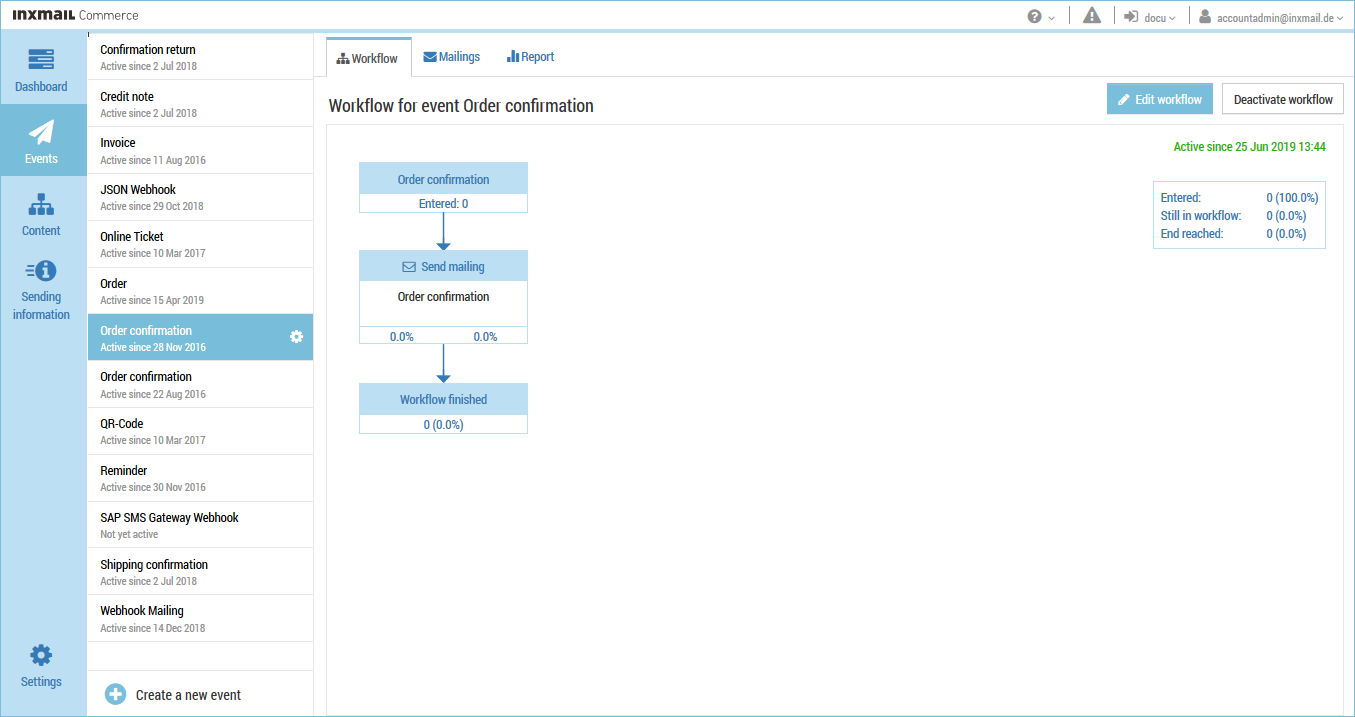
You will be directed to the page to select event templates.
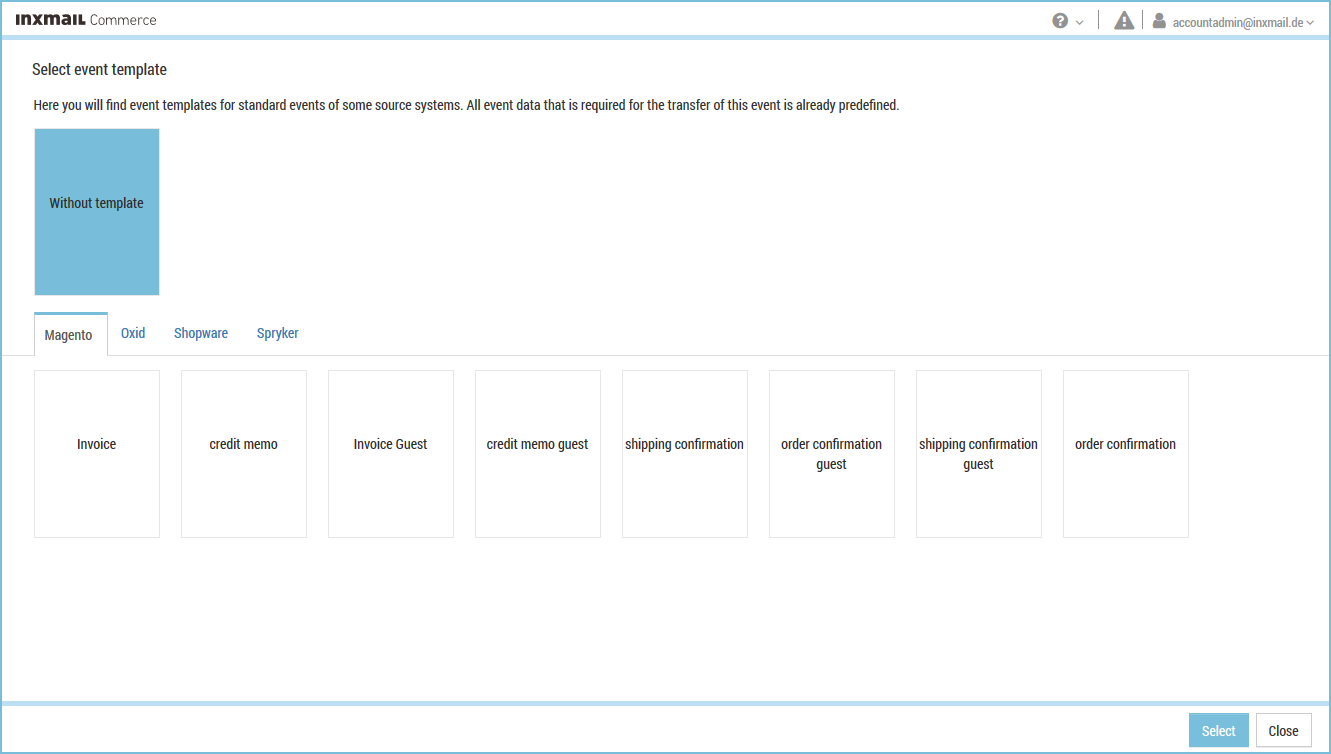
- Select the desired event template.
(You can also create a new event without a template. See the Creating a new event without a template section.)
- Click Select.
You will be directed to the Event settings page.
- Specify your settings in the fields.
Click Create event.
You will be directed to the page for editing the event template (event XML).
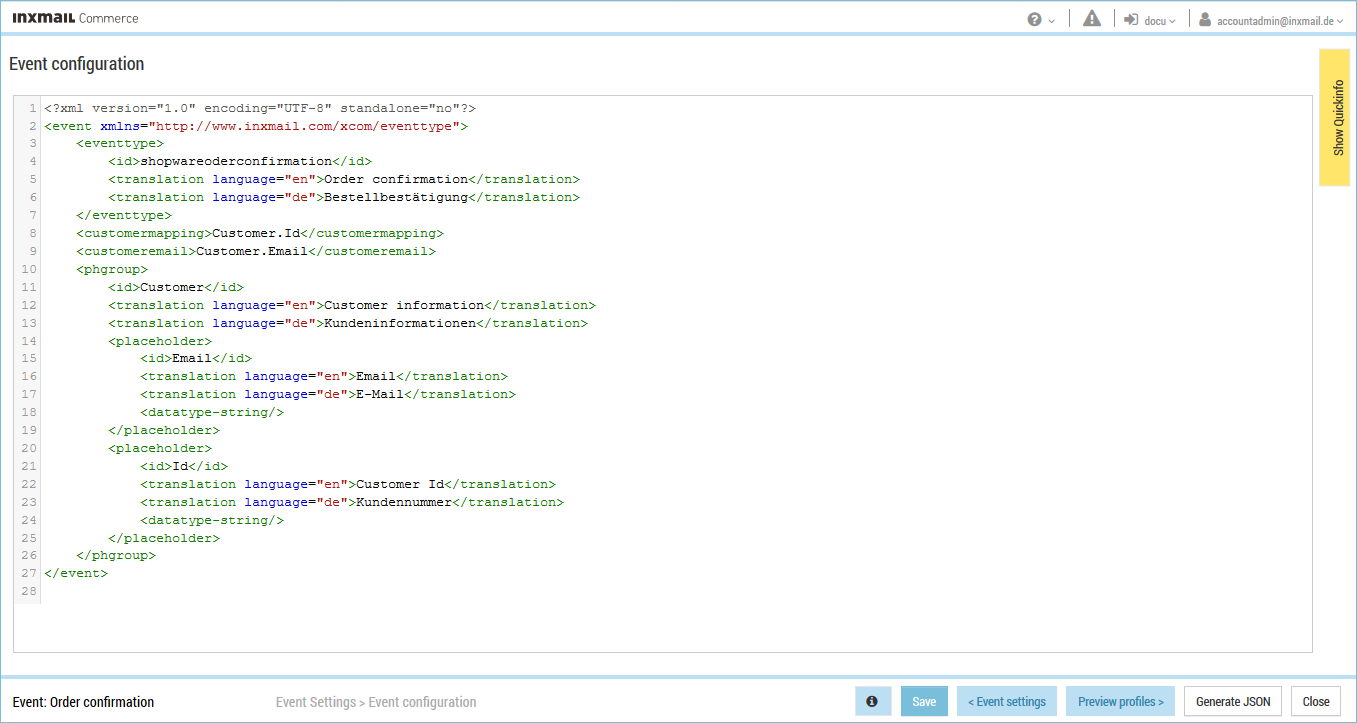
- Click Save.
The Test profiles button is enabled.
- Click Test profiles.
You will be directed to the page for creating new test profiles.
Default test profile: Inxmail Commerce automatically creates a default test profile. It contains example data that is easily recognizable as such.
Input fields: The input fields displayed result from the event XML (see Interaction between event XML and test profile).
- Click
 .
.A new test profile named New is displayed in the overview of the test profiles.
- Enter a name for the test profile in the Name field.
The name of the test profile is displayed in the corresponding list box in the Preview workflow step.
- Enter the desired values in the other input fields.
- If necessary, add new event data that is shown as a list.
- Click Save.
- You have created a new test profile at the time of creating a new event.
Related topics

