To ensure users can work properly with the application, the user that was specified in ‘Step 1: App authorisation’ of the Salesforce configuration (referred to as ‘Interface User’ in the following) and all users that work with the application require object and field rights that are set at the profile level.
To make it easier to configure the profiles, the Inxmail Professional Email Marketing for Salesforce application provides two permission sets: the ‘Interface User Permission Set’ and the ‘Marketing User Permission Set’.
These permission sets control the following field level visibilities (settings marked with * apply only to the ‘Interface User Permission Set’):
| Campaign | Read | Write |
|---|---|---|
|
Attach Mailing To Campaign |
|
|
|
Can Generate Leads |
|
|
|
ConnectionStatus |
|
|
|
ConnectionStatus Number |
|
|
|
Connect with Inxmail Professional |
|
|
|
Delete Campaign |
|
|
|
List ID |
|
|
|
Sender Address |
|
|
|
Synchronise additional campaign members |
|
|
| Campaign members | Read | Write |
|---|---|---|
|
Recipient ID |
|
|
|
|
|
|
|
synchronization_id |
|
|
| Contact and lead | Read | Write* |
|---|---|---|
|
Email Invalid |
|
|
| Click data | Read | Write* |
|---|---|---|
|
Campaign |
|
|
|
Click count |
|
|
|
Clickdata Number |
|
|
|
Contact |
|
|
|
Email client |
|
|
|
External ID |
|
|
|
First click |
|
|
|
Last click |
|
|
|
Lead |
|
|
|
Name in the report |
|
|
The visibilities for the ‘Inxmail Professional email campaign’ and ‘Inxmail Professional subscription campaign’ campaign records types, which are provided by Inxmail Professional, are also set in the Marketing User Permission Set.
Note: Only the rights that affect customer-specific objects or fields are managed in the permission sets. To see which rights are necessary for default objects and fields, please see Object rights.
If you choose not to use the permission sets, set the rights and field level visibilities in the profile of the Interface or Marketing User.
Example
There are two ways in which you can assign a permission set to a user:
- Using the Users > Permission Sets menu item.
- By selecting a user via the Users menu item, and using the Permission Set Assignments button.
Step by step
Option 1: Proceed as follows to assign a permission set using the menu item Users > Permission Sets.
-
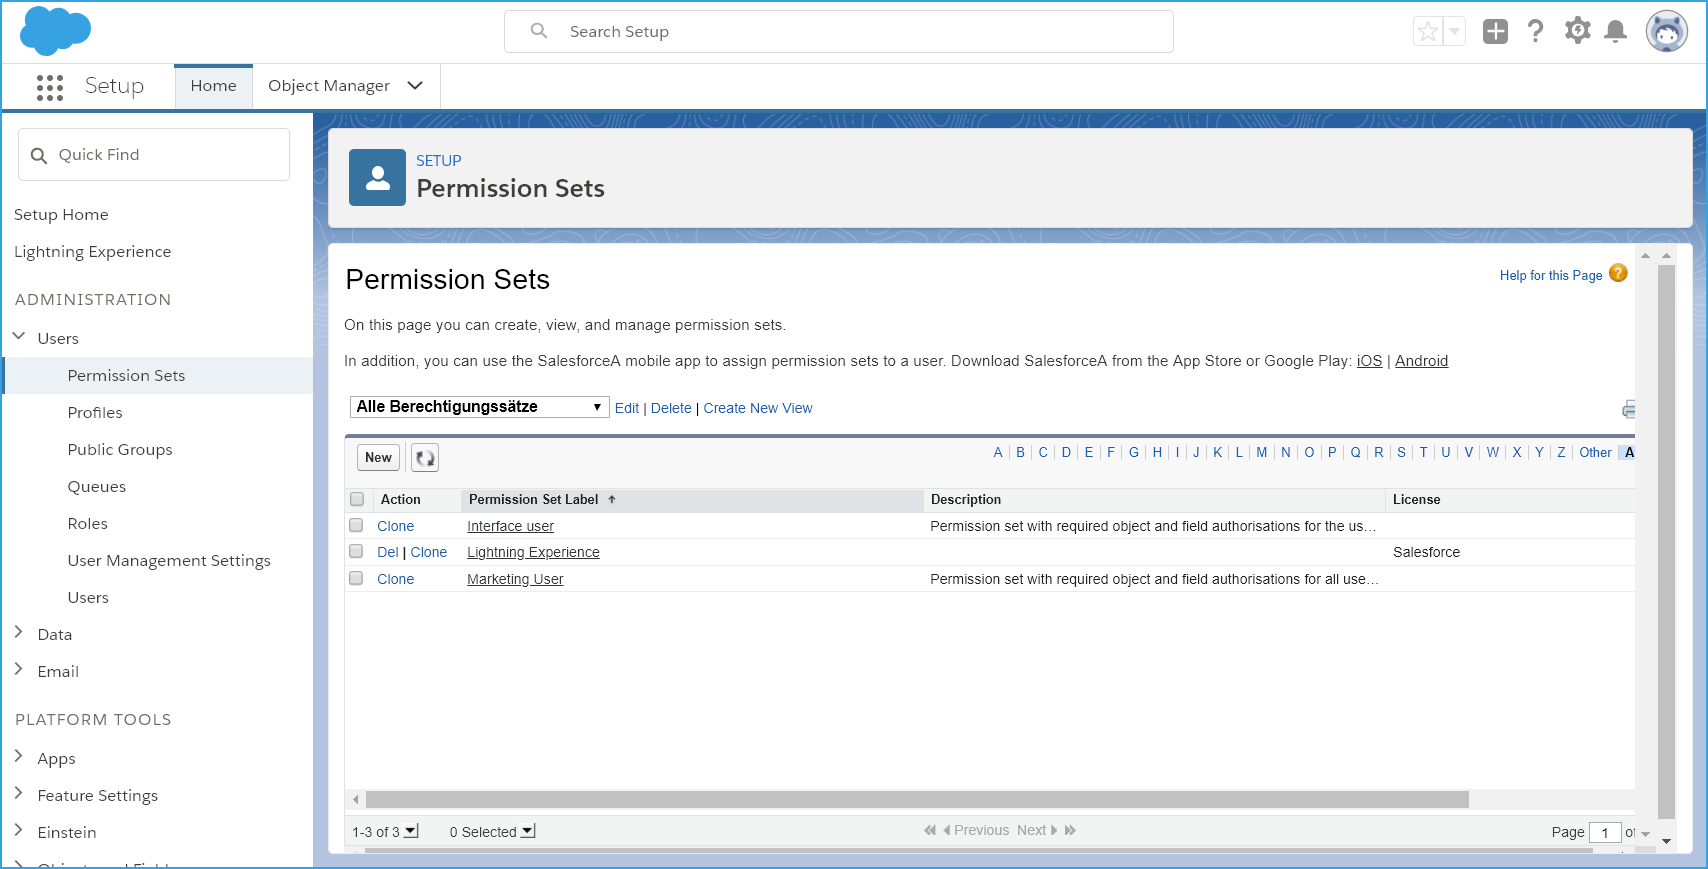
Make a selection under Setup > Users > Permission Sets.
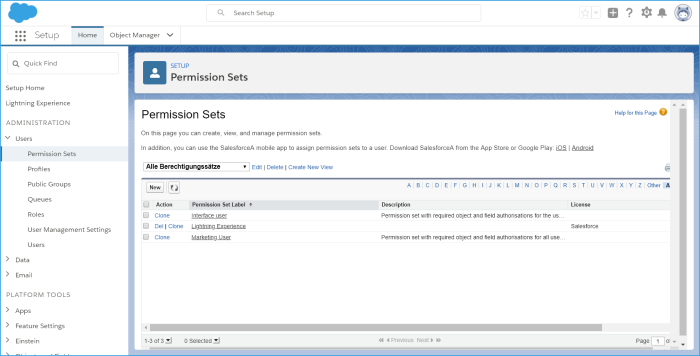
- Select a Permission set by clicking the name in the Permission Set Label column.
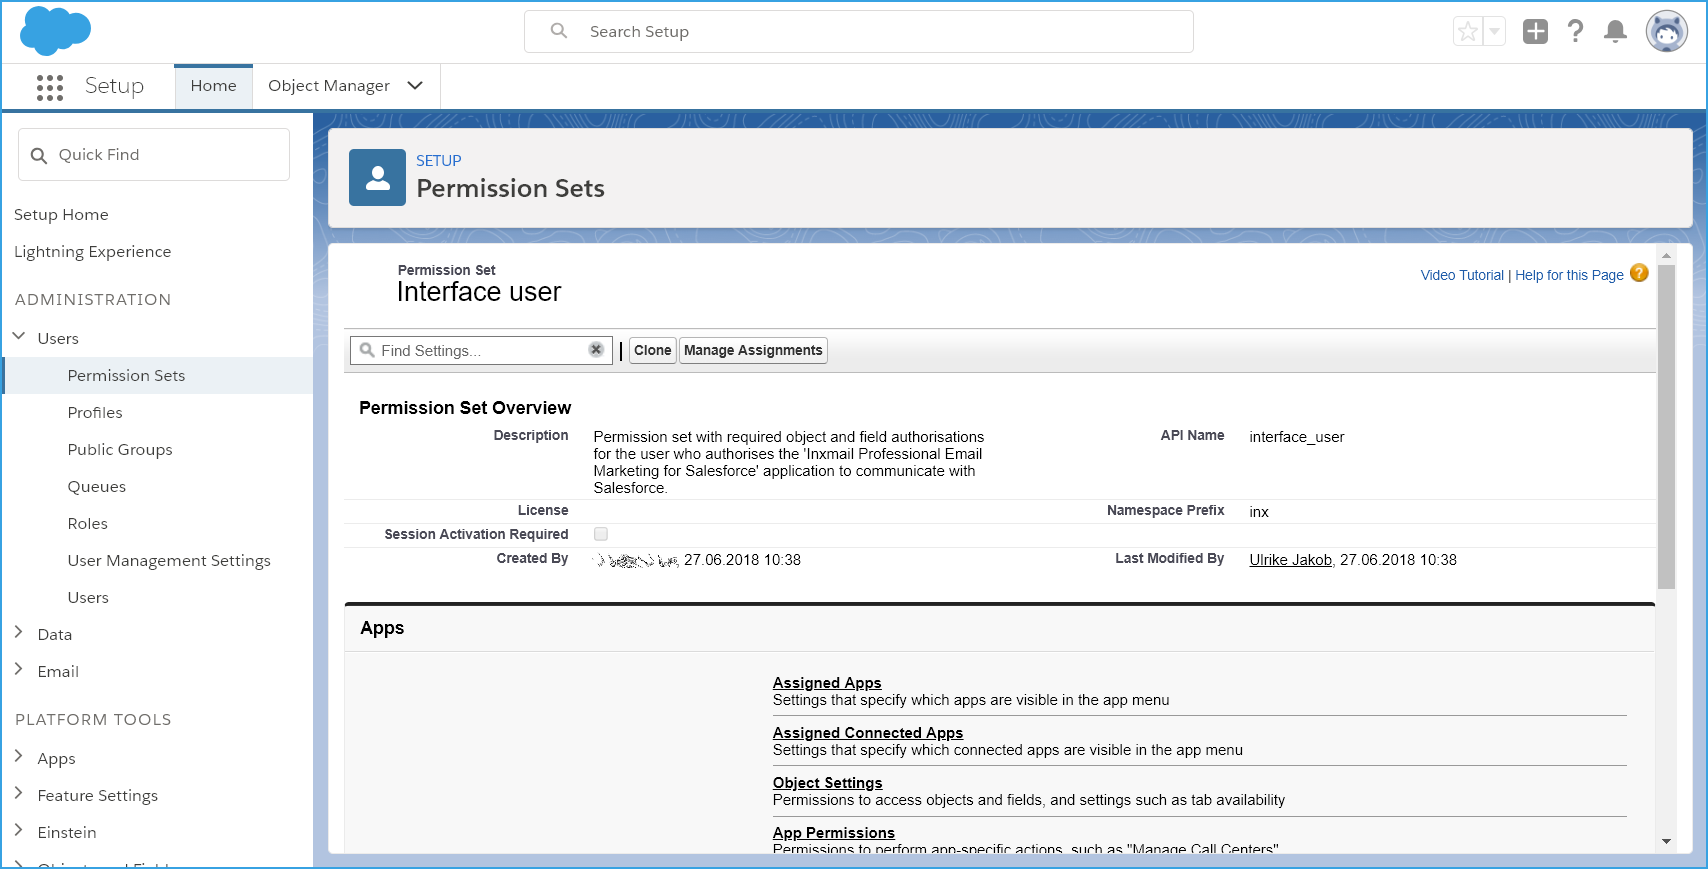
-
Click Manage Assignments.

-
Click Add Assignments.
- Select a user in the first column using the check box and click Assign.
- You have assigned a permission set to a user.
Step by step
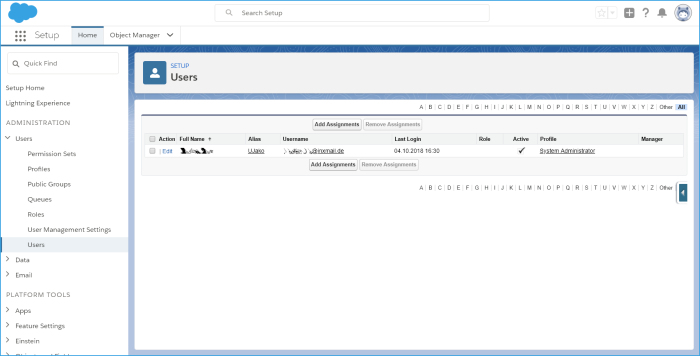
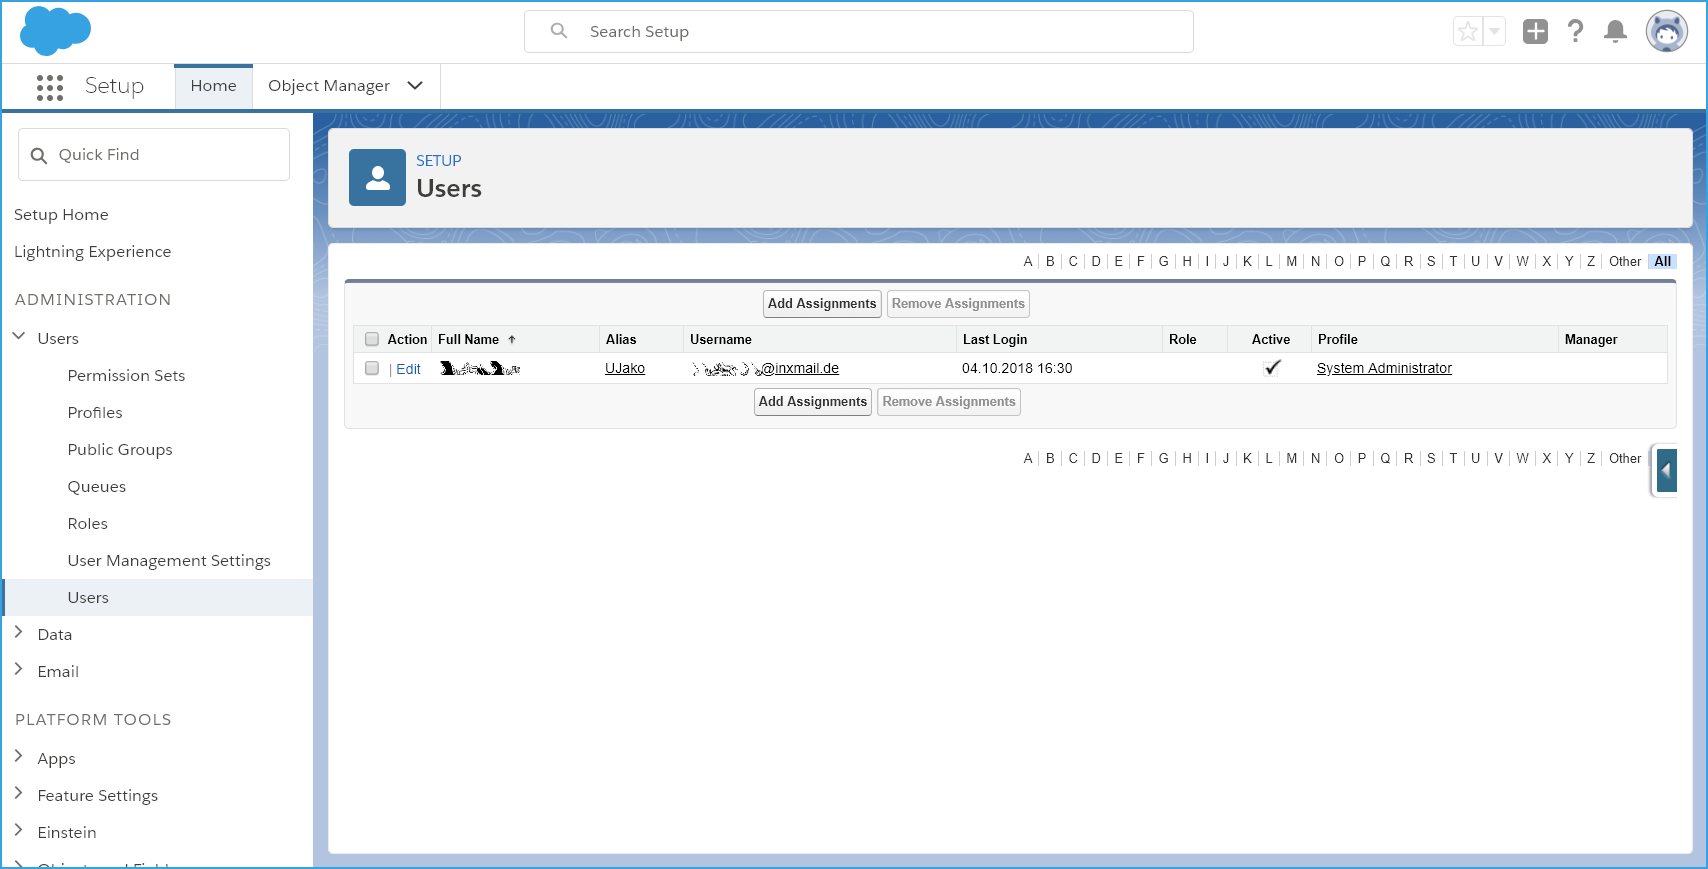
Option 2: Proceed as follows to assign a permission set by selecting the user via the menu item Users:
- Click the cogwheel symbol on the top right and select Setup.
- Click Users in the menu tree on the left.
- Select a user in the tabular view by clicking their name.
- In the user view, click the Permission Set Assignments button on the top left.
- Click the Edit Assignments button.
- Select a permission set on the left from the available permission sets and activate it by clicking the Add arrow symbol.
- Click the Save button.
- You have assigned a permission set to a user.

