Setting side margins for the entire mailing
The Advanced Template allows you to set the side margins of the mailing manually. To do this, go to the Settings main element. Select a distance (in px) from the Configurable side margins (left and right) drop-down list. The width of 600 px is kept, and only the size of the images is reduced accordingly. In this way, you can adjust distances from the edge according to your requirements.
Setting side margins for the current element
You can define different side margins for an individual element. To do this, insert the Article distances element (for example at the article level) and define the values for Side margin (left), Side margin (right) and Column spacing. The definition in the current element overwrites the entries in the Settings element.
Distance to next element
You can increase or reduce the distance between articles or elements. The Distance to next element element required for this is available in almost all main elements. You can set the distance centrally for all elements (under Predefined distance to next element level in the Settings main element) or specify the distances individually between elements.
The following instructions demonstrate how to increase the distance between the introduction and a section bar positioned directly beneath.
Step by step
To increase the distance between the introduction and a section bar, proceed as follows:
- Open the Welcome main element in the Template Editor.
-
Select a distance (in px) from the Distance to next element drop-down list, for example 15 px.
Note: Alternatively, click
 Add element after the name of the Welcome main element if the Distance to next element drop-down list is not yet present in the template structure.
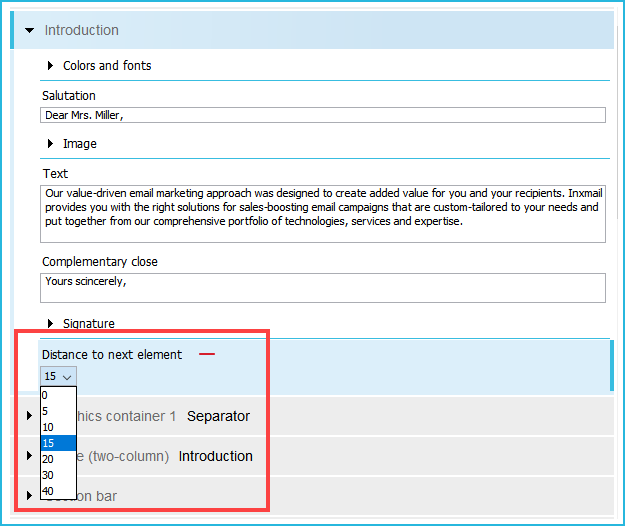
- Save your entries.
- You have increased the distance between the introduction and the section bar directly beneath to 15 px.

