You can add target groups to certain main elements. This allows you to control a mailing so that it contains main elements only intended for a specific target group.
Example
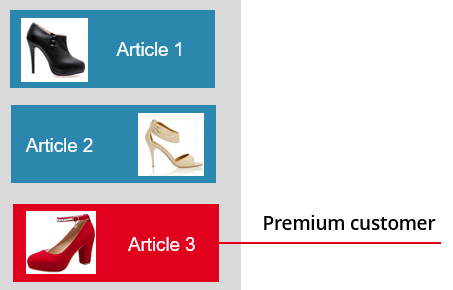
Your newsletter contains articles intended for all recipients. (These are the blue Article 1 and Article 2 in the graphic.) You have classified certain customers as ‘Premium customers’. The newsletter should contain an additional article for premium customers. (This is the red Article 3 in the graphic.)
You can implement this application scenario by adding the ‘Premium customers’ target group to Article 3.
Step by step
Proceed as follows to add a target group to a main element:
-
Open the main element to which you want to add the target group, for example Article, in the Template Editor.
The main element opens and is highlighted in blue.
-
Click
 Add element after the name of the element.
The Add new element dialog box is displayed.
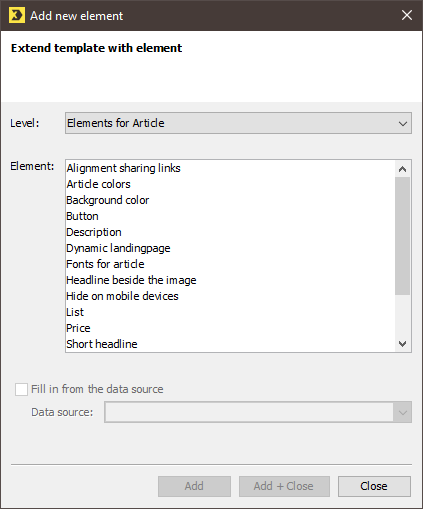
- Select the Target group element.
-
Confirm the dialog box by clicking Add + Close.
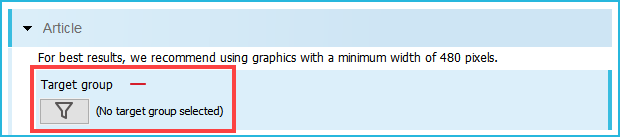
The Target group element is displayed in the Article element.
-
Click
 (Target group).
The Add target group dialog box (1) is displayed.
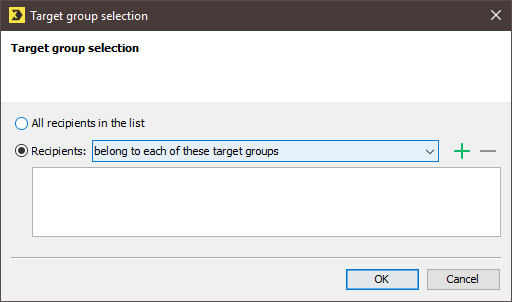
- Select the Recipients: option button.
- Use the drop-down list to select whether the recipients must belong to all, at least one or none of the selected target groups.
-
Click the
(Add target group) button.The Add target group dialog box (2) is displayed.
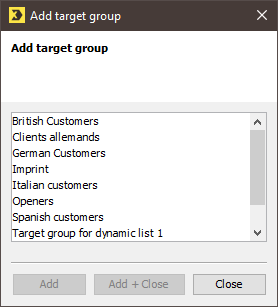
-
Select the desired target group(s).
Multiple selection: You can also select multiple target groups all at once. To do this, press and hold down the CTRL key as you click each target group.
-
Confirm the dialog box by clicking Add + Close.
The Add target group dialog box (1) is displayed again.
-
Confirm the dialog box by clicking OK.
The Template Editor is displayed again.
The
 icon is displayed.
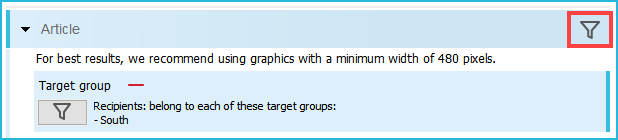
- Save the mailing.
- You have successfully added a target group to a main element.
Related topics

