Step by step
You can open the Create new mailing dialog box as follows:
- To open the dialog box from the
 (Cockpit) tab, click the
  New mailing button.
 -
To open the dialog box on the tab of a mailing list, go to the
 Mailings agent > Mailings tab and click the
  (Create new mailing) button.
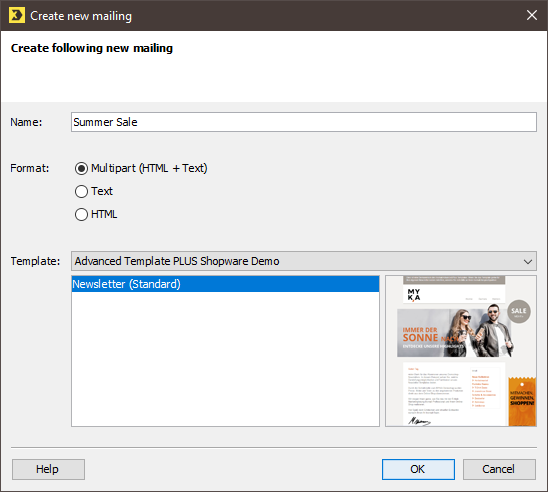
The Create new mailing dialog box is displayed.
-
If you opened the dialog box from the Cockpit tab, select the mailing type in the Type drop-down list in the dialog box, and in the Associated list drop-down list, select the mailing list in which you want to create your mailing.
If you opened the dialog box from the tab of a mailing list, the Associated list field will not be displayed in the dialog box as the mailing will be automatically created for the current mailing list.
-
Enter a name for the mailing in the dialog box.
Select a name that will allow you to locate the mailing quickly.
-
Select the HTML format and the template required for the mailing.
If the format is already preselected and the respective fields in the dialog box are greyed out, this means that the format for all mailings of this mailing list is preset (Setting up the properties of mailing lists).
-
Confirm your entries in the dialog box by clicking OK.
The mailing opens on a new tab where it can be edited.
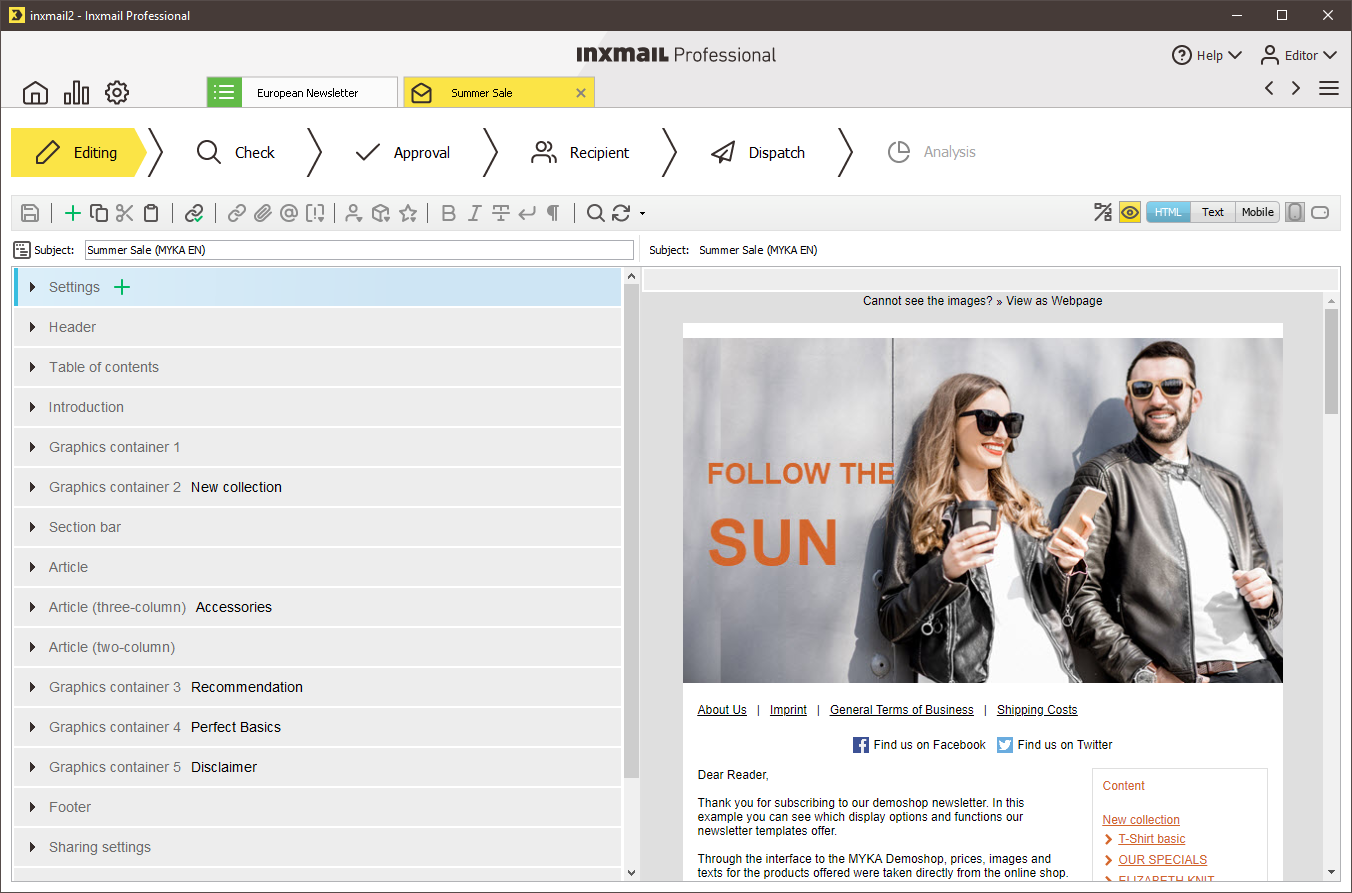
The mailing is also automatically added to the table on the tab of the mailing list >
Mailings agent > Mailings tab.
-
You have now created a new mailing.
Note: You can reuse template elements from existing mailings by copying them in an existing mailing and pasting them into a newly created mailing. See the Creating mailings based on Inxmail Templates and Filling template elements with contents sections for information on how to add further contents to a template mailing.

