For the ‘Confirm unsubscribe’ Web page to be opened after clicking the unsubscribe link in the mailing, you must enter it in the ![]() Subscriptions agent.
Subscriptions agent.
Step by step
To enter a ‘Confirm unsubscribe’ Web page in the Subscriptions agent, proceed as follows:
- Open the relevant mailing list.
- Click the
 Subscriptions agent.
 -
Click the Unsubscription tab.
The page for setting up unsubscription is displayed.

- Enable the Single/Confirmed opt-out (simple unsubscription) options under Unsubscribe procedure.
- Under Predefine unsubscribe for the list, enable the option Unsubscribe link first accesses an unsubscription confirmation web page.
-
Click
 (Edit).
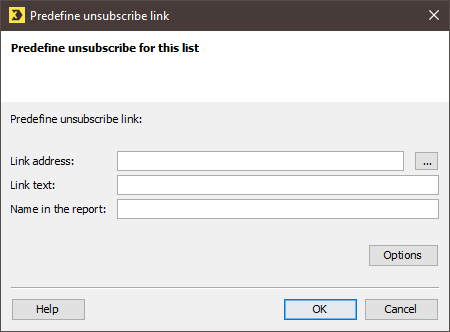
The Predefine unsubscribe link dialog box is displayed.
-
Click
 (Select JSP web page).
The ‘Confirm unsubscribe’ dynamic Web pages that have been created are displayed.
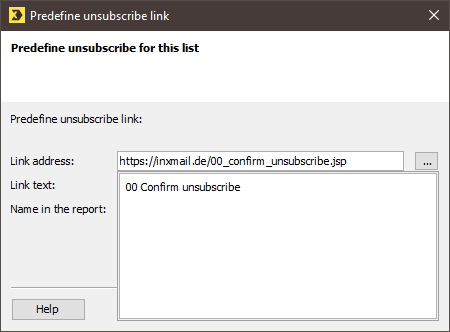
-
Select the required JSP.
You return to the Predefine unsubscribe link dialog box.
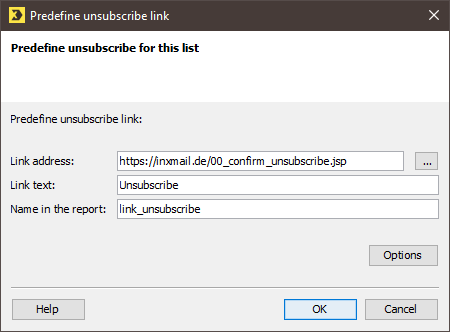
- Enter the text for the unsubscribe link in the Link text field.
- In the Name in the report field, enter the text or name to be used for analyses of this link in the reports.
- Confirm your entries by clicking OK.
- Save your entries.
- You have entered a ‘Confirm unsubscribe’ Web page in the Subscriptions agent.
Inxmail Professional:
2 possible use cases
Depending on your contract, you might use Inxmail Professional in different ways:
-
As part of the Inxmail platform: You use newsletters & campaigns as your main tool for creating and sending newsletters. Inxmail Professional only serves as a recipient database and configuration tool in the background.
We are constantly expanding the functionality of “Newsletters & Campaigns”. Check out newsletters & campaigns section to find out if the feature you are looking for might already be available there.
-
Full scope: You use the legacy tool Inxmail Professional as your main tool for creating and sending newsletters.
Did you not find what you were looking for?
-
Send us your feedback.
