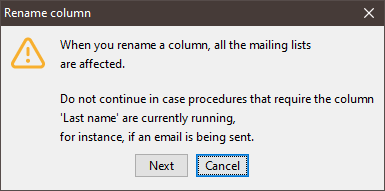
Important: Please note that when you rename a column, the change will affect all the recipient tables. Therefore, only rename columns if you are certain that no procedures need to access the old column names (for example, to send mailings).
Step by step
- Open the recipient table.
-
Click in the column that you would like to rename.
The row is highlighted in blue and the cell of the column is marked with a dotted border.
-
Click the
 (Configure columns) button and select Rename column.
A message box appears.
-
Confirm the message by clicking Next.
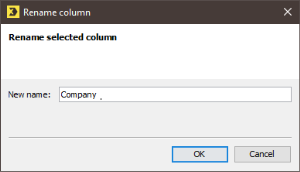
A dialog box appears.
-
Enter a new name for the column in the dialog box.
Note: Avoid using umlauts and special characters in column names.
- Confirm your entries by clicking OK.
- You have now renamed the column. The new column name appears in the column header in the recipient table.
Related topics


