You are directed to the editing area for HTML mailings as soon as you have created an HTML or a multipart mailing or when you open it. You access the first of five workflow steps (![]() Editing workflow step) that need to be completed when creating and sending a mailing.
Editing workflow step) that need to be completed when creating and sending a mailing.
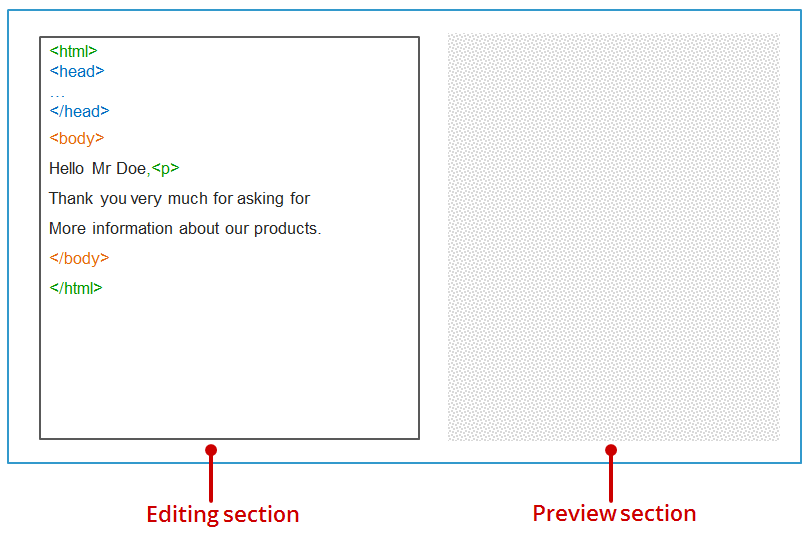
The editing area for HTML mailings can be subdivided into two main areas: the editing area and the preview section. Stylised, the editing area for HTML mailings appears as follows:
The editing area also has a toolbar and a subject line.
The editor in the editing area for HTML mailings contains the following HTML tags after mailings have been created:
<!DOCTYPE html PUBLIC "-//W3C//DTD XHTML 1.0 Transitional//EN" "http://www.w3.org/TR/xhtml1/DTD/xhtml1-transitional.dtd">
<html xmlns="http://www.w3.org/1999/xhtml">
<head>
<meta http-equiv="Content-Type" content="text/html;charset=[%listcharset]"/>
<meta http-equiv="Content-Style-Type" content="text/css;charset=[%listcharset]"/>
<title></title>
</head>
<body>
</body>
</html>You can enter text, insert links and link or embed images between the HTML tag <body> and the HTML tag </body>.
Use the buttons on the toolbar to do this. You can also enter HTML tags manually.
You can also copy text over from other word processing programs using Copy (CTRL+C) and Paste (CTRL+V).
Inxmail Professional:
2 possible use cases
Depending on your contract, you might use Inxmail Professional in different ways:
-
As part of the Inxmail platform: You use newsletters & campaigns as your main tool for creating and sending newsletters. Inxmail Professional only serves as a recipient database and configuration tool in the background.
We are constantly expanding the functionality of “Newsletters & Campaigns”. Check out newsletters & campaigns section to find out if the feature you are looking for might already be available there.
-
Full scope: You use the legacy tool Inxmail Professional as your main tool for creating and sending newsletters.
Did you not find what you were looking for?
-
Send us your feedback.

