Before you can perform the approval process, you must first create approvers in the system. You can create them as a list on the ![]() (Global settings tab >
(Global settings tab > ![]() Properties agent or in relation to a specific list on the mailing list tab >
Properties agent or in relation to a specific list on the mailing list tab > ![]() Properties agent.
Properties agent.
Below is a step-by-step description of how to create approvers globally for all lists.
Step by step
-
On the
 (Global settings) tab >
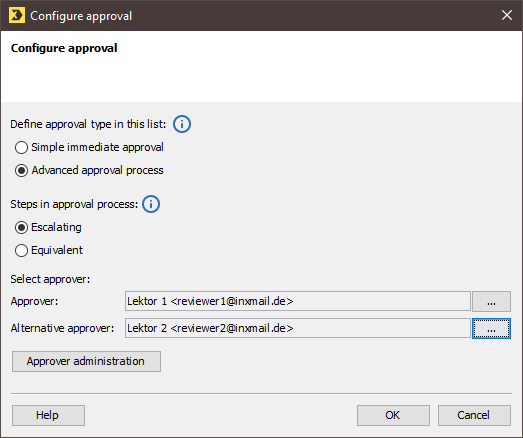
  Properties agent, click Mailing approval under Advanced properties.
The
 button is displayed at the end of the line.
 -
Click the
button.A dialog box appears.
-
Click the Approver administration button.
A dialog box appears.
-
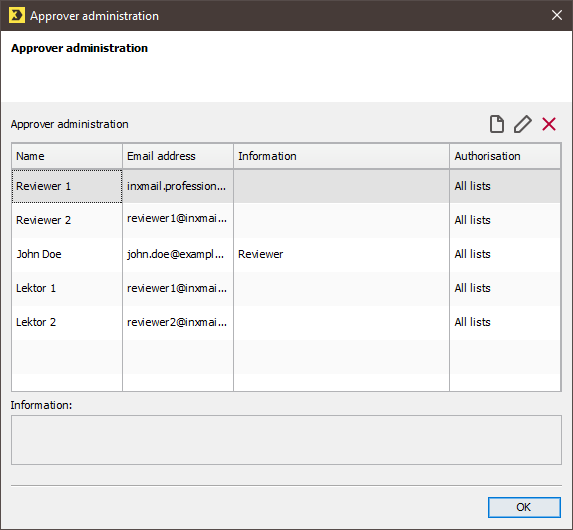
To do this, click the
 (Create new approver) button.
A dialog box appears.

-
Enter an email address.
You can, if you want, enter the name of the approver and further information.
-
Define the authorisation. Select the All lists option if the newly created approver is to act as an approver for all lists.
Select the Restricted by list option if the approver is to act as an approver only for selected lists. Enable the check box in front of the respective list.
- Confirm the dialog box by clicking OK.
- You have finished creating a new approver.
Inxmail Professional:
2 possible use cases
Depending on your contract, you might use Inxmail Professional in different ways:
-
As part of the Inxmail platform: You use newsletters & campaigns as your main tool for creating and sending newsletters. Inxmail Professional only serves as a recipient database and configuration tool in the background.
We are constantly expanding the functionality of “Newsletters & Campaigns”. Check out newsletters & campaigns section to find out if the feature you are looking for might already be available there.
-
Full scope: You use the legacy tool Inxmail Professional as your main tool for creating and sending newsletters.
Did you not find what you were looking for?
-
Send us your feedback.
