Integrating content into template elements
Step by step
To integrate external content into a mailing using Content import, proceed as follows:
- Open the mailing in the
 Editing workflow step.
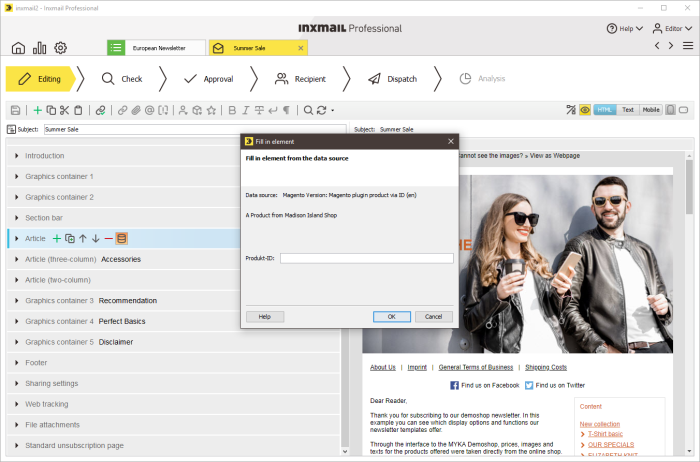
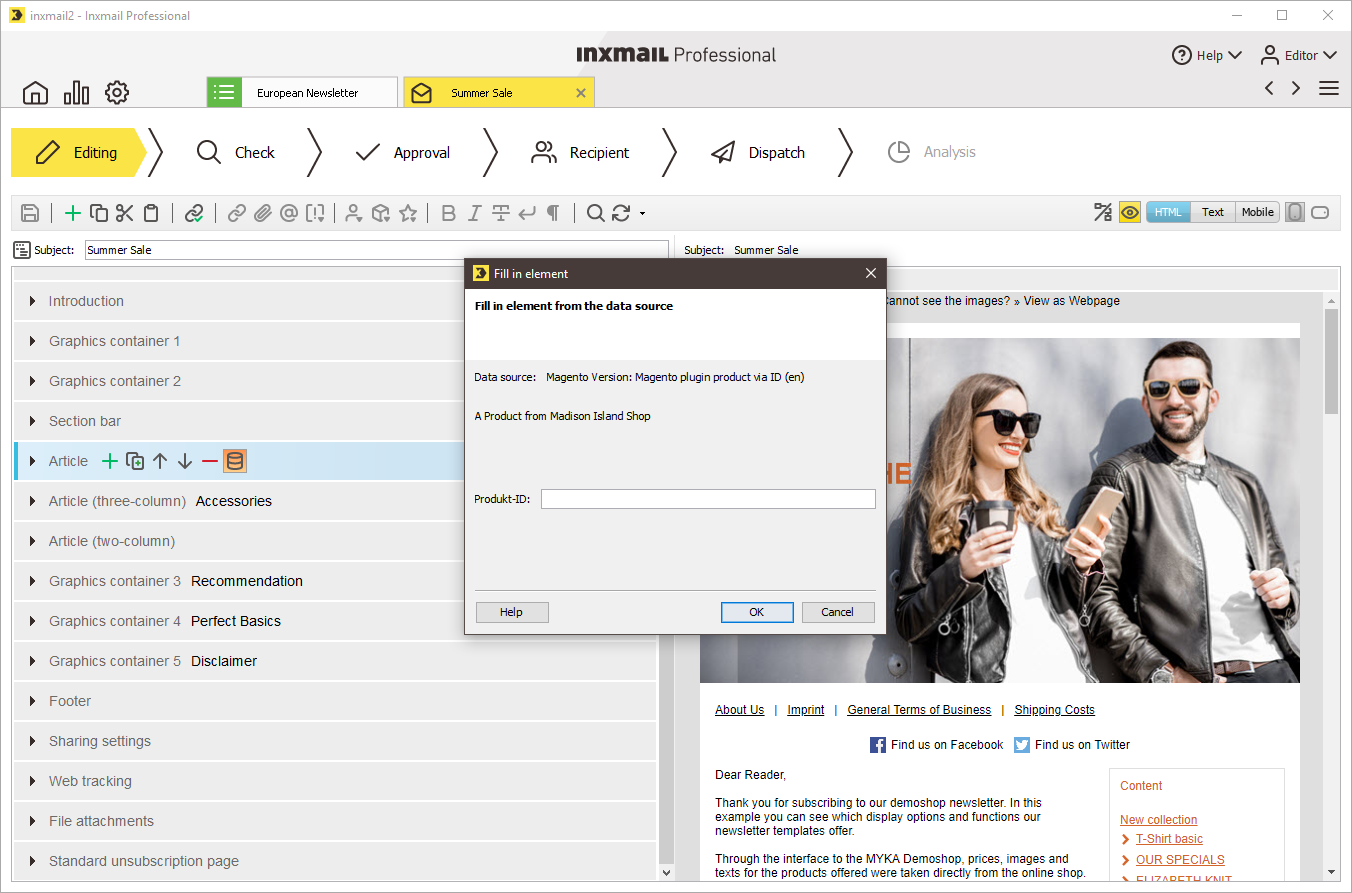
 - Click the template element into which you would like to integrate the external content.
-
Click the
 Fill in element button directly after the element name.
The Fill in element dialog box is displayed.
-
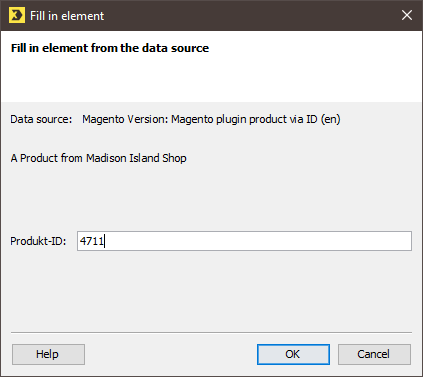
Use the drop-down list to select a data source from which external content is to be integrated.
The selection of data sources can vary per article element, depending on how many data sources have been created for this element.
-
If you have selected a data source that requires the entry of an ID, enter the ID in the corresponding field.

- Confirm the dialog box by clicking OK.
- You have integrated external content into a mailing using Content import.
Additional information
The integrated content is not automatically updated before sending. If changes were made in the online shop in the period between the integration of the external content and the sending of the mailing, then these changes will not be transferred to the mailing.
If you want to ensure that updates from the online shop are transferred to the mailing, click ![]() (Refresh quick preview) or
(Refresh quick preview) or ![]() (Save).
(Save).
Important Please note that any manual changes you have made will then be overwritten.
