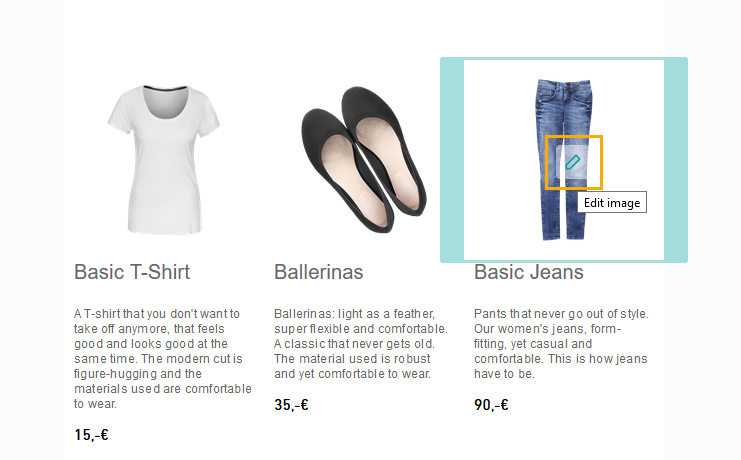
In Inxmail New Xperience, you can edit images directly in your mailing - without having to switch to another application.
Edit your images inside the mailing editor: You can only edit images within your mailing, not inside the ![]() "Media" navigation item. Processed images will be saved in separate a file, see below.
"Media" navigation item. Processed images will be saved in separate a file, see below.
Step by step
-
Click the
 "Edit image" icon in the center of your image.
 -
Enter the dimensions for your image using
"Image Size", if you have a large image that you would like to downsize before sending.
What is the best image size? Learn more about optimizing image size for your mailing in our Smart Guide. Depending on your container dimensions, you may have to recalculate the image dimensions from the Smart Guide.
-
Use
"Crop" to choose the right section of your image. Here you can also rotate and mirror your image.
Becareful when cropping the sides of the image: Note that Inxmail New Xperience always scales based on image width (and not on image height).. So sometimes it's important to leave white or transparent parts to your image, so that it scales properly.
-
Add markups, shapes and text to your image using
"Markup".
-
Rework the appearance of your image using
"Filter", e.g. by applying a cold, warm, monochrome or sepia filter.
-
Use
"Colors" to apply your settings for brightness, contrast or saturation, for example.
-
Happy with the result? Click and Inxmail New Xperience will apply all changes.
Not happy? Click
"Reset" or
 "Close" to discard all changes.
- You processed an image inside your mailing.
Your processed image will be saved in a new image file inside the navigation point ![]() "Media". If your image is used in more than one mailing, it will remain unchanged in the other mailings. Your image will only be replaced with the new image file in your current mailing.
"Media". If your image is used in more than one mailing, it will remain unchanged in the other mailings. Your image will only be replaced with the new image file in your current mailing.

