Step by step
Proceed as follows to create a new event based on an event template:
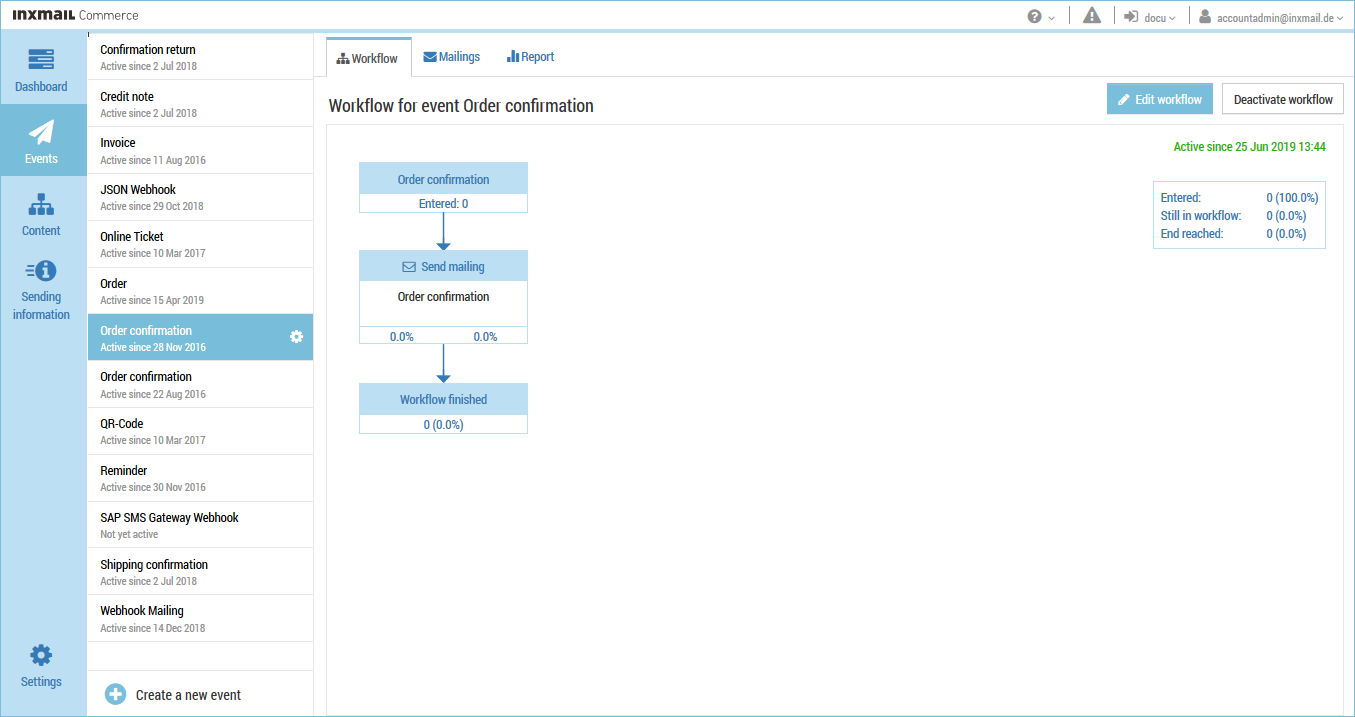
- Select the menu item in the navigation bar.
Events that have already been created are displayed in the selection bar.
- Click
 at the bottom end of the selection bar.
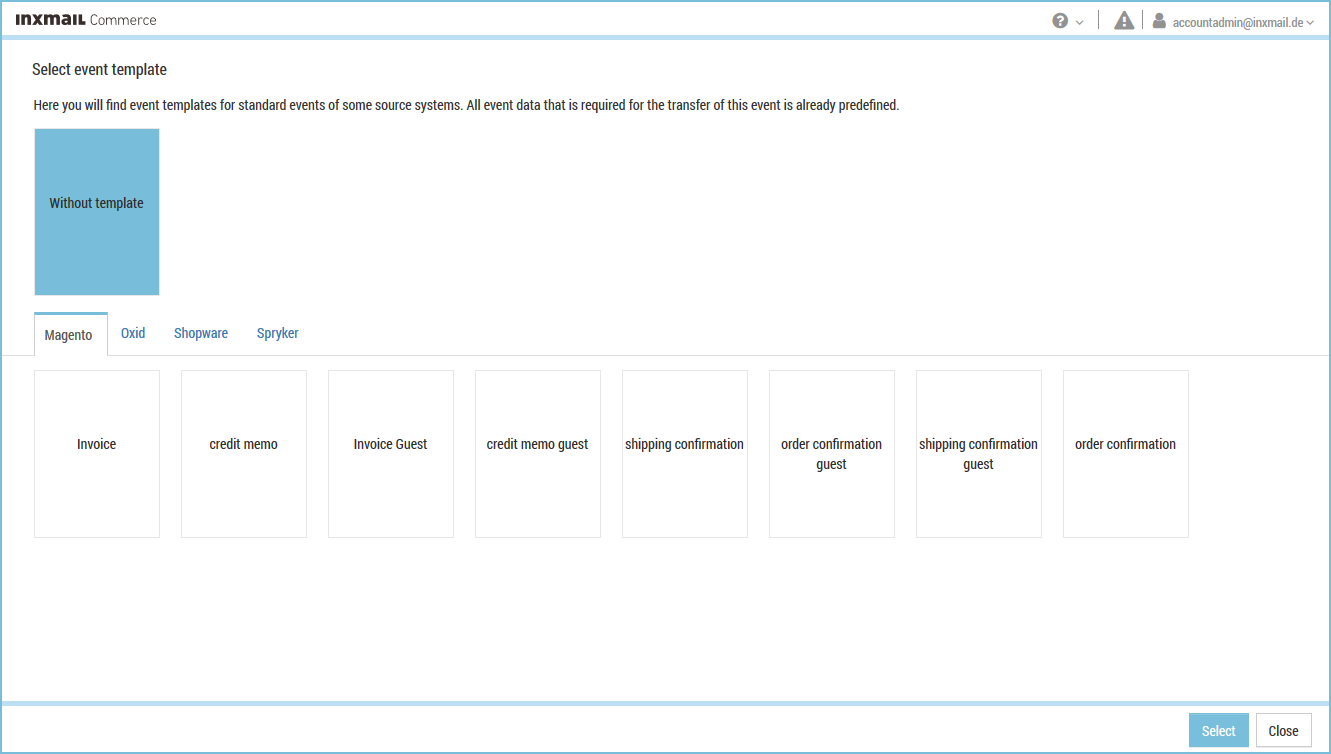
You will be directed to the page to select various default event templates.
Inxmail Commerce offers templates for the central events and transactions of the Magento, Oxid, Shopware and Spryker online shop systems. These contain the central or typically used event data that you require for transactional emails.
- Select the desired event template.
- Click Select.
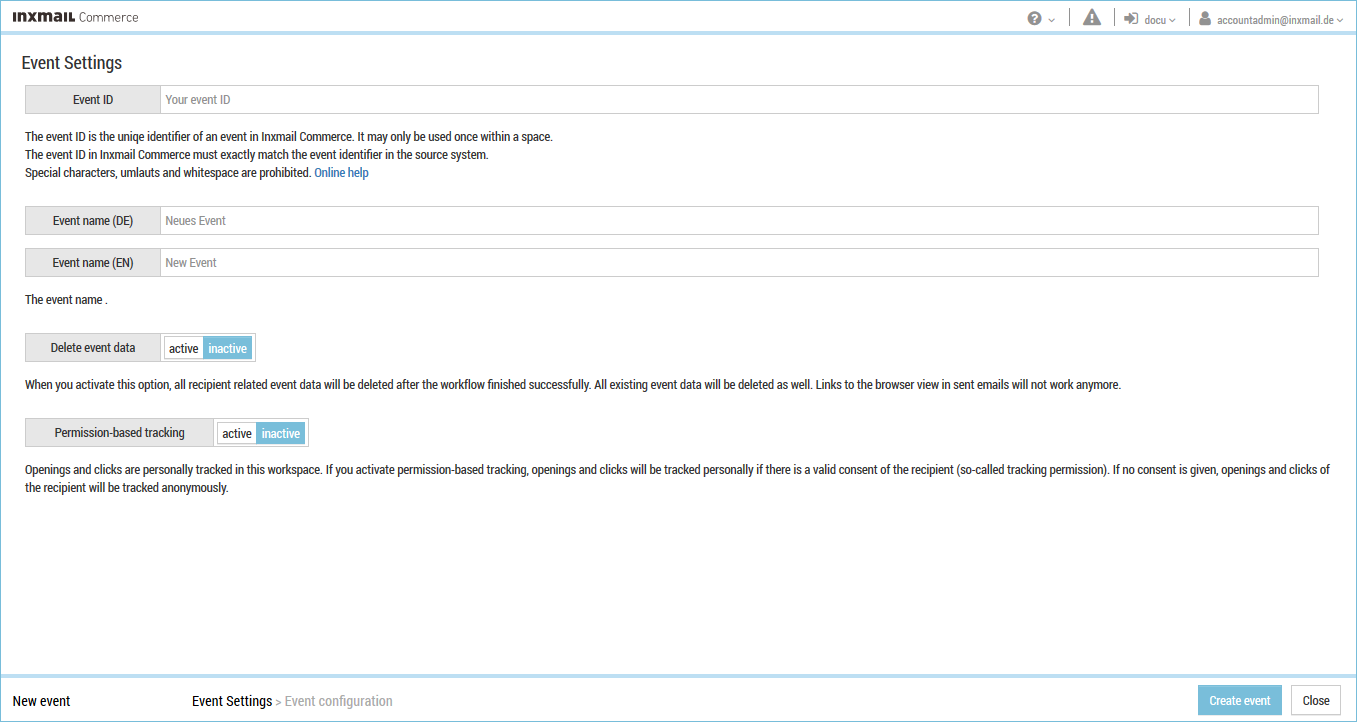
You will be directed to the Event settings page.
 ‘Event settings’
Name
Description
Event ID
Enter the event ID here.
The event ID uniquely identifies an event in Inxmail Commerce. It may only be used once for each space.
The event ID in Inxmail Commerce and the name of the associated event in your source system must match exactly.
Event name (DE)
Enter the German event name here. The event name can be freely assigned. Descriptive names such as ‘Reminder’ or ‘Reset password’ are recommended. The event name is displayed in the event overview (selection bar) once the event has been created.
Event name (EN)
Enter the English event name here.
Delete event data
You can specify here whether the event data transferred from your source system should be automatically deleted after successful completion of the workflow. (A workflow has usually been completed successfully once the transactional email has been sent without any problems.)
If you select this option, event records from any earlier dispatches will also be deleted. The event data is deleted approximately 24 hours after the workflow has been completed. The link to the Web view or browser view in the transactional email is also no longer active after this period of time.
- Specify your settings in the fields.
Note: The entries made for the event ID and event name are transferred to the event XML. They can be changed both in the event settings and in the event XML.
- Click Create event.
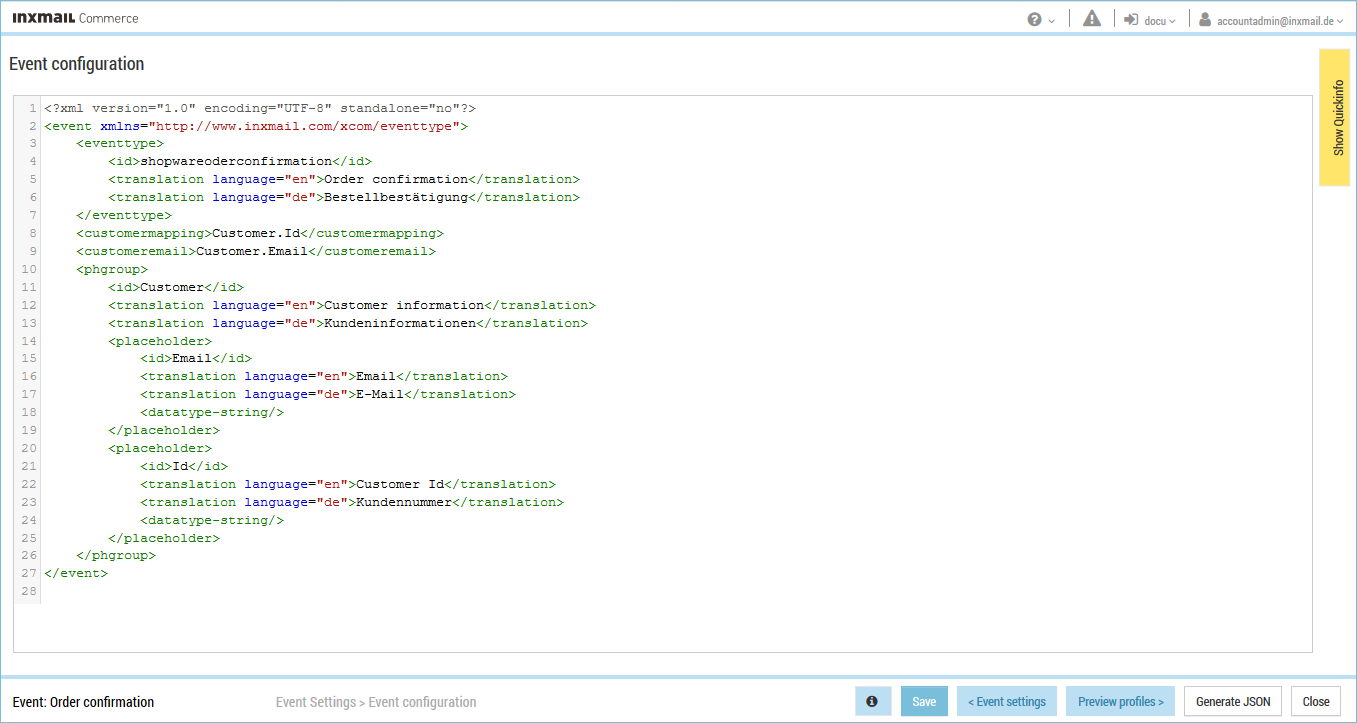
You will be directed to the page for editing the event template (event XML).
- Adjust the event template, if necessary.
- Click Save.
- You have now created a new event.
Additional information
When you start Inxmail Commerce for the first time or begin to set it up, you can use the Dashboard menu item or the Events menu item to create a new event. For this purpose, the Create a new event button is displayed in the display section.


